Crawl Space Encapsulation: Complete Homeowner Guide to a Dry, Healthy Home

Your crawl space might be out of sight, but it shouldn’t be out of mind when it comes to protecting your home’s health and value. Crawl space encapsulation creates a barrier between your living space and the damp, musty conditions that plague many homes, helping you tackle everything from humidity control crawl space issues to basement moisture problems.
This guide is for homeowners who want to take control of moisture issues, reduce energy costs, and create a healthier living environment. Whether you’re dealing with obvious signs like musty odors and standing water or simply want to prevent future problems, you’ll find practical solutions here.
You’ll discover how to spot the warning signs that your crawl space needs attention, from excessive humidity to pest problems. We’ll walk you through the complete encapsulation process, including vapor barrier installation and crawl space sealing techniques that actually work.
You’ll also get the real scoop on encapsulation cost comparisons between professional installation and DIY crawl space encapsulation, so you can make the best decision for your budget and skill level.


Understanding Crawl Space Encapsulation and Its Benefits
What crawl space encapsulation means for your home
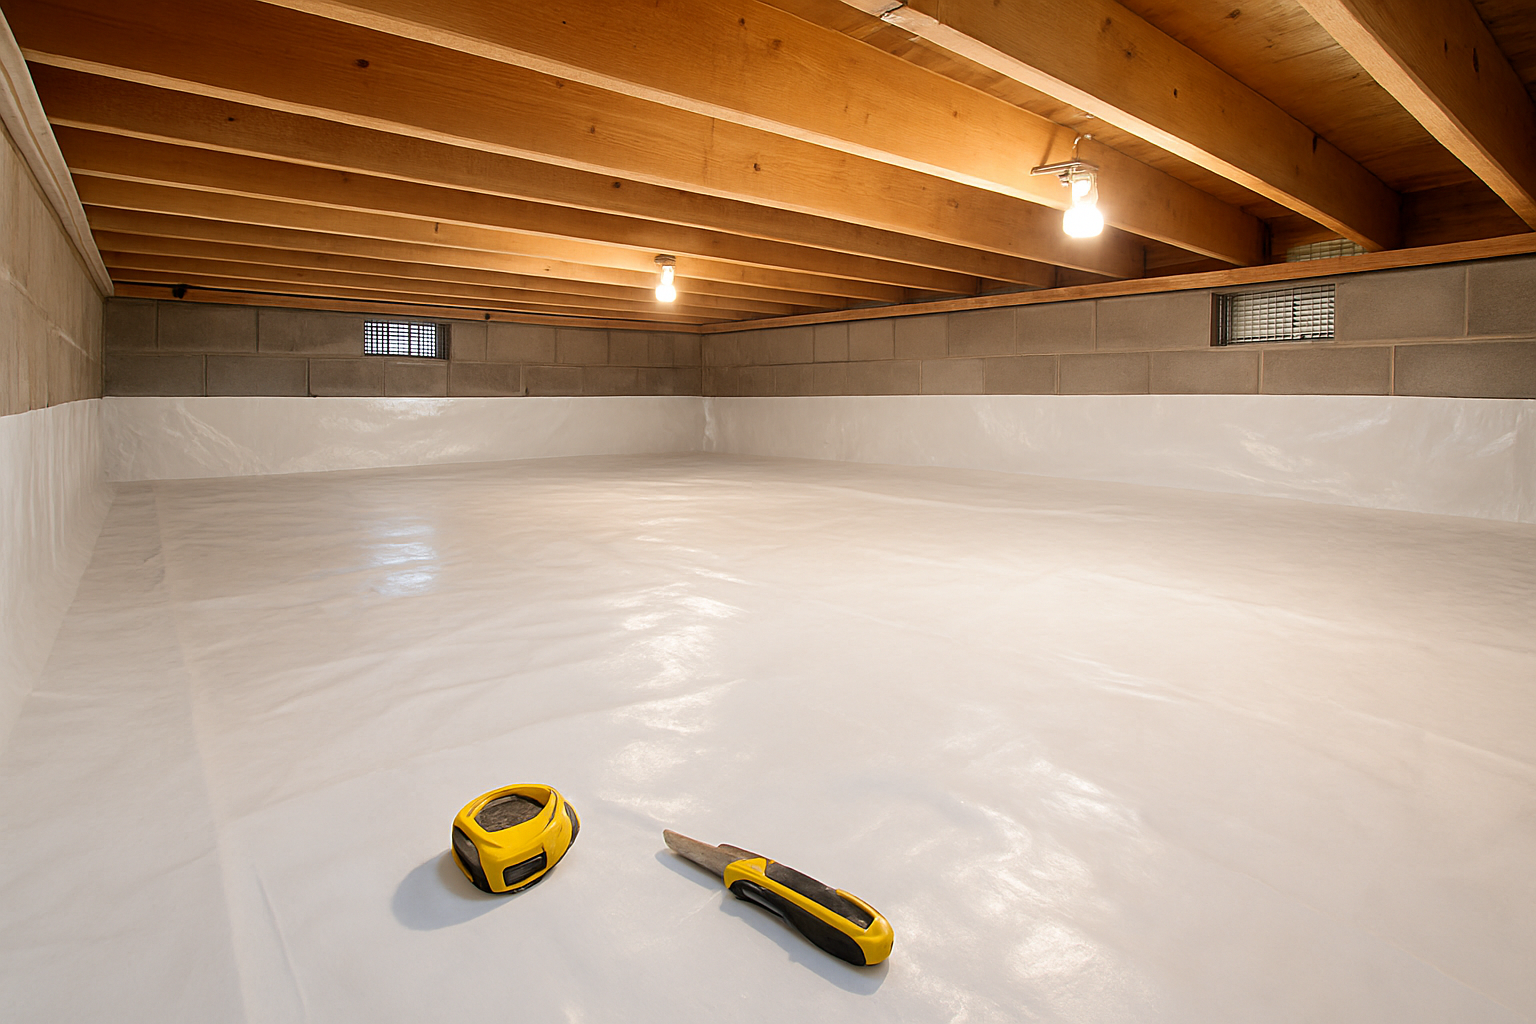
Crawl space encapsulation transforms your home’s foundation by creating a sealed barrier system that blocks moisture, air leaks, and pests from entering your living space. This comprehensive process involves installing vapor barriers on walls and floors, sealing all vents and openings, and often adding a dehumidification system to maintain optimal humidity levels.
Key health benefits for your family
Your family’s respiratory health improves dramatically when you eliminate the damp, moldy conditions that plague unencapsulated crawl spaces. By controlling crawl space moisture, you prevent mold spores, dust mites, and other allergens from circulating through your home’s air system. This reduction in airborne contaminants means fewer asthma attacks, less seasonal allergies, and improved indoor air quality for everyone living in your home.
Energy efficiency improvements and cost savings
Encapsulation dramatically reduces your energy bills by stopping conditioned air from escaping through your crawl space and preventing outside air from infiltrating your home. Your HVAC system works less to maintain comfortable temperatures, leading to 10-20% savings on monthly utility costs. The sealed environment also protects your ductwork and plumbing from temperature fluctuations, extending their lifespan and reducing maintenance expenses.
Increased home value and marketability
Your property value increases significantly with crawl space encapsulation, as buyers recognize the long-term benefits of moisture control and energy efficiency. Real estate professionals report that homes with encapsulated crawl spaces sell faster and command higher prices than comparable properties without this upgrade. Potential buyers appreciate knowing they won’t face expensive moisture problems, foundation issues, or high energy costs after purchase.
Identifying Signs Your Crawl Space Needs Encapsulation
Moisture and humidity indicators to watch for
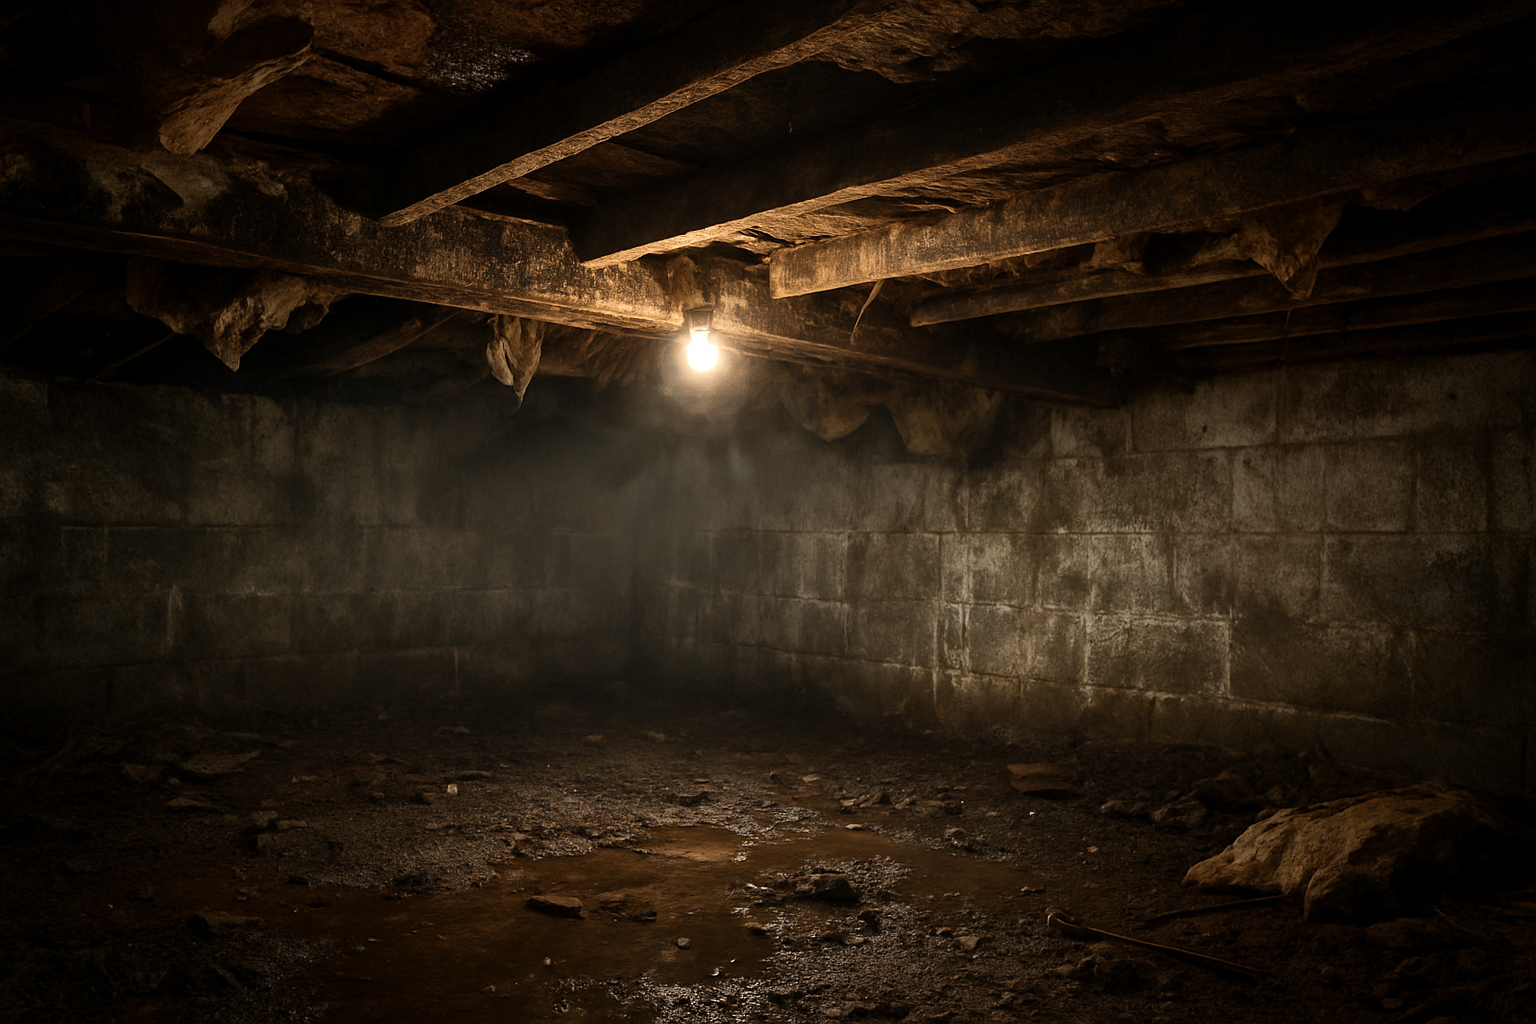
Your crawl space reveals moisture problems through several telltale signs that demand immediate attention. Look for condensation droplets forming on pipes, ductwork, or metal surfaces, which signals excessive humidity levels. Water stains, discoloration, or white chalky deposits on foundation walls indicate moisture intrusion that crawl space moisture control can address. Standing water pools, damp soil, or a persistently musty odor point to serious moisture issues requiring vapor barrier installation. High humidity readings above 60% on a hygrometer confirm your space needs crawl space encapsulation to prevent further damage.
Pest and rodent infestation warning signs
Your crawl space becomes a prime target for unwanted visitors when moisture creates an inviting environment. Watch for droppings, gnaw marks on wooden beams, or shredded insulation that indicates rodent activity. Small holes in foundation walls, torn or damaged existing vapor barriers, and nesting materials suggest pest infiltration. You might notice increased insect activity in your home above, particularly termites, carpenter ants, or cockroaches. Strange scratching sounds from below your floors often signal animal movement that proper crawl space sealing can eliminate.
Structural damage red flags
Your home’s foundation shows distress signals when crawl space moisture control fails. Inspect wooden floor joists for soft spots, dark staining, or visible mold growth that weakens structural integrity. Sagging floors above your crawl space indicate compromised support beams requiring immediate attention. Foundation walls may develop cracks, crumbling mortar, or bowing that signals moisture damage. Metal components like ductwork or support posts show rust or corrosion from excessive humidity. These warning signs often escalate quickly without proper crawl space waterproofing measures in place.
Essential Materials and Tools for Encapsulation Projects
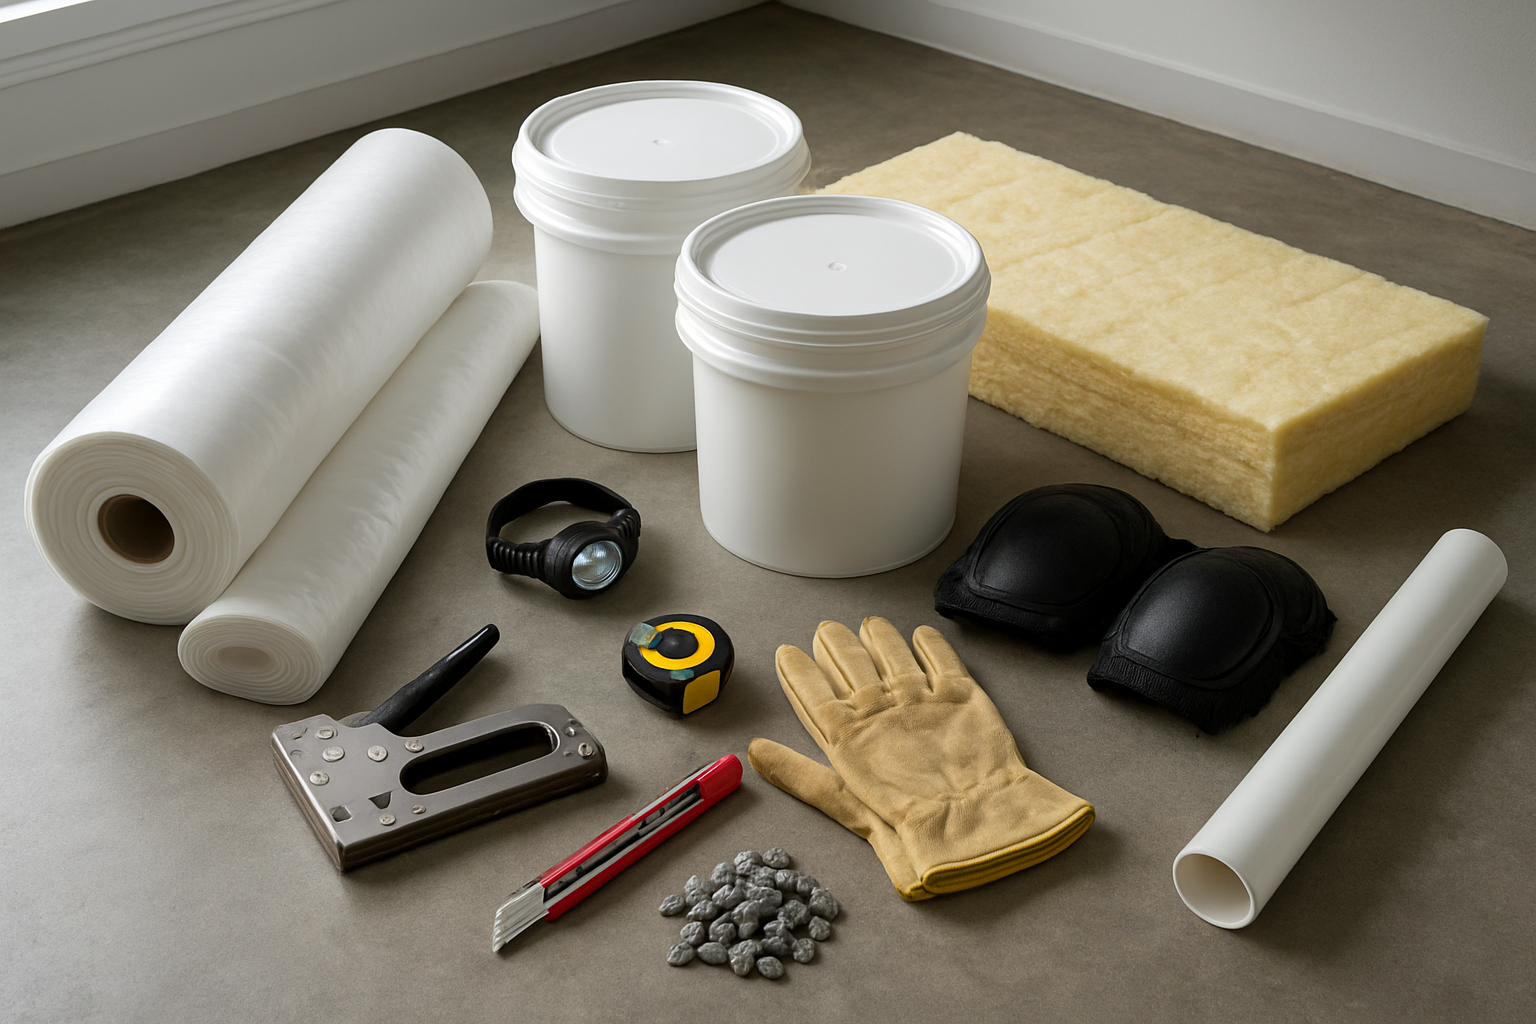
Vapor Barrier Options and Quality Considerations
Your vapor barrier forms the foundation of successful crawl space encapsulation, so choosing the right material matters. Look for polyethylene sheeting that’s at least 6 mils thick—anything thinner won’t provide adequate moisture protection. Premium options like reinforced polyethylene or specialized crawl space liners offer superior tear resistance and longevity. You’ll want barriers with low permeance ratings (under 0.1 perms) to effectively block moisture migration. Consider the seam sealing method too; some barriers come with tape-friendly surfaces while others require specific adhesives for proper crawl space sealing.
Insulation Materials That Deliver Lasting Results
Closed-cell spray foam insulation delivers the best performance for crawl space moisture control, creating both an insulation and vapor barrier in one application. Rigid foam boards offer a cost-effective alternative, especially when combined with proper vapor barrier installation. Avoid traditional fiberglass batts in encapsulated spaces—they absorb moisture and lose effectiveness. Your crawl space insulation should have an R-value appropriate for your climate zone, typically R-10 to R-15 for most regions. Reflective insulation can work in milder climates but won’t address serious humidity control crawl space needs.
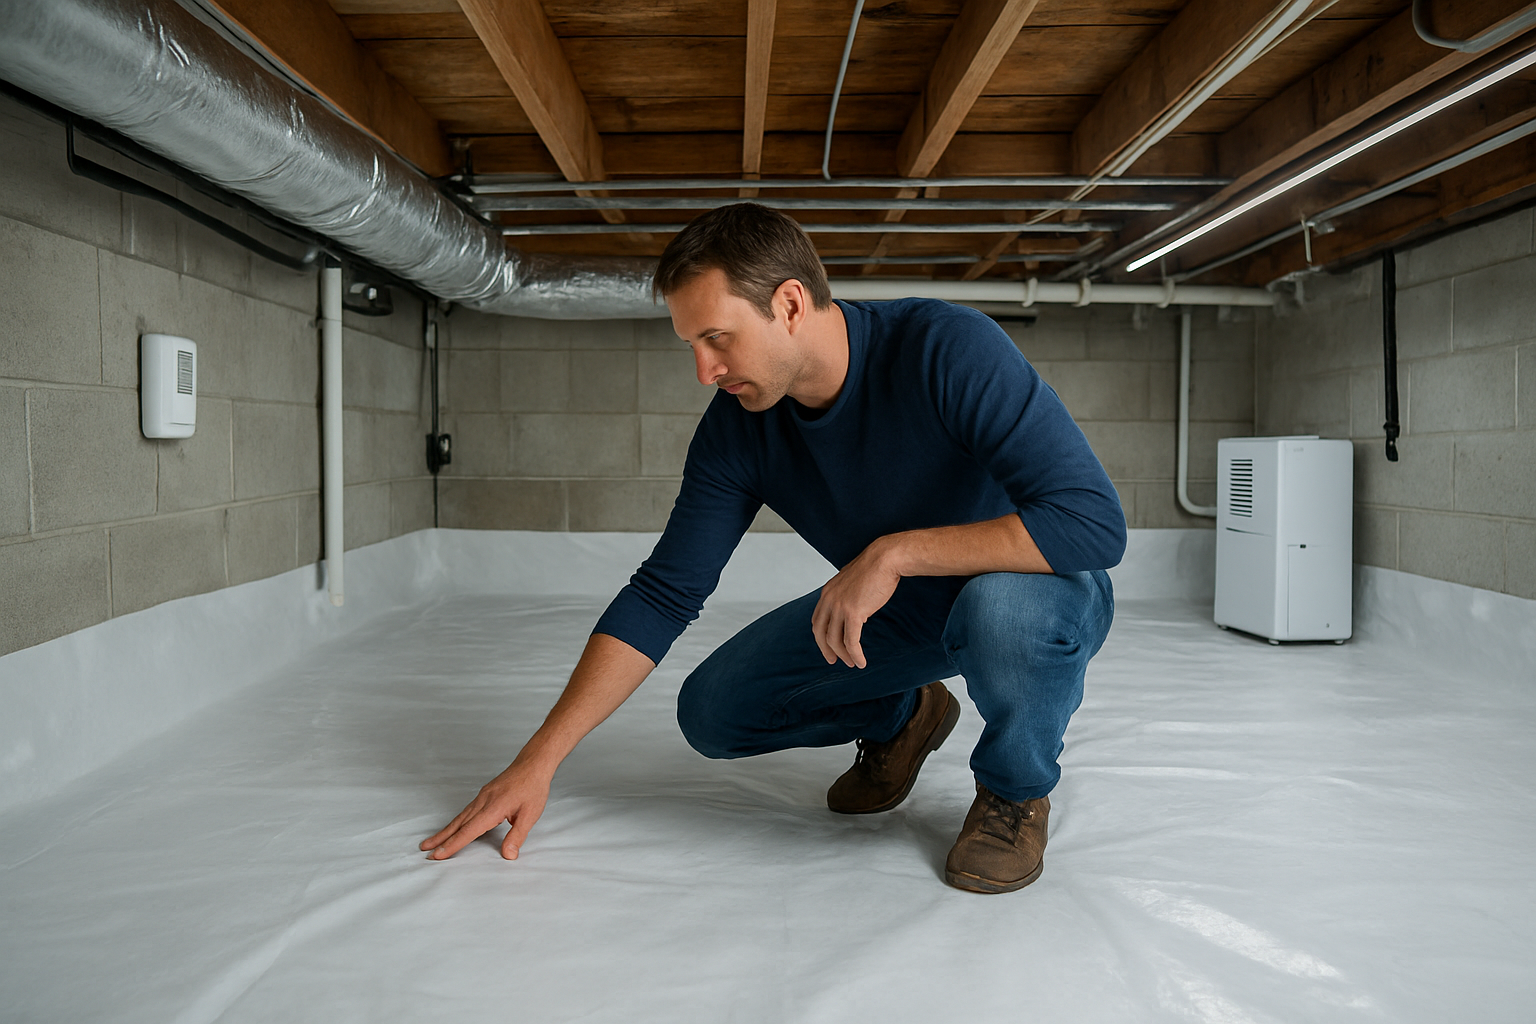
Dehumidification Equipment Requirements
Installing a dedicated crawl space dehumidifier ensures long-term humidity control after encapsulation. Size your unit based on square footage—typically 30-50 pints per day for average crawl spaces. Look for units designed specifically for crawl spaces with built-in condensate pumps and automatic humidity controls. Your dehumidifier should maintain humidity levels between 30-50% year-round. Consider units with washable filters and easy maintenance access. Some advanced models connect to your home’s HVAC system, providing whole-house humidity benefits while focusing on crawl space waterproofing needs.
Professional-Grade Tools Versus DIY Alternatives
Professional crawl space encapsulation requires specific tools that can impact your project’s success and encapsulation cost. Essential items include heavy-duty utility knives, seam rollers, caulk guns, and moisture meters. You’ll need a quality shop vacuum for cleanup and possibly a sump pump for standing water removal. Professional installers use specialized equipment like insulation blowers and commercial-grade dehumidifiers that aren’t cost-effective for DIY crawl space encapsulation projects. However, basic hand tools, measuring tape, and safety equipment are sufficient for most homeowner installations when combined with quality materials.
Step-by-Step Encapsulation Process for Maximum Effectiveness
Preparing and cleaning your crawl space properly
Start your crawl space encapsulation by removing all debris, old insulation, and standing water. Clear out any stored items, damaged vapor barriers, and organic materials that could harbor mold or pests. Check for structural issues like sagging joists or foundation cracks that need repair before proceeding. Install proper drainage if water pooling is present. Clean all surfaces thoroughly with a disinfectant solution to eliminate mold spores and bacteria. Allow everything to dry completely – this step is crucial for proper adhesion of your new vapor barrier and sealing materials.
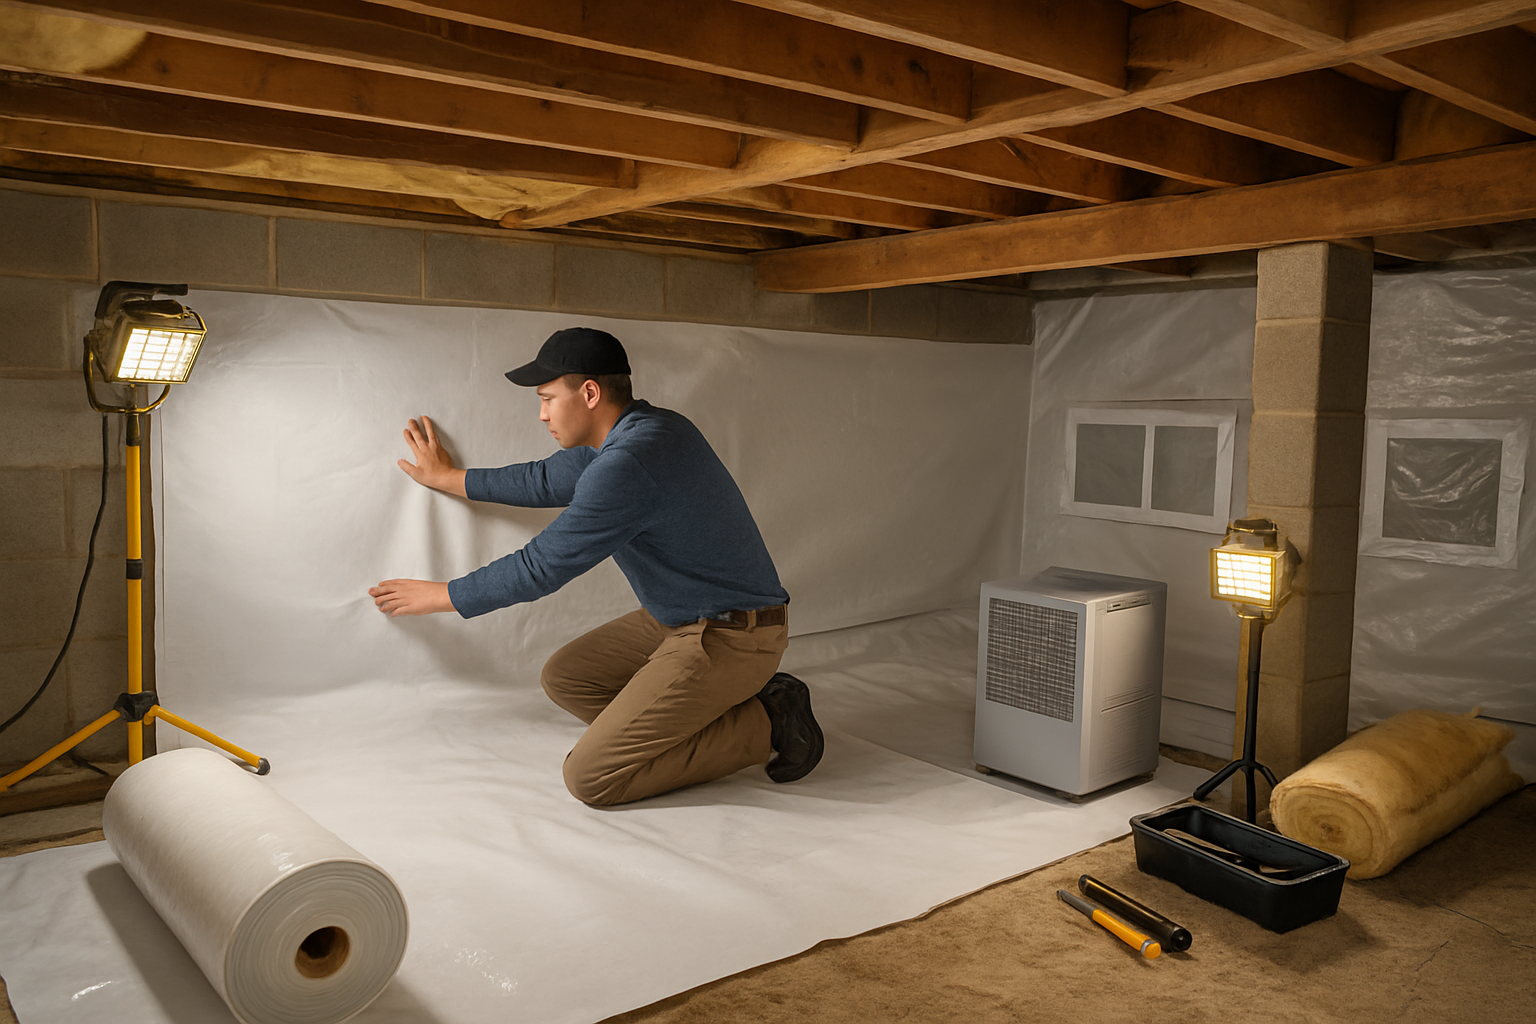
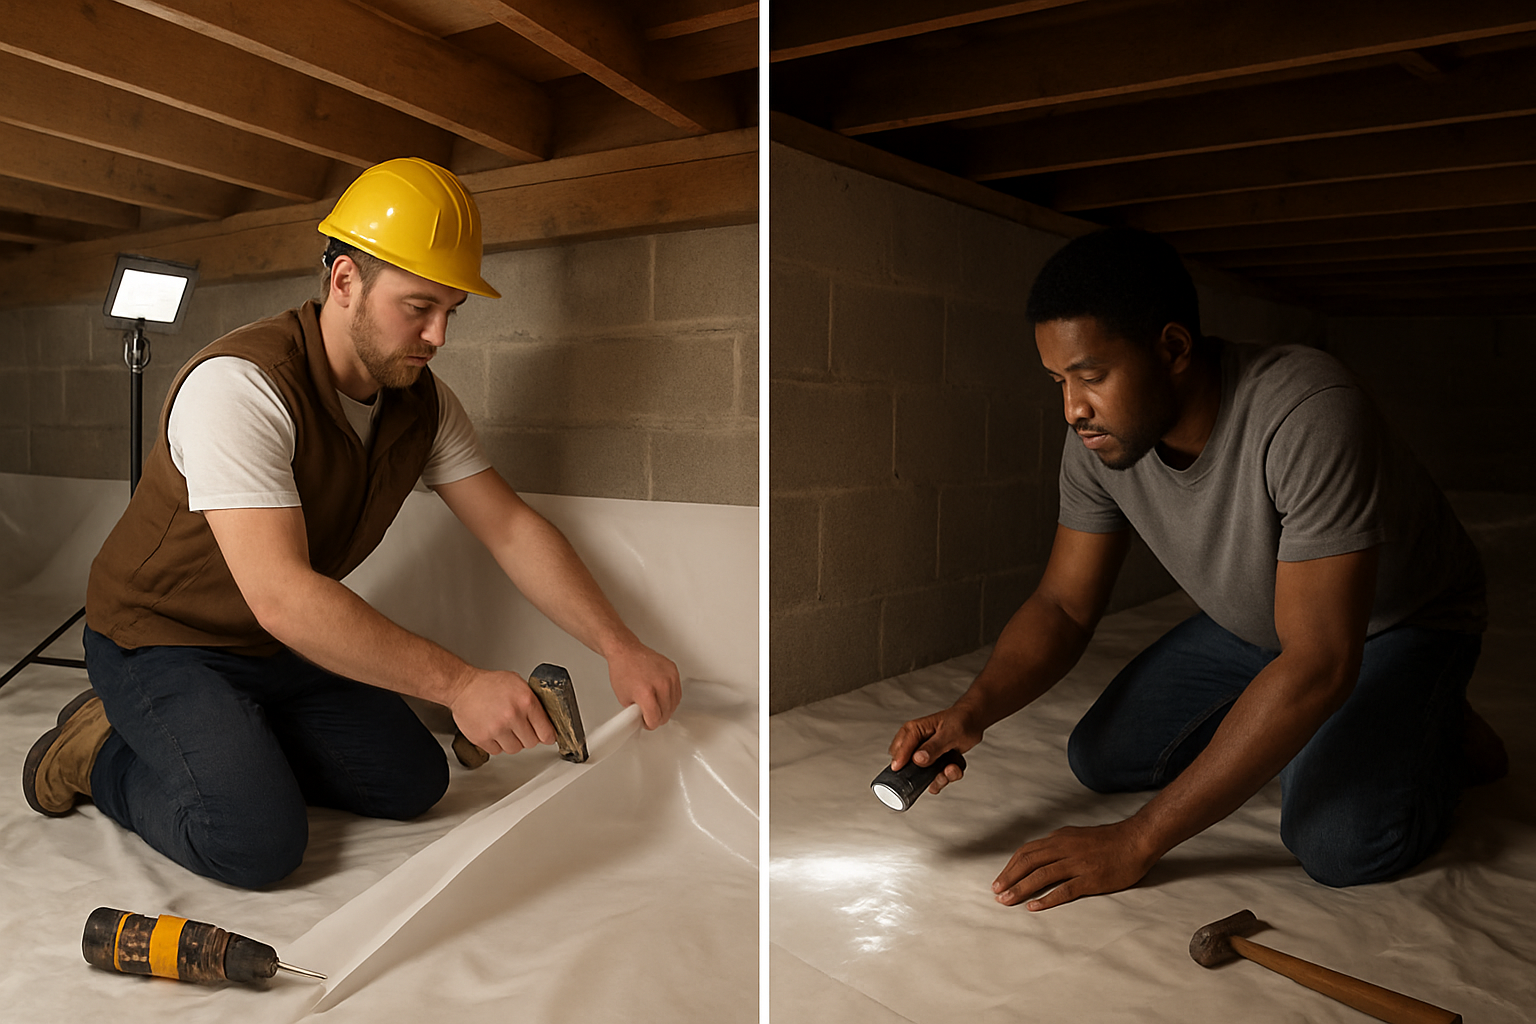
Installing vapor barriers for complete moisture protection
Choose a high-quality vapor barrier material, typically 6-mil polyethylene or reinforced plastic sheeting designed specifically for crawl space moisture control. Begin installation along the longest wall, leaving 6-8 inches of material to run up each wall. Overlap seams by at least 6 inches and seal with waterproof tape or adhesive. Wrap the barrier around piers and posts, securing with mechanical fasteners or adhesive. Pay special attention to corners and irregular spaces where moisture typically accumulates. Your vapor barrier installation should create a continuous moisture shield across the entire crawl space floor.
Sealing air leaks and entry points permanently
Identify all air leaks using a flashlight on a windy day or with an incense stick to detect airflow. Focus on areas where the foundation meets the sill plate, around utility penetrations, and gaps in rim joists. Use expandable foam sealant for smaller gaps and cracks, while larger openings require rigid foam board cut to fit. Seal around electrical outlets, plumbing penetrations, and HVAC ducts with appropriate caulking materials. Don’t forget to address crawl space vents – these should be sealed permanently as part of your encapsulation process to prevent outside air and moisture from entering your controlled environment.
Professional Installation Versus DIY Approach
When to hire certified encapsulation specialists
You should call in the pros when your crawl space has structural issues, extensive mold growth, or standing water problems. Complex drainage systems, electrical work, or HVAC modifications also require professional expertise. If you’re dealing with asbestos or lead paint in older homes, certified specialists have the proper equipment and training to handle hazardous materials safely.
DIY project scope and realistic expectations
Your DIY crawl space encapsulation project works best in clean, dry spaces with easy access and minimal obstacles. You can handle basic vapor barrier installation, sealing small gaps, and installing insulation if you’re handy with tools. Expect the project to take several weekends, and be realistic about your physical limitations – crawl spaces are cramped, dusty environments that test your endurance.
Cost comparison and long-term value considerations
Professional crawl space encapsulation typically costs $3,000-$8,000, while DIY projects run $1,500-$3,000 in materials. You’ll save on labor but invest significant time and effort. Consider the warranty coverage professionals provide – most offer 10-25 year guarantees on their work. Factor in potential mistakes that could cost more to fix later, especially with moisture control systems that need proper installation.
| Approach | Initial Cost | Time Investment | Warranty | Long-term Value |
|---|---|---|---|---|
| Professional | $3,000-$8,000 | Minimal | 10-25 years | High reliability |
| DIY | $1,500-$3,000 | 20-40 hours | Materials only | Variable results |
Safety precautions for homeowner installations
Your safety comes first when tackling DIY crawl space encapsulation. Wear protective gear including respirators, knee pads, and work gloves to avoid inhaling dust and mold spores. Test for radon levels before starting work, and ensure proper ventilation throughout the project. Keep a first aid kit nearby and never work alone – crawl spaces can be dangerous if you get injured or trapped. Check for electrical hazards and turn off power to any circuits running through your work area.
Maintaining Your Encapsulated Crawl Space for Long-Term Success
Regular Inspection Schedules and Checklists
Your encapsulated crawl space needs consistent attention to maintain its effectiveness. Schedule quarterly inspections to check your vapor barrier for tears, examine seams for separation, and look for signs of moisture penetration. Create a simple checklist that includes checking dehumidifier operation, inspecting drainage systems, and verifying that vents remain properly sealed. Document any issues you discover with photos and dates to track patterns over time.
Monitoring Humidity Levels and Ventilation Systems
Keep your crawl space humidity below 50% by regularly checking your dehumidifier’s performance and emptying collection tanks as needed. Install a digital hygrometer to monitor moisture levels year-round, paying special attention during humid summer months. Your ventilation system requires monthly filter changes and annual professional maintenance to ensure optimal air circulation. Clean intake and exhaust vents quarterly to prevent blockages that can compromise humidity control crawl space systems.
Preventing Future Moisture and Pest Problems
Address exterior drainage issues immediately to prevent water from reaching your encapsulated space. Keep gutters clean, extend downspouts away from your foundation, and maintain proper grading around your home’s perimeter. Seal any new cracks or gaps that develop in foundation walls or around utility penetrations. Trim vegetation away from vents and access points to reduce pest attraction. Store materials in sealed containers and avoid creating hiding spots that invite unwanted visitors into your protected crawl space encapsulation system.
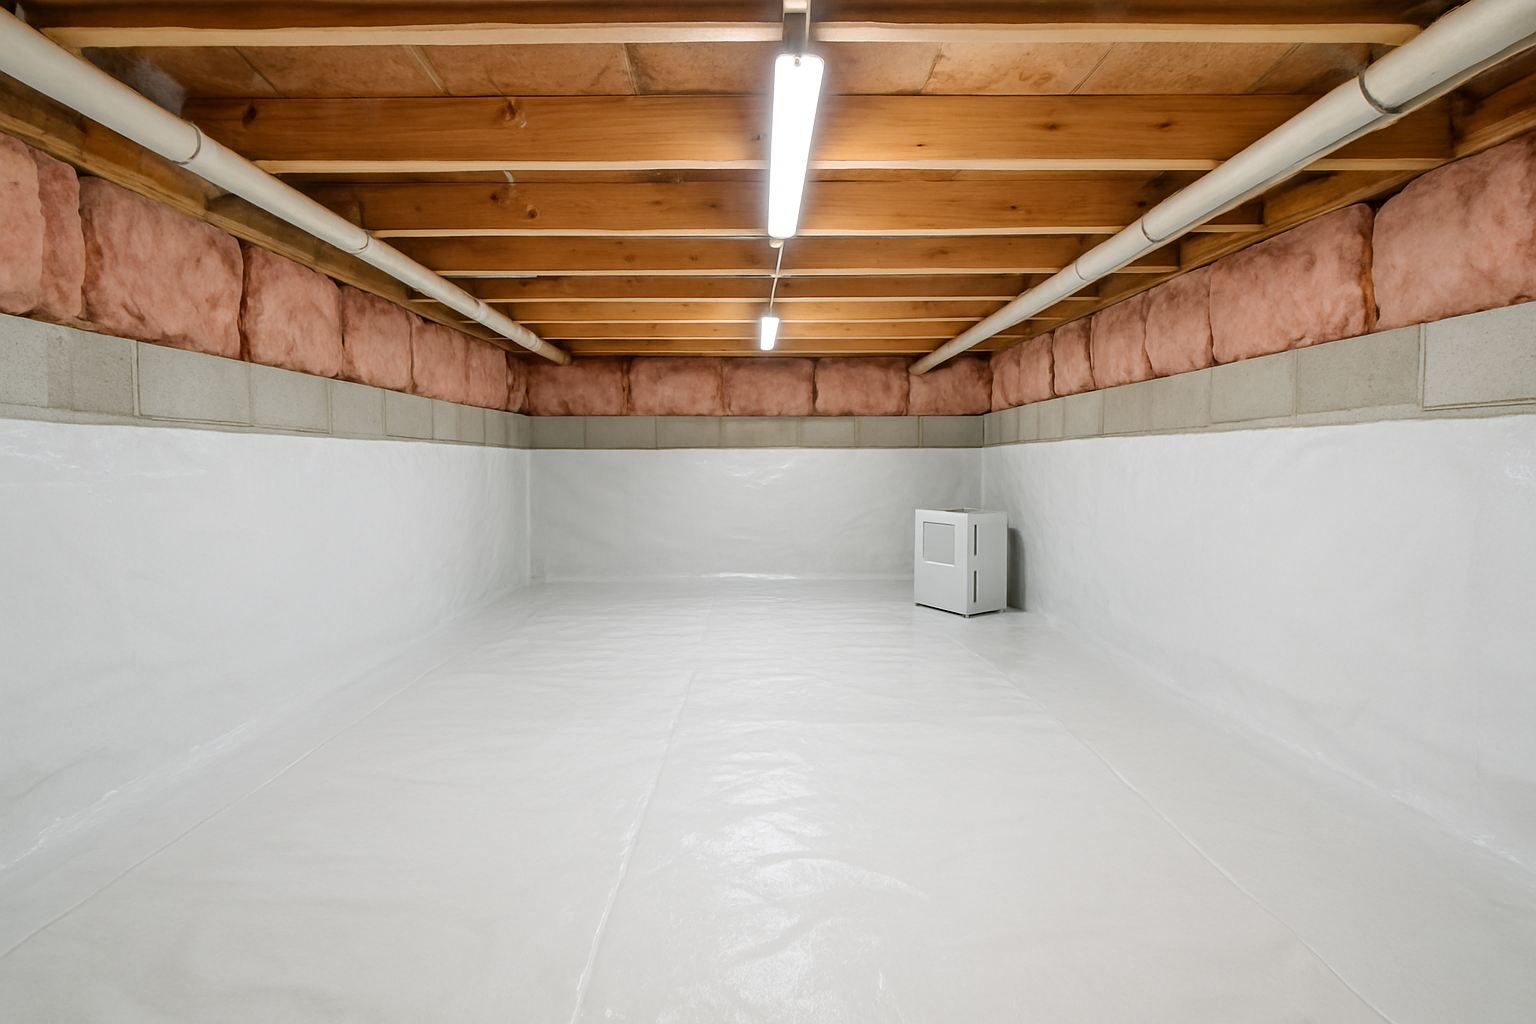
Your crawl space might be out of sight, but it shouldn’t be out of mind. By now, you understand how proper encapsulation can transform that dark, damp area beneath your home into a clean, controlled environment that protects your family’s health and your property’s value. From recognizing moisture problems and musty odors to choosing between vapor barriers and dehumidifiers, you have the knowledge to make informed decisions about your home’s foundation.
The choice between tackling this project yourself or hiring professionals comes down to your comfort level, budget, and the complexity of your specific situation. Remember that regular maintenance checks and prompt attention to any issues will keep your encapsulated crawl space working effectively for years to come. Take action now to address any warning signs you’ve noticed – your home’s structural integrity and your family’s well-being depend on the healthy environment you create below your feet.


