DIY Self-Draining Dehumidifier: Save Money & Stop Moisture Forever

Tired of emptying dehumidifier buckets every day and watching mold creep across your basement walls? Your humidity problems at home don’t have to drain your wallet or your patience.
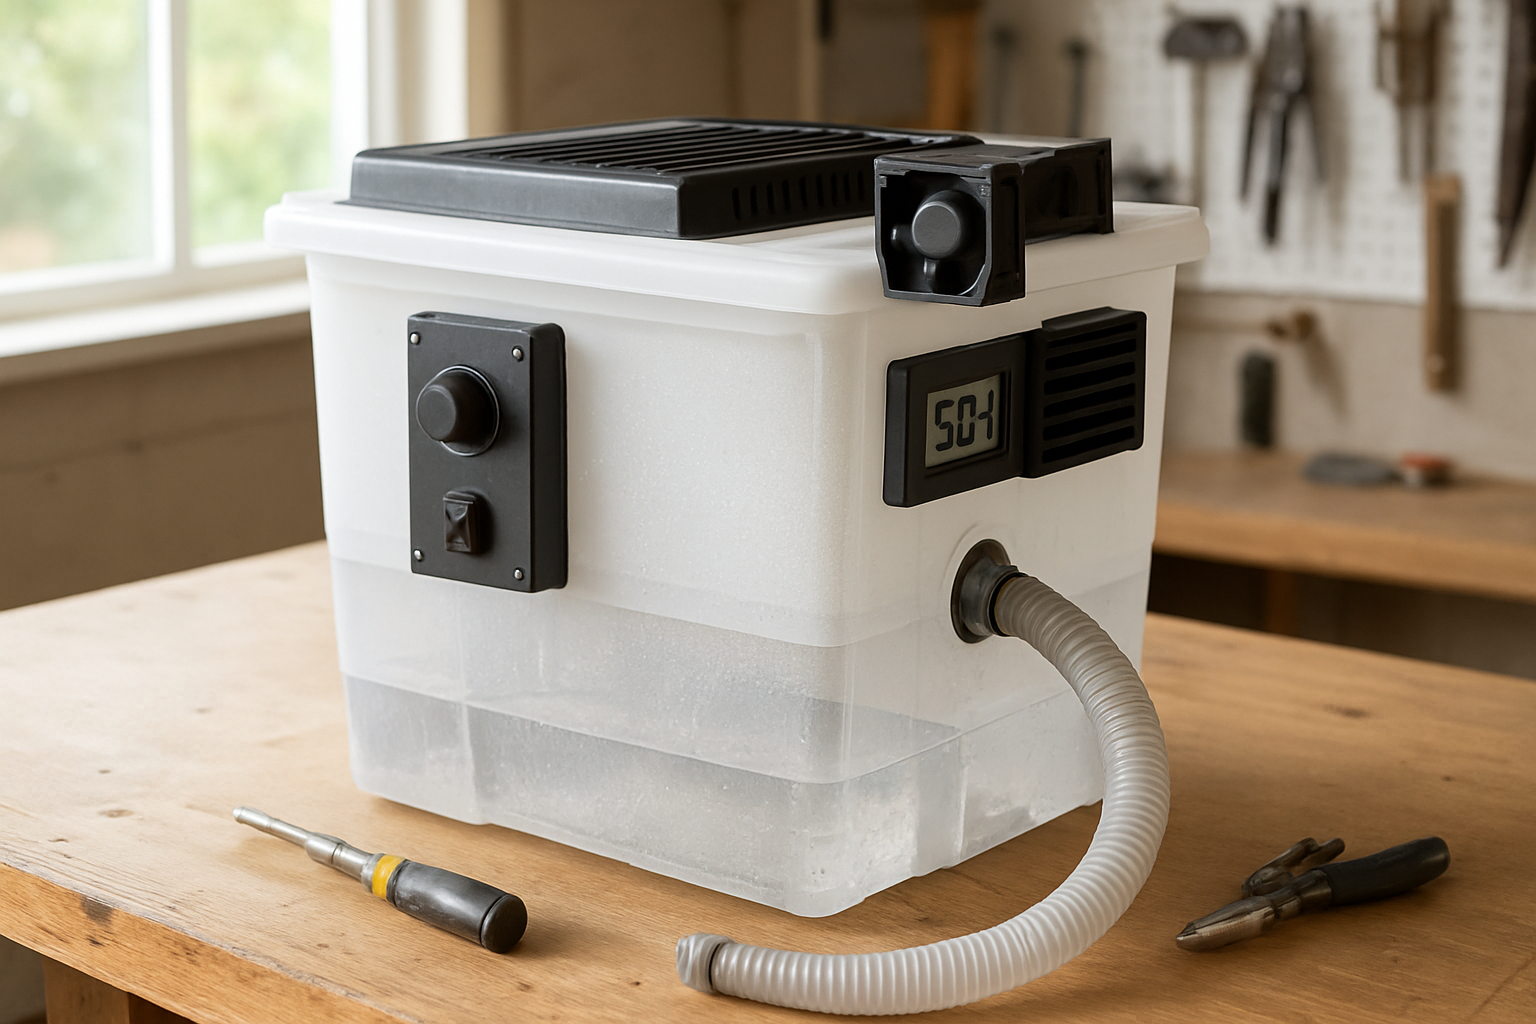
This guide shows homeowners and DIY enthusiasts how to build a DIY self-draining dehumidifier system that works around the clock without any manual emptying. You’ll save hundreds compared to buying premium units while getting the same automatic moisture removal results.
We’ll walk you through the essential tools and materials you need for this homemade dehumidifier project, then guide you step-by-step through installing your continuous drain dehumidifier system. You’ll also learn how to optimize your automatic dehumidifier drain setup for maximum efficiency and troubleshoot any hiccups along the way.
By the end, you’ll have a reliable basement humidity solution that keeps your space dry 24/7 while you focus on more important things than bucket duty.


Understanding Moisture Problems and Dehumidifier Basics
Common Household Moisture Issues and Their Costly Consequences
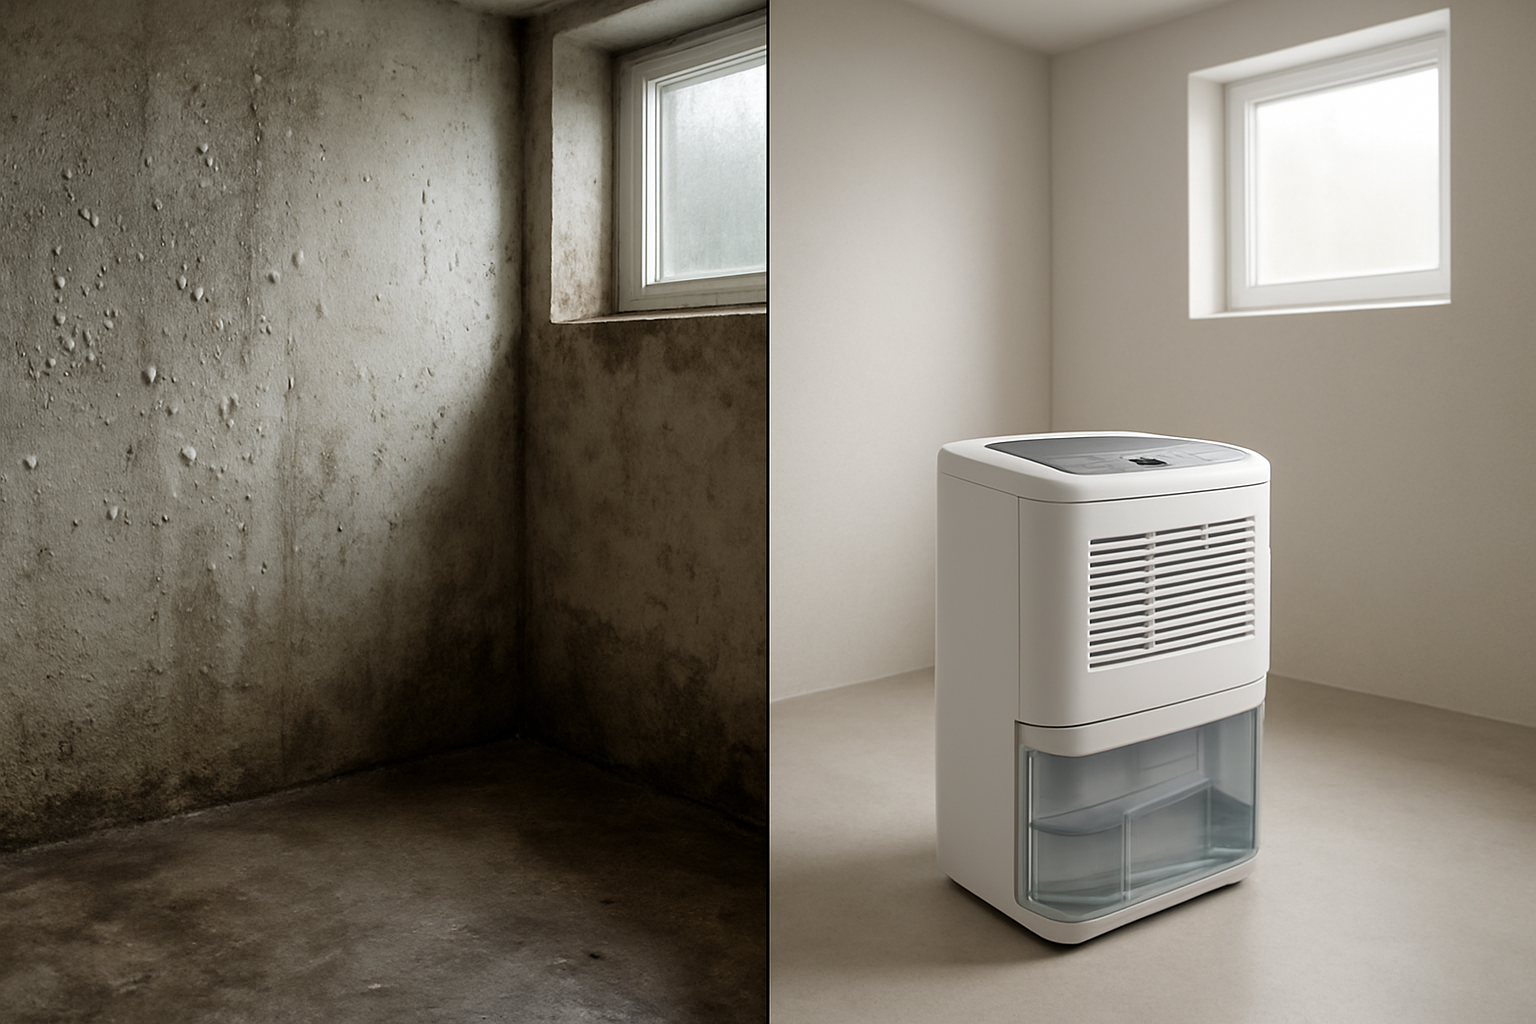
Your home faces constant moisture battles that can drain your wallet fast. Basements flood with condensation, bathrooms stay damp for hours after showers, and laundry rooms become breeding grounds for mold. You’ll find water damage creeping into walls, warping hardwood floors, and creating musty odors throughout your living space. These humidity problems home situations lead to expensive repairs, increased energy bills, and potential health issues for your family.
How Traditional Dehumidifiers Work and Their Limitations
Your standard dehumidifier pulls humid air across cold coils, condensing moisture into a collection tank. While effective at moisture control DIY projects, these units have serious drawbacks. The small water tanks fill up quickly, especially in high-humidity environments like basements. You’re limited by the tank capacity, and once it’s full, your dehumidifier shuts down completely, leaving your space vulnerable to moisture damage again.
Why Manual Emptying Becomes a Daily Hassle
Your dehumidifier demands constant attention, interrupting your daily routine with frequent tank emptying. During humid summer months, you’ll find yourself checking and emptying tanks multiple times per day. This becomes particularly challenging in basement humidity solutions where units run continuously. The repetitive task of carrying heavy water tanks up stairs or across rooms quickly becomes exhausting, and forgetting to empty them means your moisture problems return instantly.
The Money-Saving Potential of Self-Draining Systems
Your continuous drain dehumidifier setup eliminates costly maintenance calls and reduces energy waste from frequent shutdowns. By installing a dehumidifier drain hose setup, you’ll save hundreds annually on water damage repairs and mold remediation. The automatic dehumidifier drain system runs 24/7 without interruption, maintaining optimal humidity levels while you sleep or travel. This DIY dehumidifier modification pays for itself within months through reduced energy bills and prevented moisture damage.
Essential Tools and Materials for Your DIY Project
Required hardware components and where to source them affordably
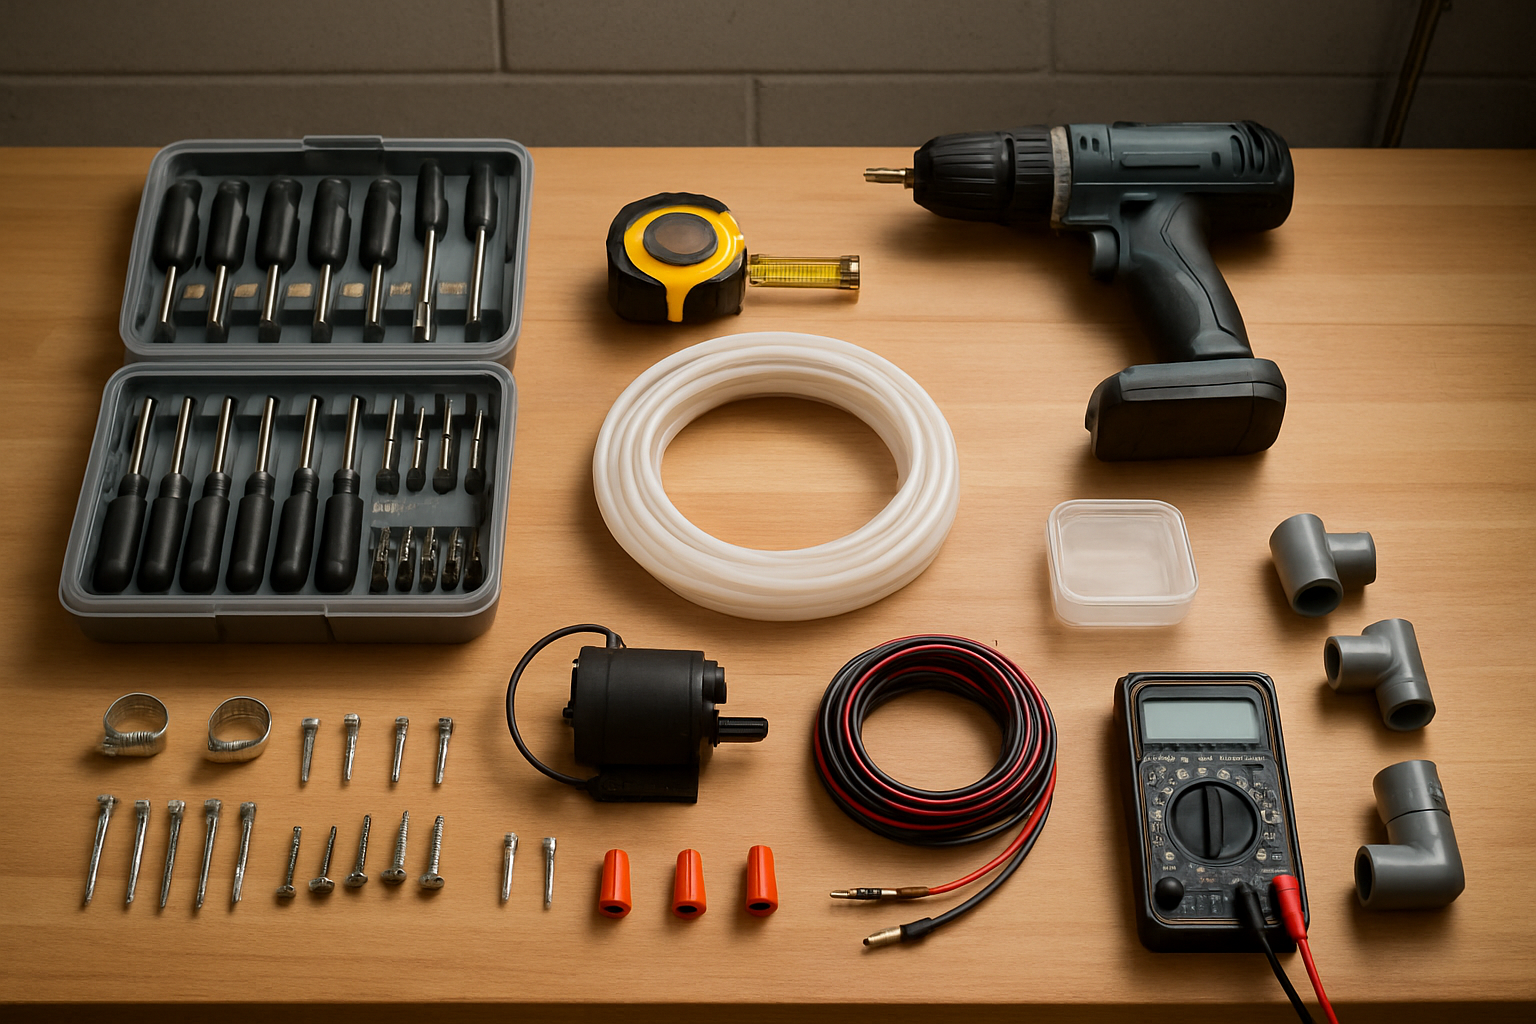
Your DIY self-draining dehumidifier needs a few key components: a standard dehumidifier unit, flexible drain hose (typically 3/8″ or 5/8″ diameter), hose clamps, and a gravity drain connection kit. You’ll find these items at home improvement stores like Home Depot or Lowe’s, with the drain hose costing around $10-15. Online retailers like Amazon often offer better prices on hose kits specifically designed for continuous drain dehumidifier setups. Check appliance parts stores for universal drain connections that fit most dehumidifier models.
Basic tools you likely already own
Most homeowners already have the essential tools needed for this DIY moisture control project. You’ll need a screwdriver set, adjustable wrench, measuring tape, level, and drill with basic bits. A utility knife helps trim hose lengths, while pliers assist with securing clamps. These common household tools make your homemade dehumidifier installation straightforward without requiring specialty equipment purchases.
Safety equipment and precautions
Before starting your automatic dehumidifier drain installation, gather safety glasses and work gloves to protect against sharp edges and debris. Ensure electrical safety by unplugging your dehumidifier completely before making any modifications. When drilling through walls or floors for drain routing, use a stud finder to avoid electrical wires and plumbing. Keep your workspace well-lit and dry, especially when working in basement humidity solutions where moisture creates slippery surfaces that could lead to accidents.
Step-by-Step Self-Draining System Installation
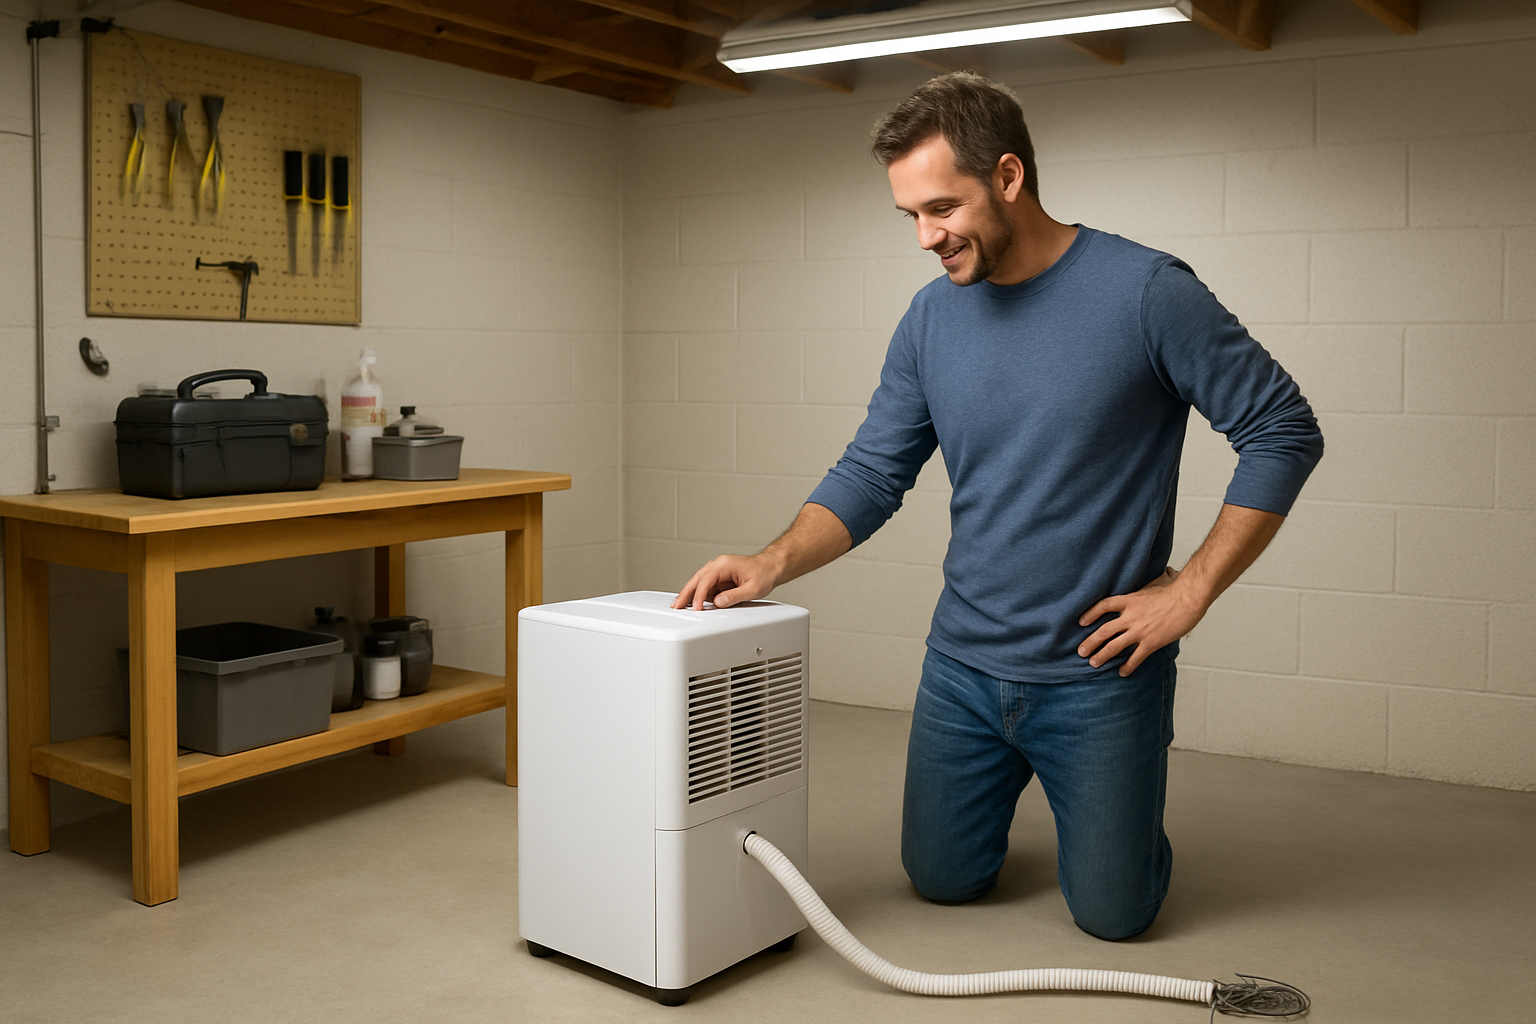
Preparing your existing dehumidifier for modification
First, unplug your dehumidifier and locate the water collection tank. Remove the tank and examine the drainage port – most units have a threaded connection or rubber plug that you’ll need to access. Clean the area thoroughly and check your dehumidifier’s manual to confirm it supports continuous drain operation, as this DIY self-draining dehumidifier modification requires proper drainage capabilities.
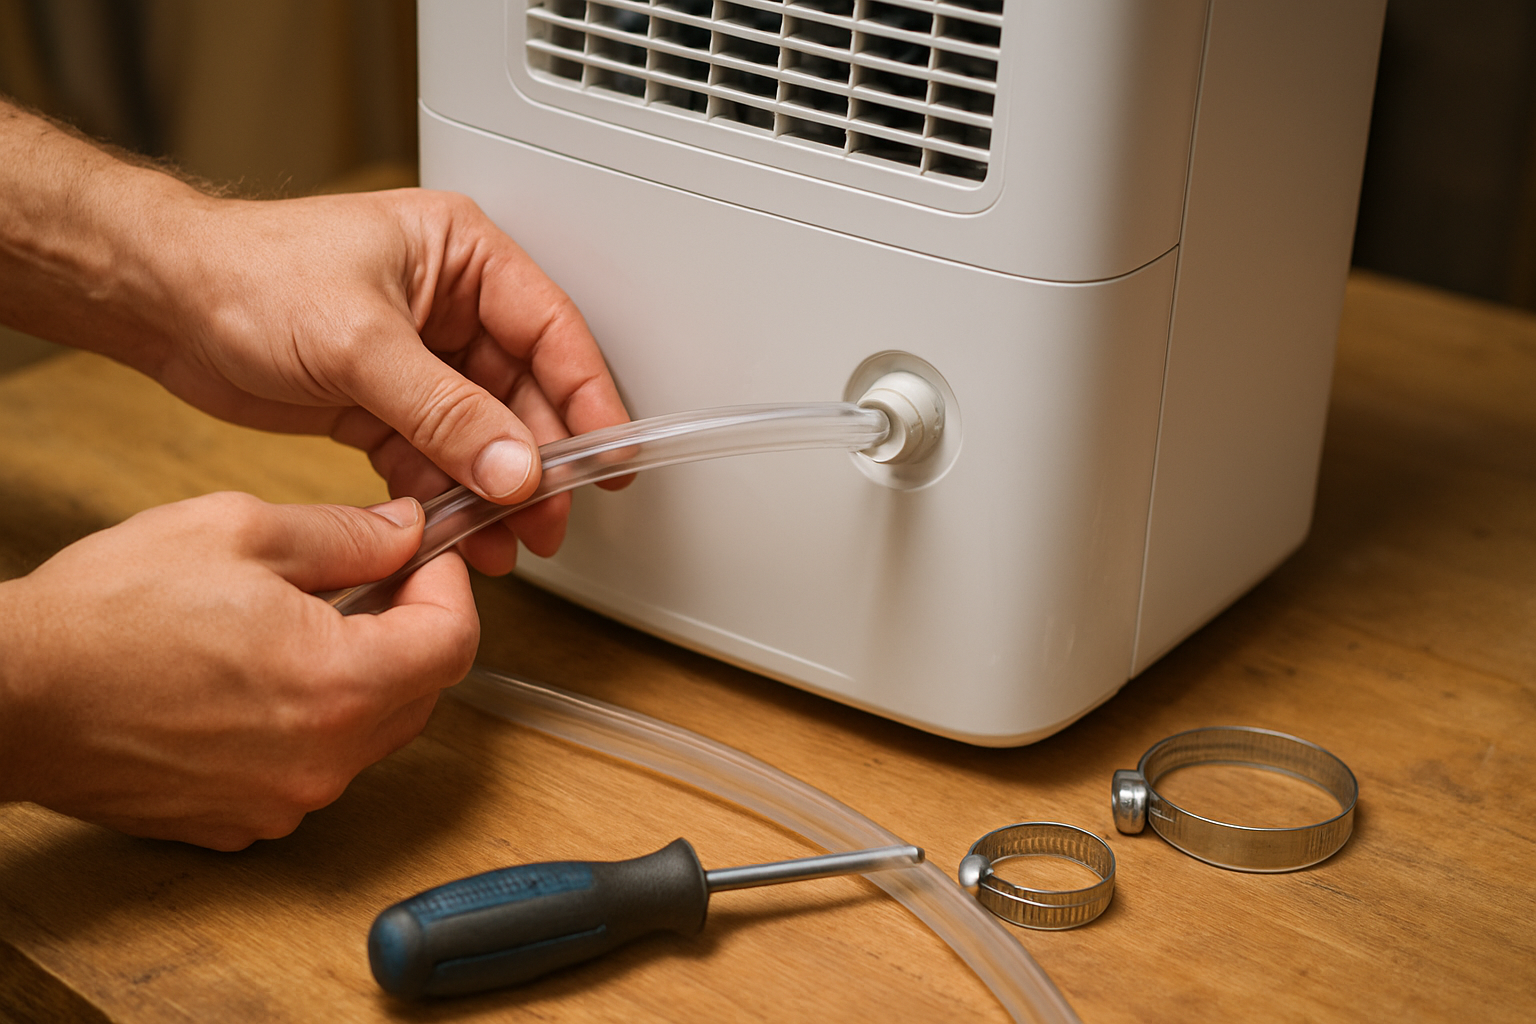
Creating the continuous drainage connection
Connect a standard garden hose or vinyl tubing to your dehumidifier’s drain port using the appropriate adapter. Most continuous drain dehumidifier setups require a 5/8-inch hose that screws directly into the unit. If your model lacks threading, use a rubber adapter with hose clamps to create a watertight seal. Test the connection by running water through the system before proceeding with your homemade dehumidifier drain setup.
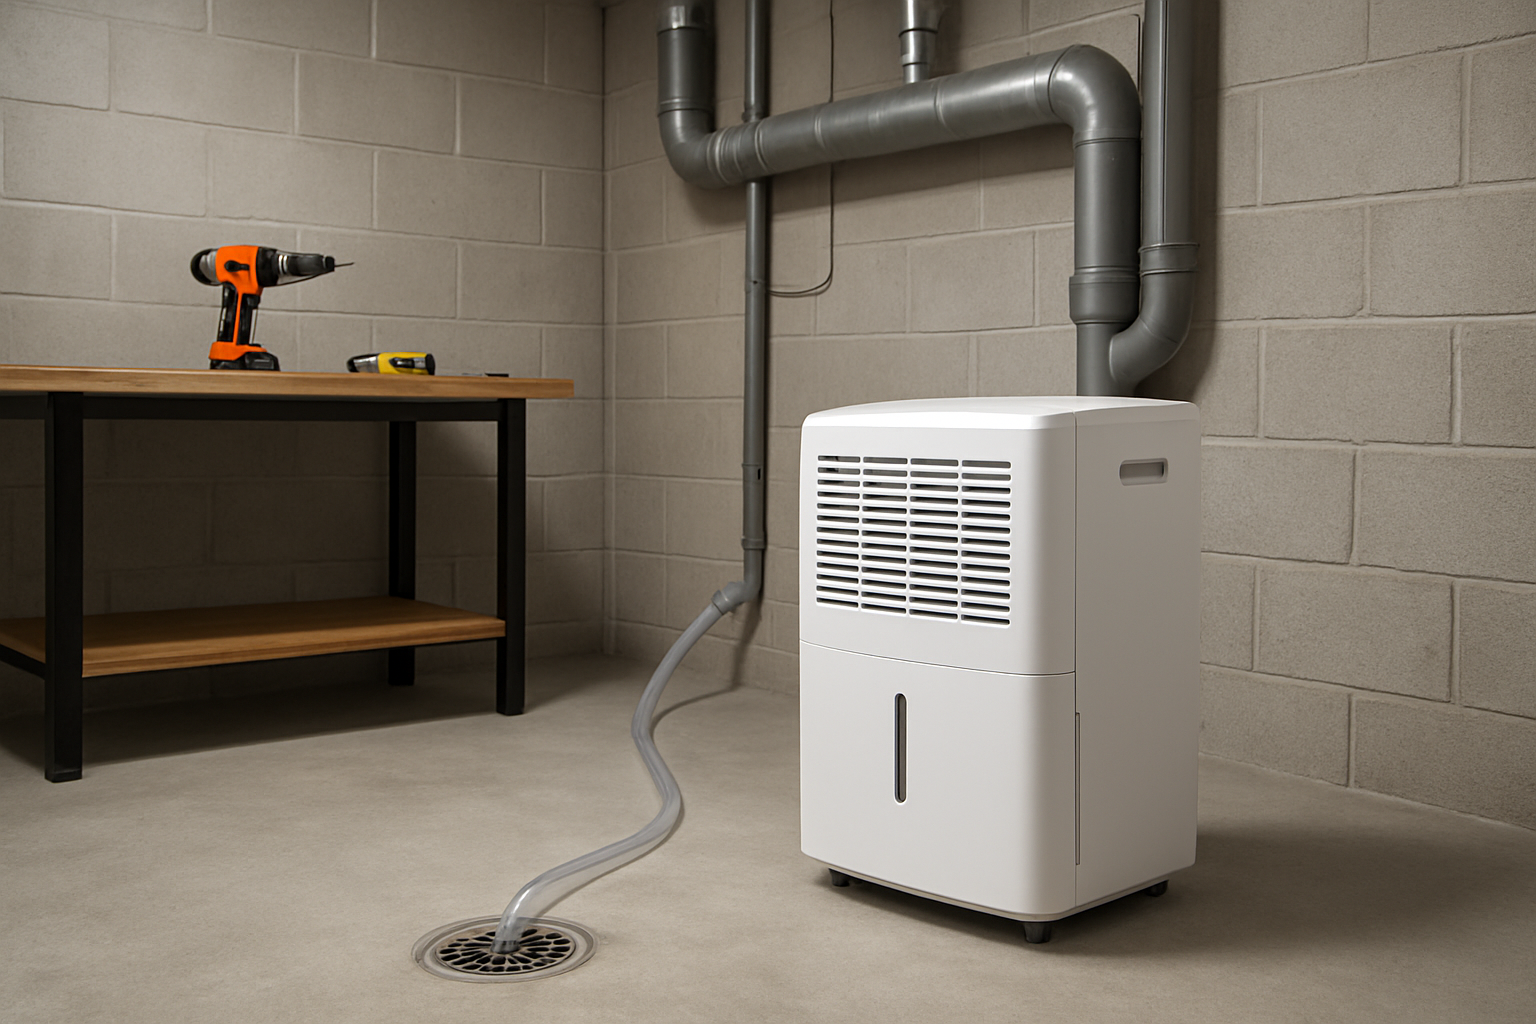
Setting up proper water flow and gravity assistance
Position your dehumidifier higher than your drainage destination to ensure proper water flow through gravity. The drain hose should slope downward continuously without any loops or kinks that could trap water. For basement humidity solutions, route the hose to a floor drain, sump pump, or utility sink. Maintain at least a 1-inch drop per 10 feet of hose length to guarantee consistent drainage in your automatic dehumidifier drain system.
Securing all connections to prevent leaks
Double-check all connection points and tighten hose clamps securely to prevent water damage. Use pipe thread sealant on threaded connections and wrap joints with waterproof tape for extra protection. Secure the dehumidifier drain hose setup along walls or baseboards using clips to prevent accidental disconnection. Test your completed system by running the dehumidifier for several hours while monitoring all connection points for potential leaks or moisture control DIY issues.
Optimizing Your System for Maximum Efficiency
Positioning Strategies for Best Moisture Removal
Place your DIY dehumidifier in the room’s center for optimal air circulation. Position it away from walls and furniture to allow proper airflow around all sides. Target the most humid areas like basements or bathrooms, but keep the unit elevated at least six inches off the floor. Avoid corners where air stagnates and moisture lingers. Your continuous drain dehumidifier works best when it can pull air from multiple directions, so give it plenty of breathing room for maximum moisture control DIY results.
Fine-Tuning Drainage Angles and Flow Rates
Set your dehumidifier drain hose at a consistent downward slope of at least one inch per foot to ensure gravity-fed drainage. Check that your hose maintains this angle throughout its entire length without any dips or loops that could trap water. Test the flow rate by running water through the system – you should see steady, uninterrupted drainage. Adjust the hose routing if water backs up or drains too slowly. Your automatic dehumidifier drain needs this proper slope to prevent clogs and maintain continuous operation without manual emptying.
Maintenance Schedules to Keep Everything Running Smoothly
Clean your drain hose monthly by flushing it with warm water and a mild bleach solution to prevent algae buildup. Inspect connections every two weeks for leaks or loose fittings. Replace your air filter every three months to maintain airflow efficiency. Check the drainage endpoint quarterly to ensure water flows freely without backing up. Your basement humidity solutions require consistent upkeep – mark these tasks on your calendar. Wipe down the unit’s coils every six months and vacuum the intake grills regularly to keep your homemade dehumidifier running at peak performance for years.
Troubleshooting Common Issues and Long-Term Benefits
Solving drainage blockages and connection problems
Check your drain hose regularly for kinks, clogs, or loose connections that could disrupt your DIY dehumidifier’s continuous drain system. Clean the hose monthly with warm soapy water and ensure all joints remain watertight. If water backs up, disconnect the hose and flush it thoroughly. Examine the drain outlet for obstructions like lint or debris. Secure all connections with hose clamps to prevent leaks that could damage your basement humidity solutions setup.
Calculating your annual savings compared to store-bought alternatives
Your homemade dehumidifier saves you significant money compared to purchasing a commercial continuous drain dehumidifier. Calculate your savings by comparing the cost of your DIY materials ($50-80) against a similar store-bought unit ($200-400). Factor in reduced maintenance costs since you control replacement parts. Most DIY moisture removal systems pay for themselves within the first year, especially in high-humidity areas where commercial units work overtime and consume more electricity.
Monitoring performance and making adjustments
Track your automatic dehumidifier drain system’s effectiveness by measuring humidity levels weekly with a hygrometer. Optimal indoor humidity should stay between 30-50%. If levels climb above this range, check your drain hose setup for proper flow and adjust your unit’s positioning for better air circulation. Clean or replace filters monthly to maintain peak performance. Document any changes in your moisture control DIY system’s efficiency to identify patterns and prevent future humidity problems in your home.
Your new self-draining dehumidifier system will transform how you handle excess moisture in your home. You’ve learned to identify moisture problems, gathered the right tools, and followed the installation steps to create a system that works around the clock without constant emptying. The optimization tips will help you get the most out of your setup, while the troubleshooting guide ensures you can handle any hiccups that come up.
The money you save from this DIY project will add up quickly – no more expensive service calls or constantly buying replacement water tanks. Your home will stay drier, your air quality will improve, and you won’t have to worry about forgetting to empty that water container ever again. Start your project this weekend and enjoy the peace of mind that comes with a moisture problem that finally stays solved.


