DIY Solar Panels on Mobile Homes: 7 Steps to Save Thousands

My electric bill averaged $220 per month. For a 980 square foot mobile home, that’s ridiculous. I got solar installation quotes ranging from $12,000 to $18,000, which would take 15 years to pay off.
I installed my own solar system last spring for $3,800 in equipment. My electric bill is now $28 per month on average. The system paid for itself in saved electricity costs within 20 months, and I did the entire installation over three weekends with help from my neighbor.
The hardest part was figuring out roof weight limits for my mobile home. Traditional solar panels would have exceeded the load capacity. I ended up using lightweight flexible panels specifically designed for RVs and mobile homes—they weigh 60% less than standard panels and work perfectly.
Here’s the complete 7-step process I used to install solar on my mobile home without hiring professionals. You’ll learn how to calculate your actual power needs, choose lightweight panels that won’t damage your roof, mount systems that survive wind and weather, and connect everything safely without electrical expertise.


Assess Your Mobile Home’s Solar Potential
Calculate your current energy consumption and costs
Start by gathering 12 months of electricity bills to understand your baseline energy usage. Look for your monthly kilowatt-hour (kWh) consumption and average costs. Most mobile homes use between 500-1,200 kWh monthly, depending on size, appliances, and climate control needs. Calculate your annual consumption and multiply by your local utility rate to determine potential solar savings. This data helps you size your DIY solar panels mobile homes system correctly and estimate payback periods for your investment.
Evaluate roof condition and structural integrity
Your mobile home’s roof must support additional weight before installing solar panels for mobile homes. Inspect for damaged or soft spots, rust, leaks, or sagging areas that need repair first. Most mobile home roofs can handle 2-4 pounds per square foot of solar equipment, but older units may require structural reinforcement. Check roof age and material – metal roofs work well for solar panel mounting mobile home projects, while older materials might need replacement. Document any issues and budget for necessary repairs before proceeding with installation.
Determine optimal sun exposure and shading issues
Walk around your property at different times throughout the day to identify shading patterns from trees, buildings, or other structures. Your roof should receive at least 4-6 hours of direct sunlight daily for effective mobile home solar installation. South-facing sections typically get the best exposure, though east and west orientations can work too. Note seasonal changes in sun angles and tree coverage. Use smartphone apps or online tools to measure solar potential and identify the best placement areas for maximum energy production from your mobile home solar system setup.
Check local zoning laws and HOA restrictions
Contact your local building department to understand permit requirements for DIY solar installation guide projects. Many areas have streamlined processes for small residential solar systems, but mobile home parks may have additional restrictions. Review your lease agreement or HOA rules regarding exterior modifications and renewable energy installations. Some communities embrace mobile home renewable energy projects, while others have strict aesthetic guidelines. Verify electrical code requirements and whether you can connect to the grid or need battery-only systems. Getting proper approvals upfront prevents costly mistakes and ensures your solar power mobile home savings remain legitimate and transferable.
Choose the Right Solar Equipment for Mobile Homes
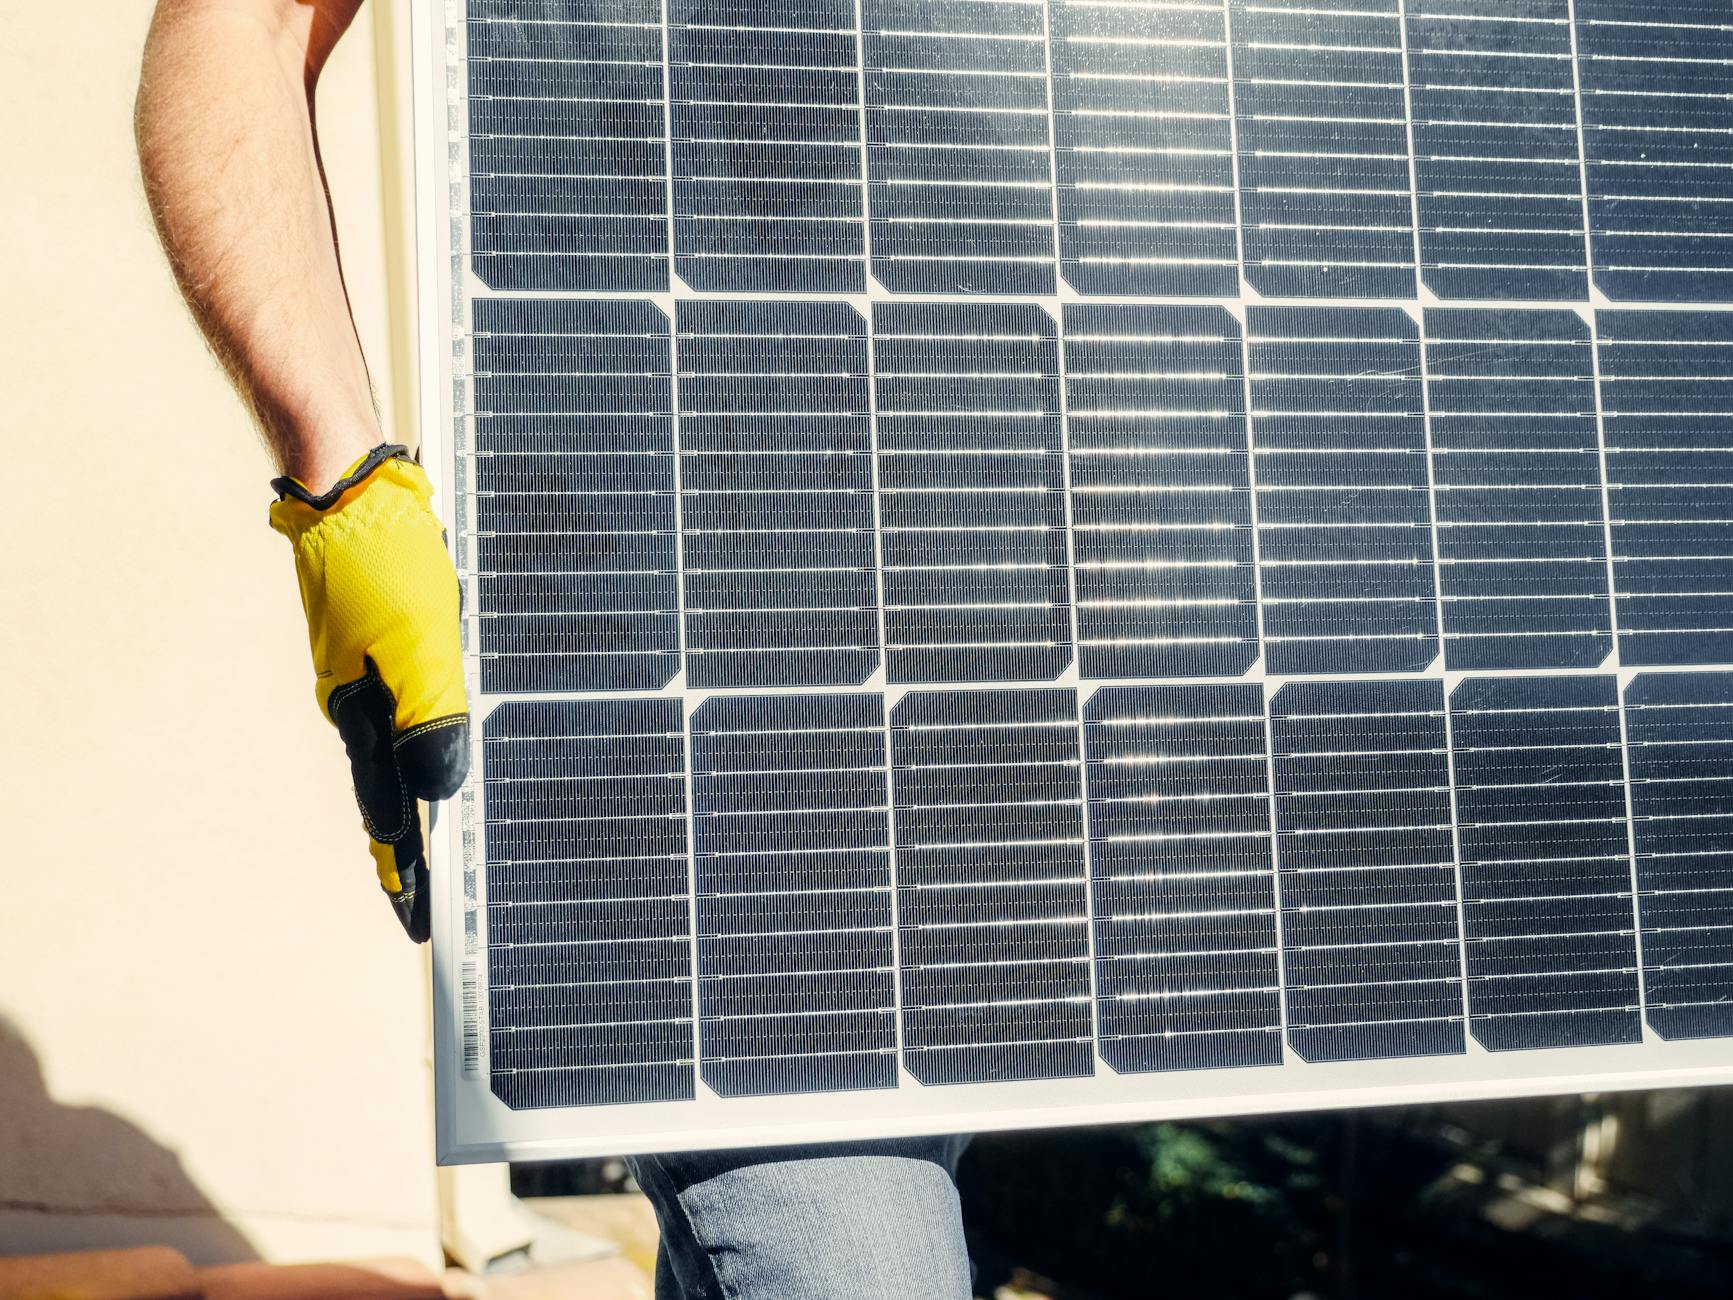
Select lightweight panels designed for mobile home roofs
Your mobile home’s roof can’t handle the weight of traditional solar panels, so you’ll need lightweight options specifically designed for manufactured homes. Look for thin-film panels or lightweight monocrystalline panels that weigh 2-3 pounds per square foot instead of the standard 4-5 pounds. These specialized panels maintain efficiency while reducing structural stress on your roof trusses and framework.
Pick appropriate inverters for your power needs
You need to match your inverter capacity to both your energy consumption and your mobile home’s electrical system. Calculate your daily power usage and choose a string inverter for smaller systems or microinverters for better performance with shading issues. Make sure your selected inverter is compatible with your mobile home’s electrical panel and can handle the voltage requirements of your solar panel configuration.
Choose mounting systems that won’t damage your roof
Traditional roof penetrations can create serious problems for mobile home roofs, so consider ballasted mounting systems or specialized clamps designed for metal roofing. These systems distribute weight evenly without drilling holes that could lead to leaks or structural damage. Ground-mounted systems are another excellent option if you have adequate yard space, eliminating roof concerns entirely while providing easier maintenance access.
Plan Your Solar System Layout and Design

Map out panel placement for maximum efficiency
Start by measuring your mobile home’s roof dimensions and identifying optimal panel placement areas. You’ll want to prioritize south-facing sections that receive 6-8 hours of direct sunlight daily. Avoid areas near vents, air conditioning units, or trees that cast shadows. Mark potential shading obstacles on your roof diagram and calculate the available square footage for your mobile home solar installation.
Design electrical pathways and safety shutoffs
Your mobile home solar system setup requires careful planning of electrical pathways from panels to your main electrical panel. Route DC wiring along roof edges to minimize exposure and plan conduit runs that protect cables from weather damage. Install rapid shutdown devices near each panel group as required by electrical codes. Position your inverter in a shaded, well-ventilated area close to your main breaker panel to reduce AC wire runs and voltage drop.
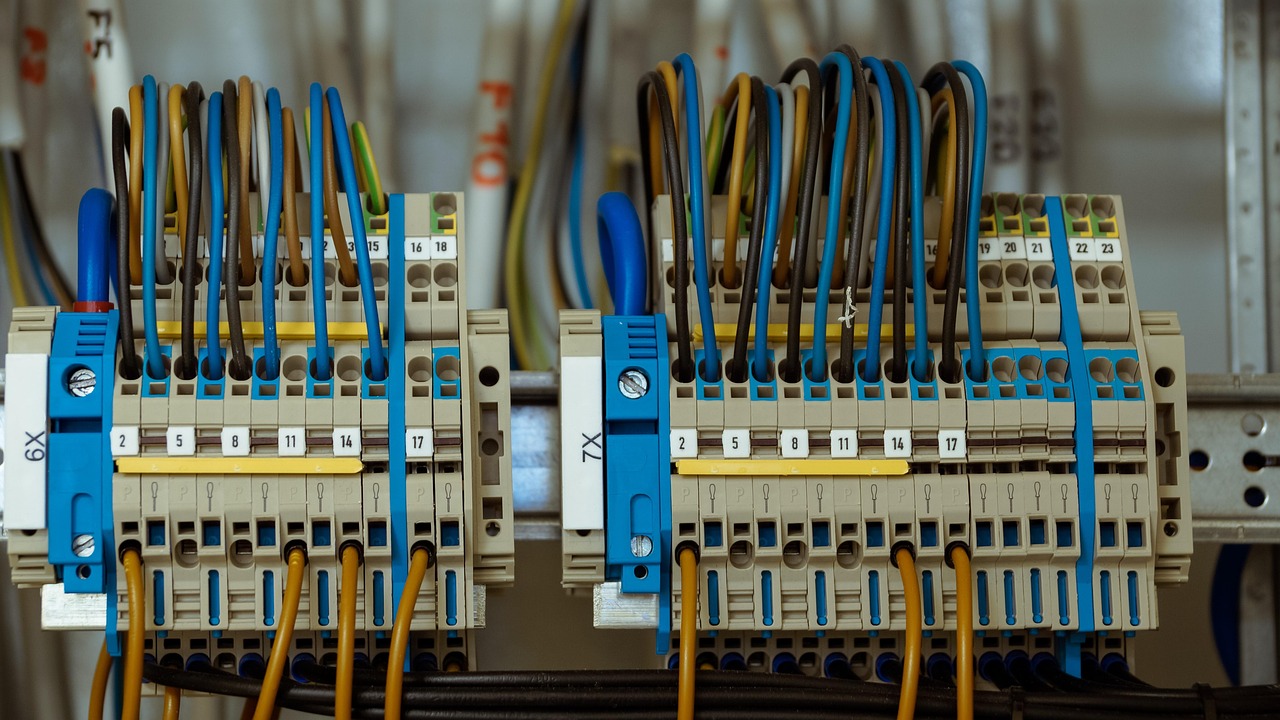
Calculate wire sizing and electrical requirements
Proper wire sizing prevents voltage drop and ensures safe operation of your DIY solar panels mobile homes project. Calculate the total amperage of your system and determine wire gauge based on the distance between components. Use 12 AWG wire for runs under 20 feet and 10 AWG for longer distances. Your grounding system needs 6 AWG bare copper wire connecting all panel frames, mounting hardware, and electrical equipment to meet safety standards.
Create a detailed installation timeline
Break your mobile home solar installation into manageable phases spread across several weekends. Start with mounting hardware installation, followed by panel placement and DC wiring connections. Schedule electrical work during daylight hours when you can safely work on the roof. Plan for weather delays and obtain necessary permits before beginning work. Most DIY solar installation guide projects take 2-4 weekends to complete, depending on system size and your experience level.
Prepare Your Mobile Home for Installation
Reinforce Roof Structure if Necessary
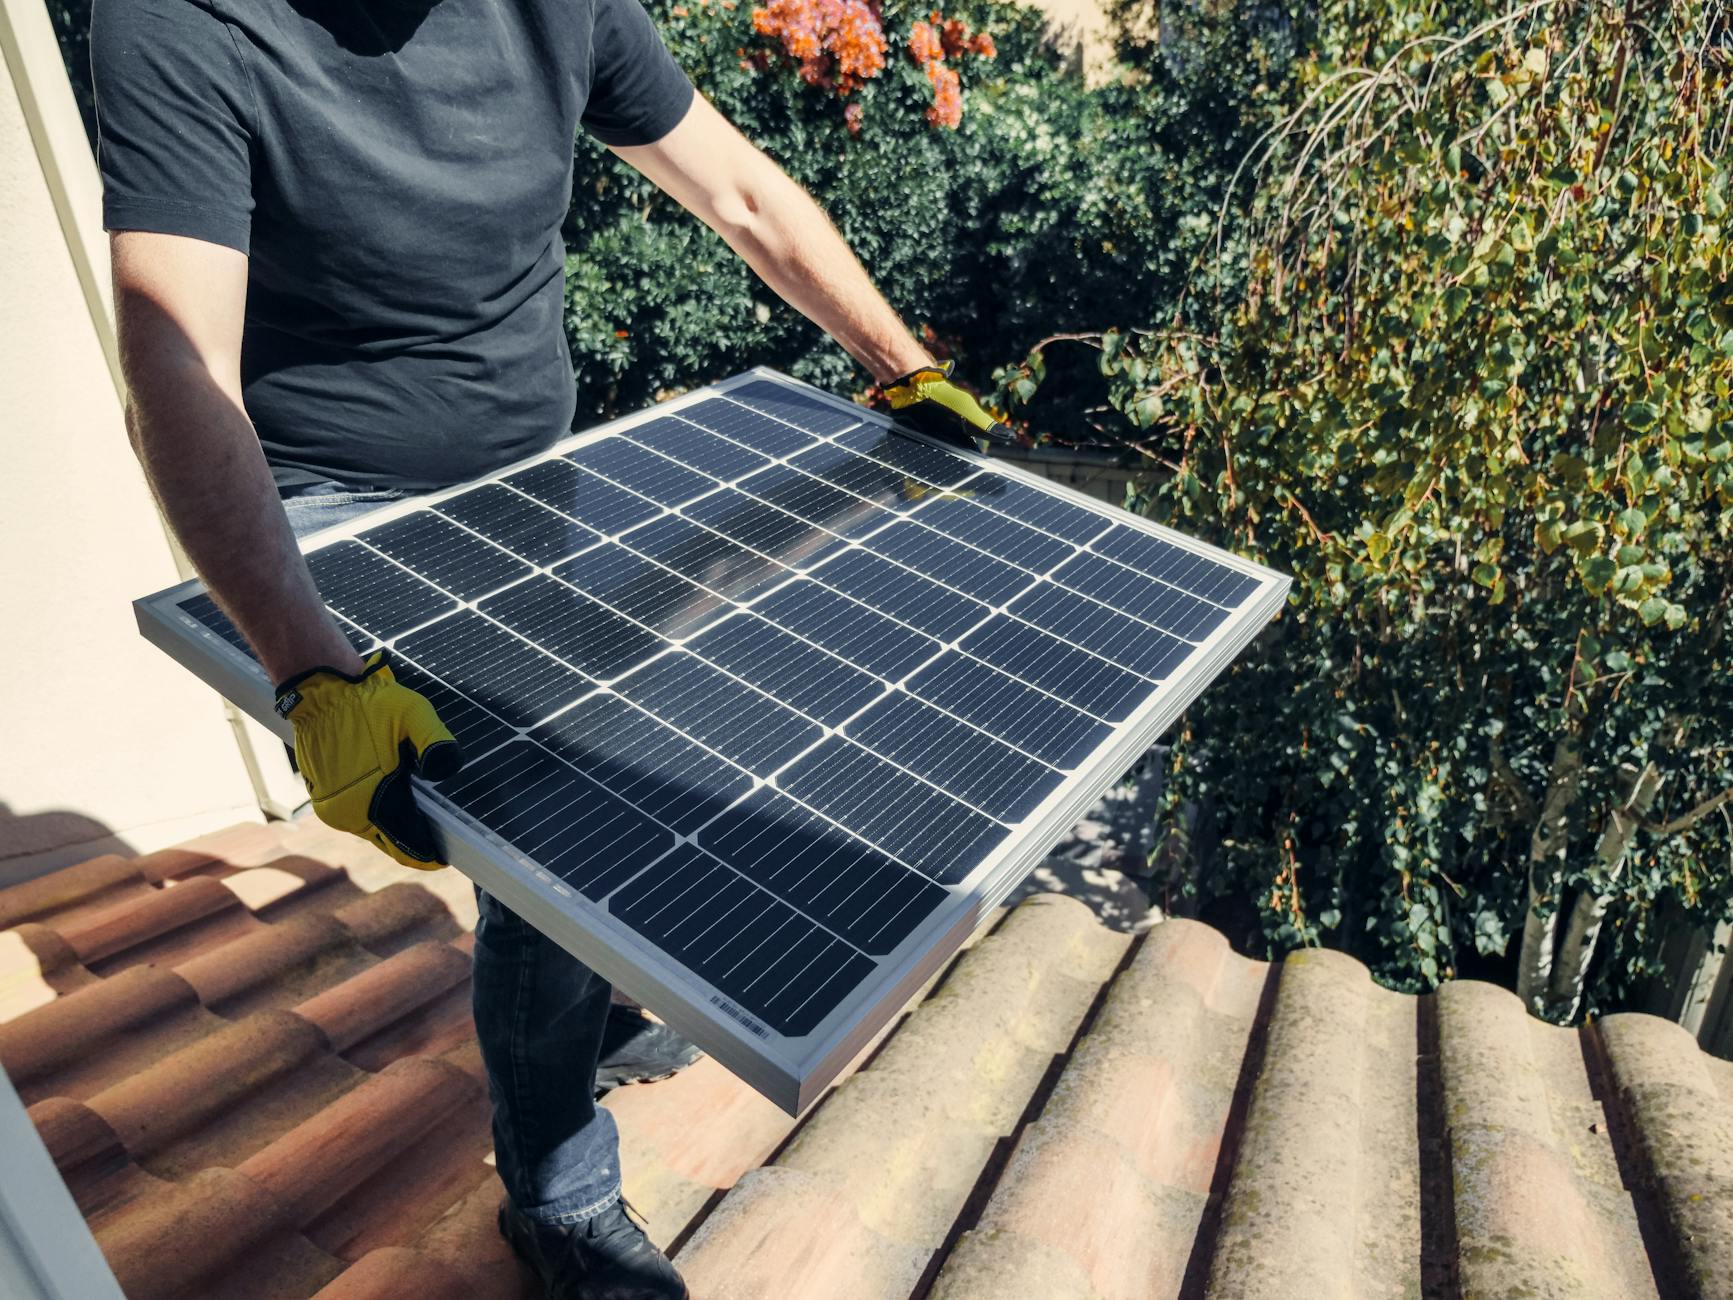
Before installing your DIY solar panels on your mobile home, check your roof’s load-bearing capacity. Most mobile home roofs can support 20-40 pounds per square foot, but solar panels add 2-4 pounds per square foot. Examine the roof trusses and decking for any sagging, soft spots, or water damage. If you find weak areas, add additional support beams or plywood reinforcement. Your mobile home solar installation depends on a solid foundation, so don’t skip this crucial step.
Install Proper Grounding Systems
Your mobile home solar system setup requires proper electrical grounding for safety and code compliance. Install a grounding electrode conductor that connects your solar array to your home’s existing grounding system. Run a bare copper wire from the solar panel frames to a grounding rod driven at least 8 feet into the earth. Make sure all metal components in your solar installation are bonded together with approved grounding lugs and conductors.
Set up Workspace and Gather Required Tools
Create a safe, organized workspace around your mobile home before starting installation. You’ll need basic tools like a drill, socket wrench set, wire strippers, multimeter, and safety equipment including harnesses and non-slip shoes. Lay out all your solar panels, mounting hardware, and electrical components in an easily accessible area. Keep your installation manual handy and double-check that you have all components from your mobile home solar kit before climbing onto the roof.
Ensure Electrical Panel Compatibility
Your mobile home’s electrical panel must accommodate the new solar system connection. Most mobile homes have 100-200 amp main panels, which work fine for DIY solar installations. Check if you have available breaker slots for the solar disconnect and production meter. If your panel is older or lacks space, you might need an electrical upgrade before proceeding. Verify that your panel accepts the type of breakers required for your solar inverter and monitoring system.
Obtain Necessary Permits and Inspections
Contact your local building department to get proper permits for your mobile home solar installation. Most areas require electrical and structural permits, plus inspections at key installation phases. Submit your system plans, equipment specifications, and site photos with your application. Some jurisdictions have expedited permitting for residential solar projects. Don’t start your DIY solar panel installation until you receive permit approval – working without permits can result in fines and insurance issues later.
Install Mounting Hardware and Panels Safely
Mark and drill mounting points precisely
Start by measuring and marking your mounting points using a chalk line for perfectly straight rows. Double-check measurements with a tape measure and level before drilling any holes. Use a drill bit specifically designed for metal roofing, and work slowly to prevent metal shavings from damaging your mobile home’s surface. Mark each penetration point clearly so you can seal them properly in the next step.
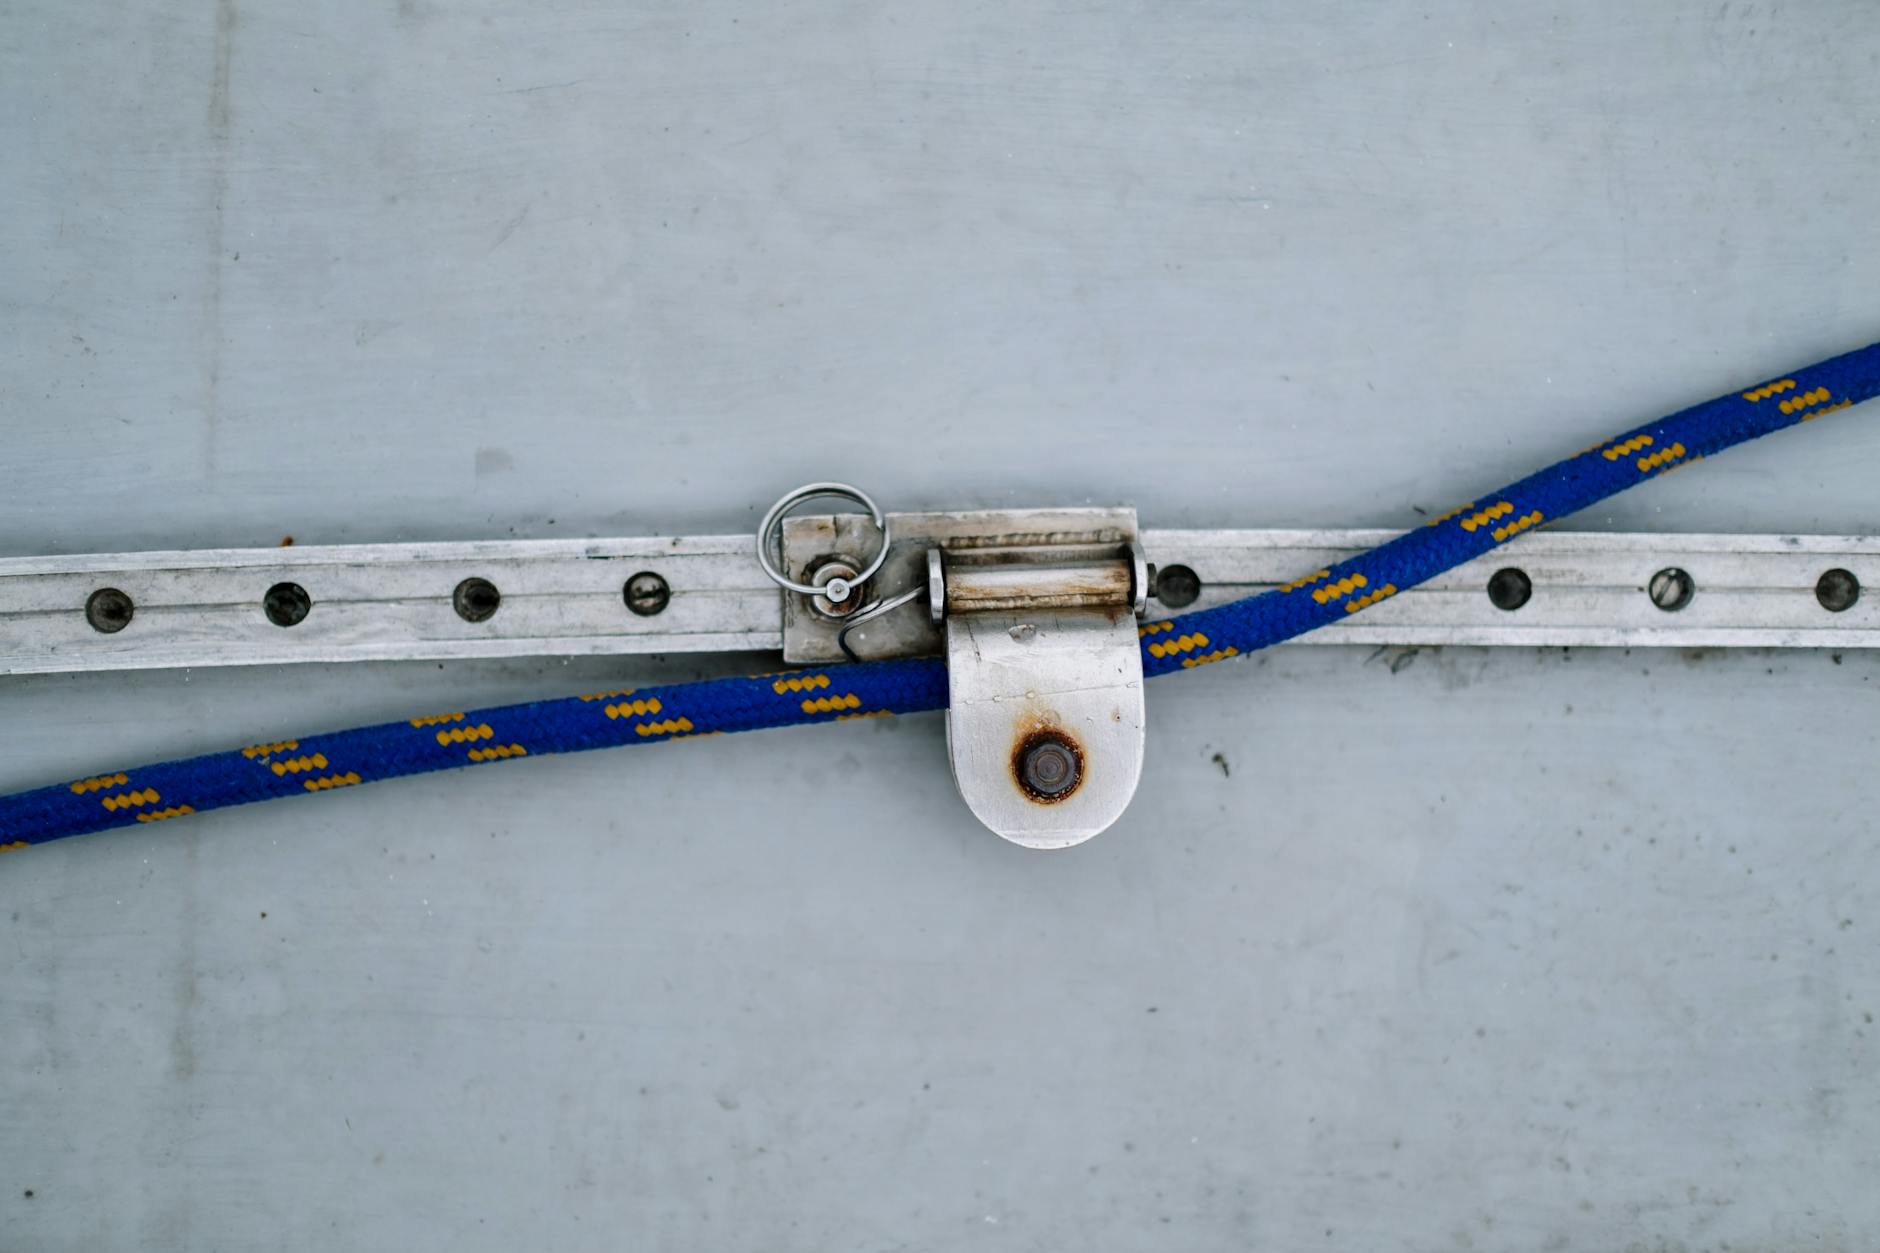
Seal all roof penetrations to prevent leaks
Apply high-quality roofing sealant around every drilled hole before installing lag bolts or screws. Use butyl tape or EPDM rubber gaskets under each mounting point for extra protection. Work the sealant into the threads of your fasteners to create a watertight barrier. Pay special attention to sealing since mobile home roofs are more vulnerable to water damage than traditional houses. Let sealant cure completely before proceeding.
Secure rails and mounting brackets properly
Install your mounting rails using stainless steel lag bolts that penetrate at least two inches into the roof structure. Space brackets according to your solar panel manufacturer’s specifications, typically every 4-6 feet along each rail. Use a torque wrench to tighten bolts to the recommended specification – over-tightening can crack your mobile home’s roof decking. Check that all rails are level and properly aligned before mounting your solar panels to ensure optimal performance.
Complete Electrical Connections and System Setup
Wire Panels in Series or Parallel Configuration
Connect your solar panels based on your mobile home’s electrical needs. Series wiring increases voltage while maintaining the same amperage – perfect for 24V or 48V systems. Parallel wiring keeps voltage constant but adds amperage, ideal for 12V setups. Use MC4 connectors to link panels securely, ensuring positive terminals connect to negative terminals in series, or matching terminals together in parallel configurations.
Connect Inverter and Monitoring Systems
Mount your inverter in a well-ventilated area inside your mobile home, away from direct sunlight and moisture. Connect the DC input cables from your solar array to the inverter’s positive and negative terminals. Install monitoring equipment to track your system’s performance – many modern inverters include built-in WiFi monitoring. Run AC output cables from the inverter to your electrical panel through appropriate conduit.
Install Electrical Meter and Safety Disconnects
Your mobile home solar installation requires proper safety disconnects at multiple points. Install a DC disconnect between your panels and charge controller, plus an AC disconnect between your inverter and main electrical panel. Mount these switches in easily accessible locations with clear labeling. Add a production meter to monitor energy generation, and ensure your utility company installs a net meter for grid-tied systems.
Test All Connections for Proper Voltage and Amperage
Use a digital multimeter to verify all connections before energizing your mobile home solar system. Check DC voltage at panel outputs, battery connections, and inverter inputs. Measure AC voltage at inverter outputs and verify proper grounding throughout. Test each circuit under load conditions and document readings. Check for any loose connections, damaged wiring, or incorrect polarity that could damage equipment or create safety hazards.
You now have the roadmap to transform your mobile home into a solar-powered haven while keeping thousands of dollars in your pocket. By carefully assessing your home’s solar potential, selecting the right equipment, and following proper installation procedures, you’re setting yourself up for decades of reduced energy bills. The key is taking your time with each step, especially when it comes to structural assessments and electrical connections.
Remember that safety should never be compromised for savings. If you feel uncertain about any electrical work or structural modifications, don’t hesitate to consult with professionals for those specific tasks while handling the rest yourself. Your mobile home’s unique characteristics actually make it an ideal candidate for solar power, and with the right approach, you’ll be generating clean energy and watching your utility bills shrink month after month.


