Sunroom Insulation Genius Hacks for Comfort in Every Season

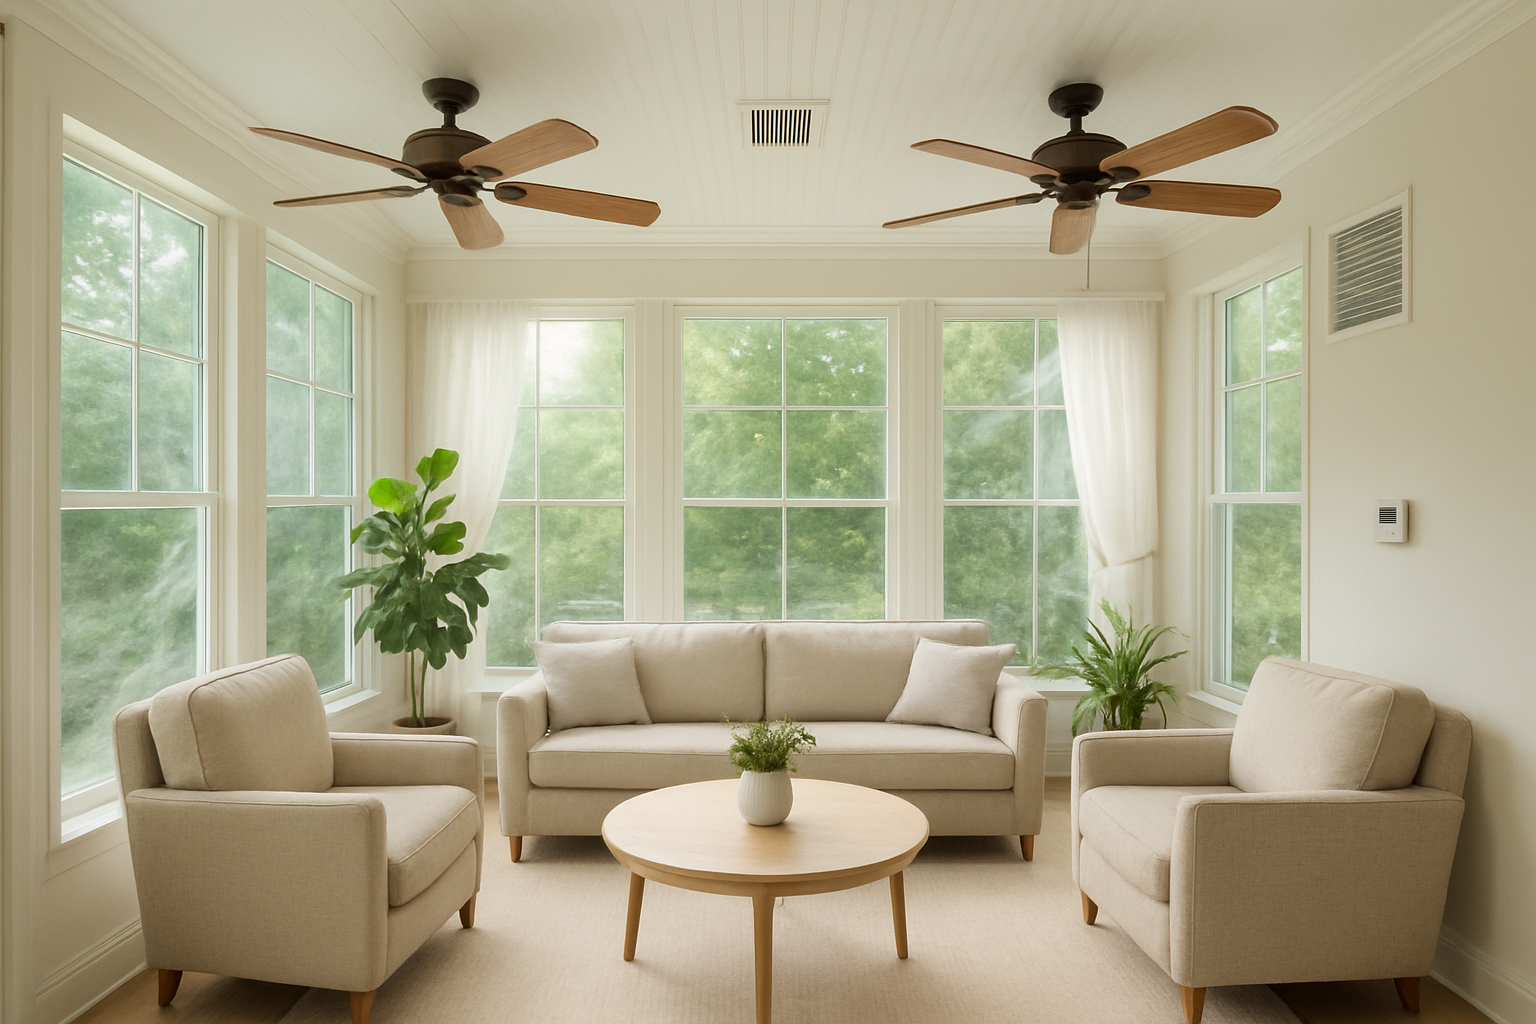
Your sunroom should be a cozy retreat year-round, not a space that’s too hot in summer and freezing in winter. If you’re a homeowner struggling with extreme temperature swings in your glass-enclosed space, you’re not alone – and you don’t have to settle for seasonal discomfort.
These sunroom insulation genius hacks will transform your space into a comfortable haven regardless of the weather outside. You’ll discover smart solutions for your biggest insulation challenges, from managing heat loss through expansive windows to preventing cold floors that make winter visits unbearable.
We’ll walk you through targeted window and glass insulation techniques that won’t block your beautiful views, plus clever floor insulation methods that deliver maximum warmth without major renovations.
You’ll also learn strategic approaches to ceiling and wall insulation that work specifically for sunroom structures, along with ventilation management tricks to maintain the perfect climate balance all year long.


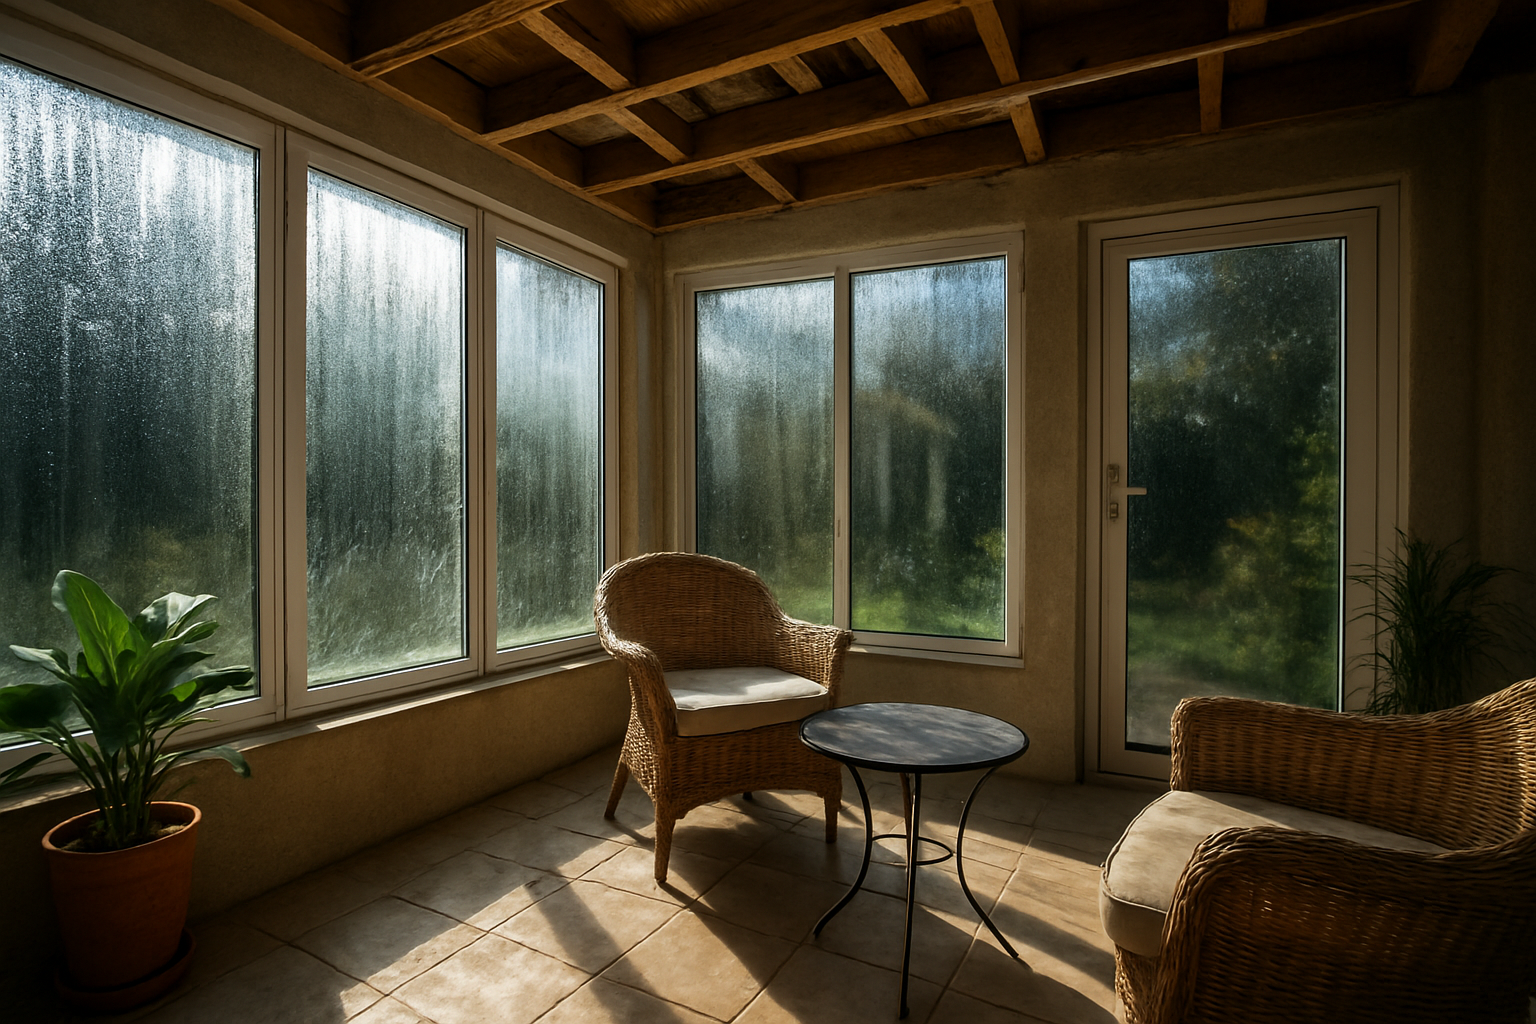
Understanding Your Sunroom’s Unique Insulation Challenges
Why standard home insulation fails in sunrooms
Your sunroom faces challenges that regular rooms don’t encounter. Standard insulation works great when tucked behind walls, but sunrooms have massive glass surfaces that create thermal bridges. These glass panels conduct heat and cold directly, bypassing traditional insulation entirely. The abundance of windows means you’re dealing with single or double-pane glass instead of insulated walls, making temperature control nearly impossible with conventional methods.
Temperature fluctuations that affect year-round comfort
You’ll experience wild temperature swings in your sunroom throughout the day and seasons. Morning sun can heat the space to uncomfortable levels, while nighttime temperatures plummet quickly through all that glass. Summer brings scorching heat that makes the room unusable, while winter turns it into an icebox. These fluctuations happen faster than your HVAC system can compensate, leaving you with a space that’s either too hot or too cold.
Moisture and humidity control essentials
Your sunroom becomes a humidity magnet due to temperature differences between inside and outside surfaces. Condensation forms on windows when warm, moist air hits cold glass, creating water damage and mold risks. You need to manage both the moisture sources and air circulation to prevent these problems. Without proper vapor barriers and ventilation, your sunroom becomes a breeding ground for humidity issues that spread to adjacent rooms.
Smart Window and Glass Insulation Solutions
Multi-layer window film applications for energy efficiency
You’ll dramatically improve your sunroom’s thermal performance by applying multiple layers of window film. Start with a low-E film closest to the glass, followed by a solar control layer. This combo reflects heat in summer while retaining warmth during winter months.
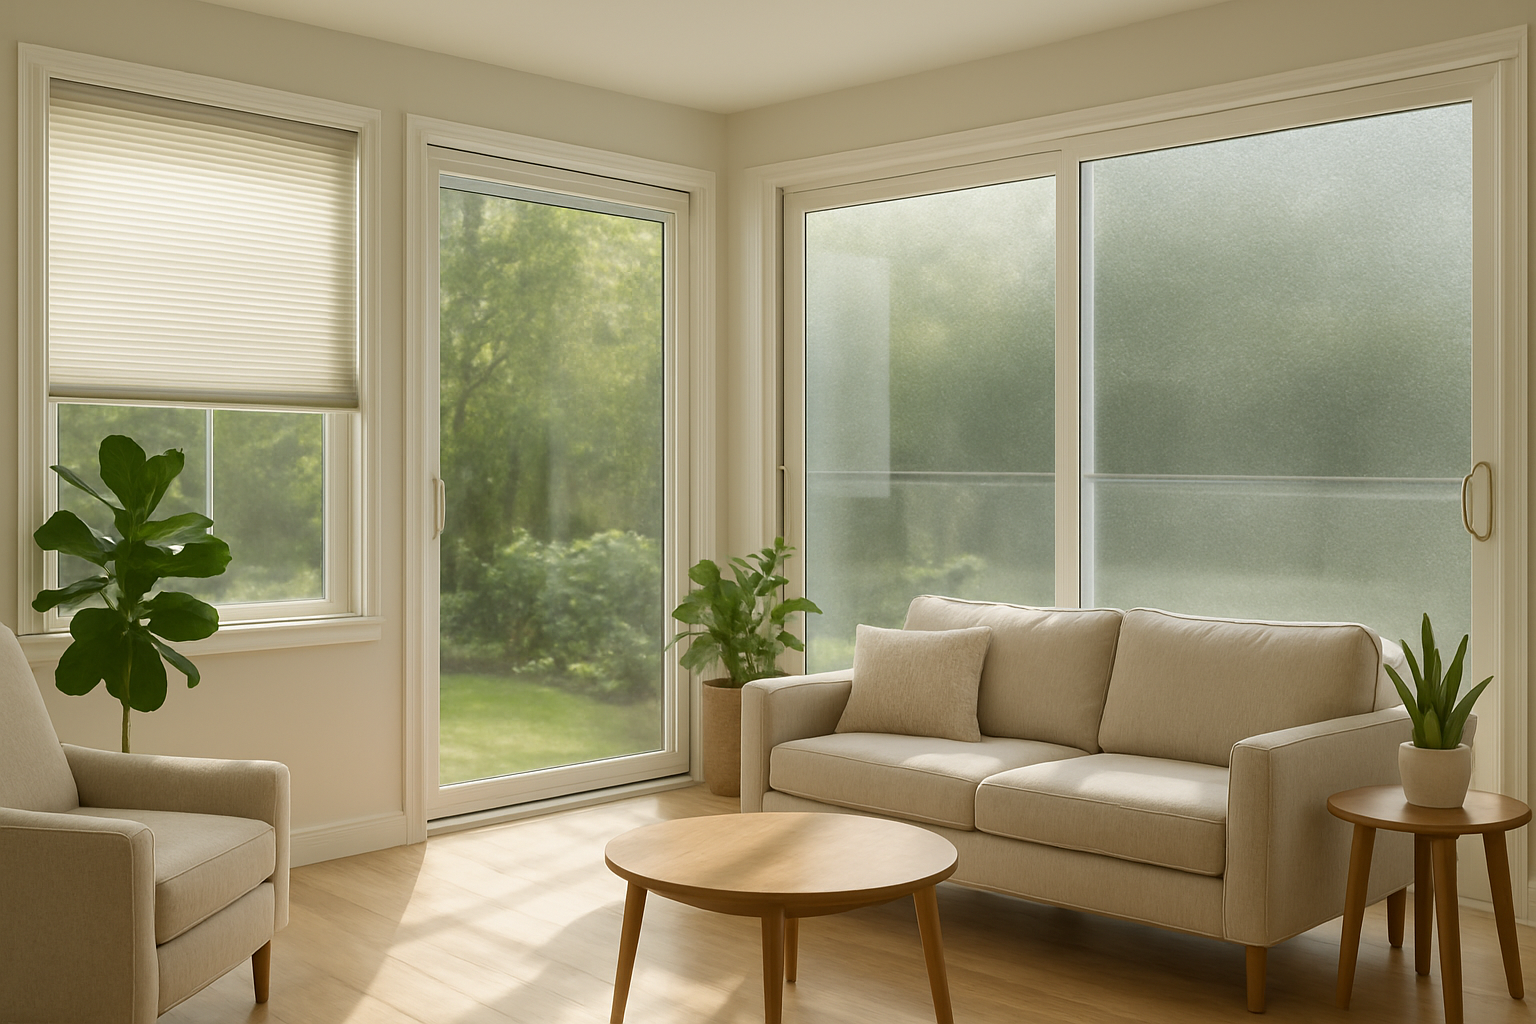
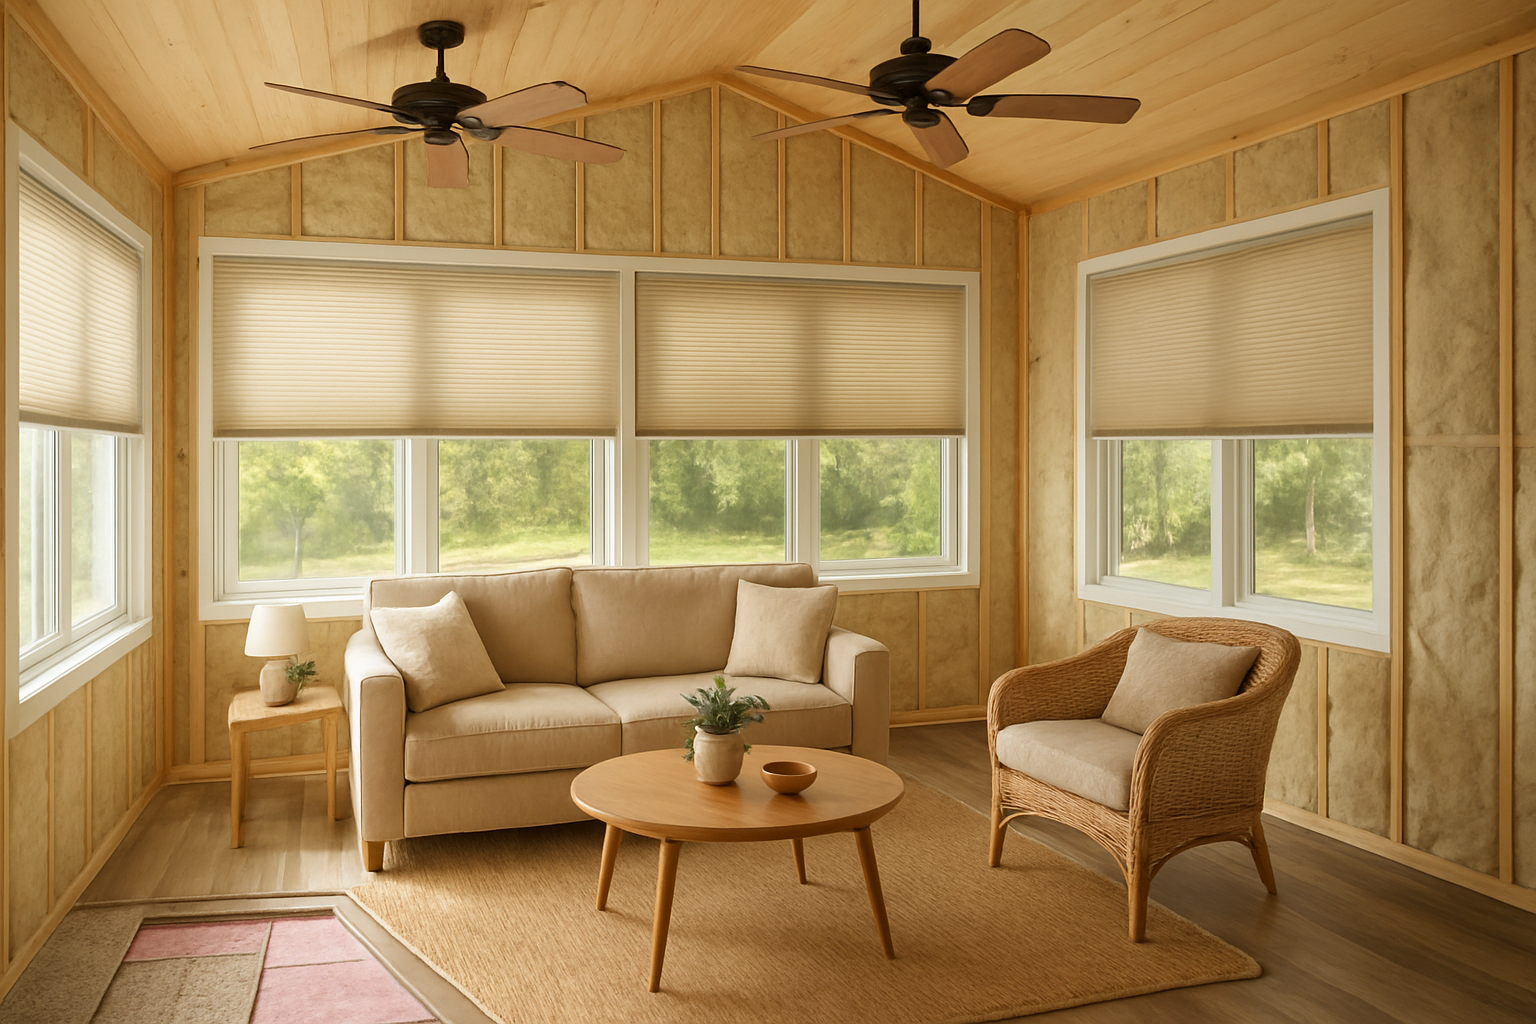
Cellular shades that trap air for maximum insulation
Your cellular shades create pockets of trapped air that act like natural insulation barriers. Choose double or triple-cell designs for maximum thermal protection. Mount them close to the glass surface to minimize air gaps and boost their insulating power significantly.
Strategic weatherstripping placement around glass panels
You need to seal every gap around your glass panels with high-quality weatherstripping. Focus on the areas where glass meets the frame, paying special attention to corners and joints. Replace worn strips annually to maintain peak performance and prevent energy loss through air leaks.
Thermal curtains that enhance seasonal comfort
Your thermal curtains should extend beyond the window frame by several inches on all sides to create an effective thermal barrier. Look for curtains with multiple layers – a reflective backing, insulating core, and decorative front. Close them during extreme temperatures to create a buffer zone between your living space and the glass.
Floor Insulation Hacks for Maximum Warmth
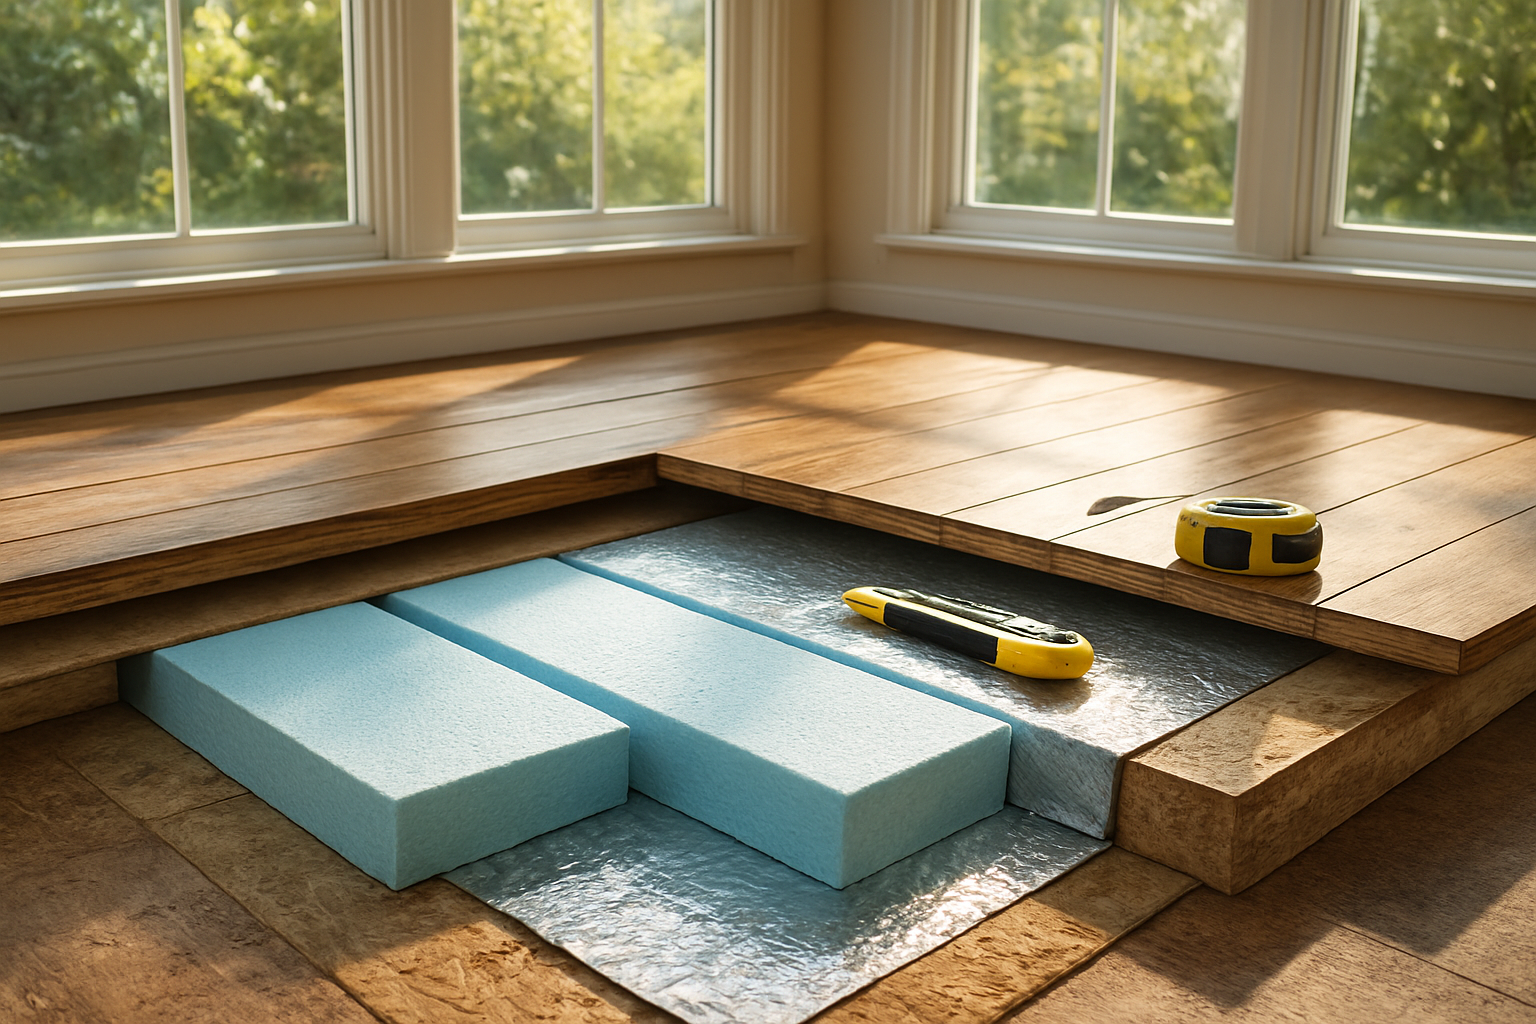
Radiant Heating Mats for Cold Season Comfort
Installing radiant heating mats under your sunroom flooring transforms frigid mornings into comfortable spaces you’ll actually want to use. These electric mats slip beneath tile, laminate, or hardwood floors, delivering consistent warmth from the ground up. You can control them with programmable thermostats, heating only when needed to save energy costs. The installation works best during renovations, though some thin mats fit under floating floors without major construction.
Insulated Area Rugs That Provide Thermal Barriers
Strategic rug placement creates thermal barriers that trap warm air near your feet while blocking cold drafts from concrete or tile floors. Look for rugs with dense backing materials like rubber or felt that add insulation value beyond just comfort. Layer multiple rugs in seating areas where you spend the most time, and choose darker colors that absorb solar heat during sunny winter days. Thick pile rugs work better than flat weaves for maximum insulation benefits.
Draft Stoppers for Gaps Under Doors and Windows
Weather stripping and door sweeps block cold air infiltration that makes your sunroom feel drafty despite other heating efforts. Check for gaps under doors leading to your home’s interior and exterior spaces – even small openings let significant heat escape. Adjustable door sweeps work well for uneven thresholds, while adhesive foam strips seal window gaps that develop over time. You can also use decorative draft snakes filled with rice or sand for temporary solutions that match your decor.
Ceiling and Wall Insulation Strategies
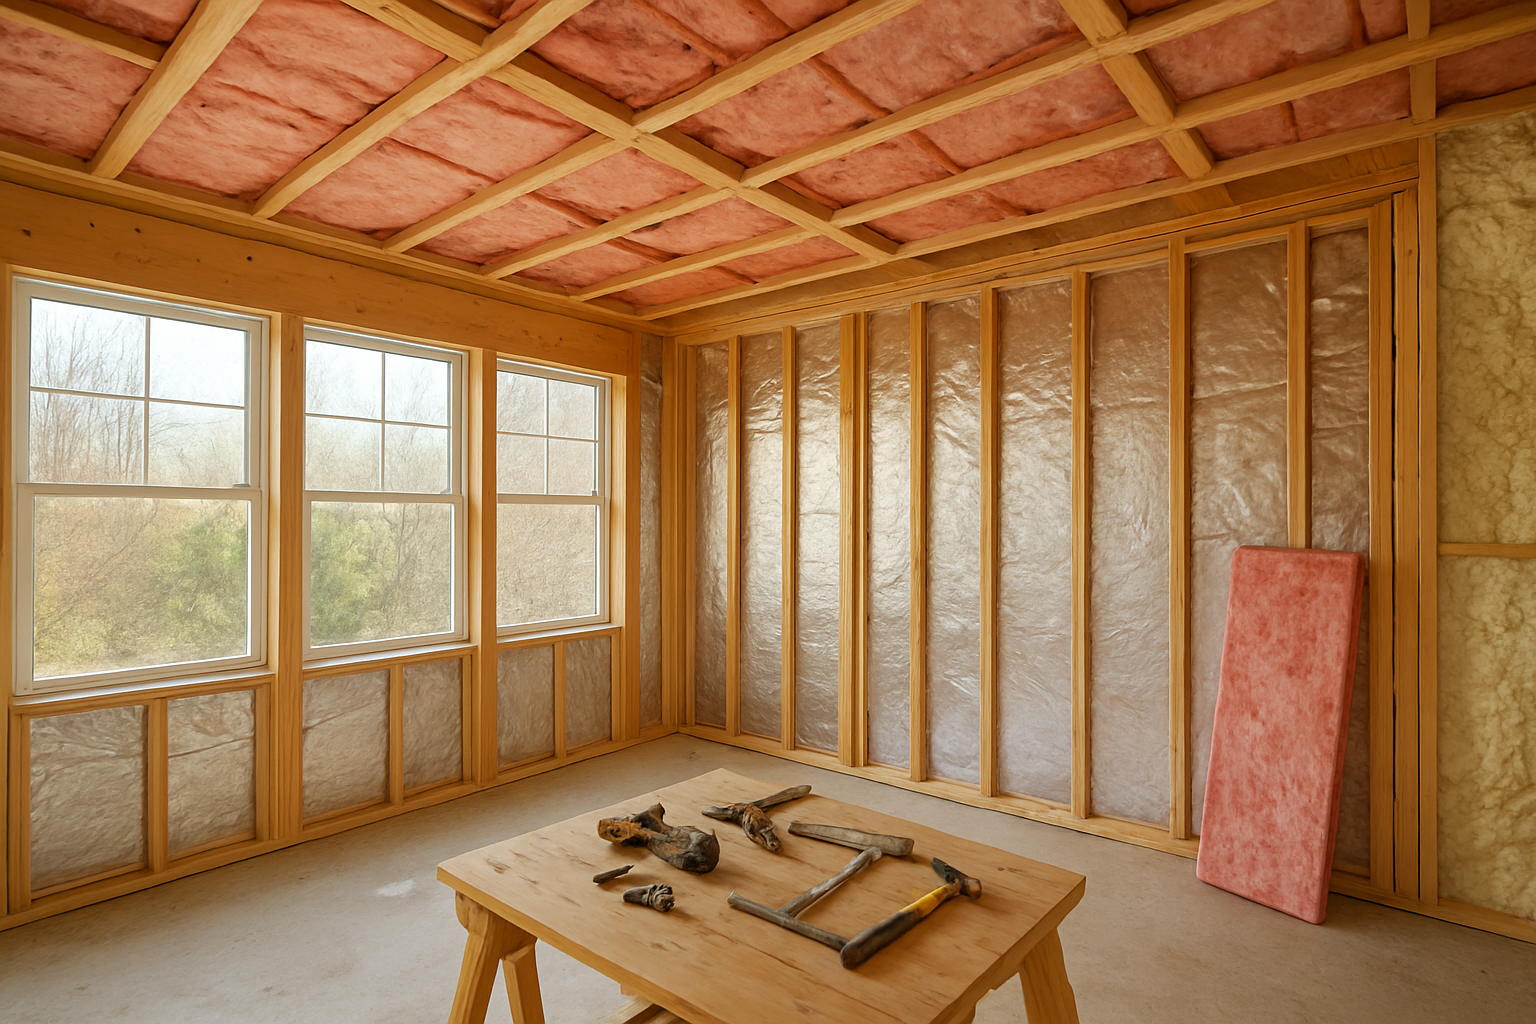
Reflective Insulation Panels for Heat Regulation
Your sunroom faces unique thermal challenges that reflective insulation panels can effectively address. Install these foil-backed panels on interior walls and ceiling surfaces to redirect radiant heat back outside during summer months while retaining warmth during winter. Position panels with the reflective side facing the heat source – outward in summer, inward in winter. You can attach them directly to existing walls using construction adhesive or create a simple frame system. The metallic surface reflects up to 97% of radiant heat, making your sunroom comfortable year-round without expensive HVAC modifications.
Foam Board Installation Without Major Renovations
Transform your sunroom’s thermal performance using rigid foam boards that require minimal construction disruption. Cut polyiso or XPS foam boards to fit between wall studs and ceiling joists, securing them with foam-compatible adhesive or mechanical fasteners. You’ll create an effective thermal barrier without removing existing finishes. Focus on exterior-facing walls where temperature transfer occurs most significantly. Seal gaps between boards using spray foam or caulk to prevent air infiltration. This approach delivers R-values between 5-8 per inch while maintaining your sunroom’s finished appearance and avoiding major renovation costs.
Air Gap Creation Techniques for Improved Thermal Performance
Creating strategic air gaps between insulation layers dramatically improves your sunroom’s thermal efficiency. Install furring strips on walls before adding insulation, creating a ¾-inch gap that acts as an additional thermal barrier. You can also sandwich reflective bubble wrap insulation between two air spaces for maximum effectiveness. Position ventilation channels at top and bottom of these gaps to prevent moisture buildup while maintaining thermal performance. This technique works especially well behind glass walls where condensation concerns exist. The trapped air acts as insulation while the gaps prevent thermal bridging through structural elements.
Spray Foam Solutions for Hard-to-Reach Areas
Your sunroom likely has numerous gaps, cracks, and irregular spaces where traditional insulation fails. Two-component spray foam expands to fill these problem areas completely, creating an airtight seal around window frames, junction points, and structural connections. Apply expanding foam to spaces behind electrical outlets, around plumbing penetrations, and along foundation connections where air leaks commonly occur. You’ll need closed-cell foam for exterior applications and open-cell for interior moisture management. Work systematically from top to bottom, allowing proper cure time between applications to achieve optimal coverage and performance.
Ventilation Management for Optimal Climate Control
Exhaust Fan Positioning for Hot Weather Relief
Position your exhaust fans at the highest points of your sunroom to capture rising hot air effectively. Install fans near south-facing windows where heat buildup is most intense, and use variable speed controls to adjust airflow based on temperature fluctuations throughout the day.
Cross-Ventilation Strategies Using Existing Windows
Open windows on opposite sides of your sunroom to create natural airflow patterns that cool the space without electricity. Place intake windows on the cooler, shaded side and exhaust openings on the warmer side to maximize air movement and temperature regulation.
Automatic Vent Systems for Hands-Free Temperature Regulation
Install temperature-controlled vents that open and close automatically based on your desired comfort settings. These smart systems monitor indoor conditions and adjust ventilation without your intervention, maintaining consistent temperatures while reducing energy costs and preventing overheating during peak sunlight hours.
You’ve learned that turning your sunroom into a year-round comfortable space doesn’t have to break the bank or require a complete renovation. From tackling those tricky window gaps with weatherstripping and thermal curtains to insulating your floors with area rugs and foam boards, small changes can make a huge difference in your comfort level. The key is addressing each area of your sunroom systematically – windows, floors, walls, ceiling, and ventilation – to create a balanced environment that works with the seasons rather than against them.
Start with the most cost-effective solutions like sealing air leaks and adding window treatments, then gradually work your way up to bigger projects like ceiling insulation or installing ventilation fans. Your sunroom should be a space you actually want to spend time in, not one you avoid because it’s too hot in summer or freezing in winter. Pick one or two of these hacks that match your budget and comfort level, and you’ll be surprised at how much more enjoyable your sunroom becomes throughout the year.


