6 Cheap And Effective Ways To Insulate Mobile Home Skirting Before The Freeze

My heating bill hit $310 in January last year. My floors were so cold I wore two pairs of socks inside constantly. I crawled under my mobile home to investigate and found gaps everywhere – wind was blowing straight through my vinyl skirting like it wasn’t even there.
I insulated the skirting last fall for $180 in foam board and materials from Home Depot. This past January, same outside temperatures, my heating bill was $167. My floors stay comfortable now and my furnace runs half as often. The insulation paid for itself in saved heating costs within two months.
The biggest surprise was how easy installation actually was. I expected it to be miserable crawling around under there, but the whole project took one Saturday with basic tools. Cutting foam board to fit between posts and sealing gaps made an immediate difference I could feel that same evening.
Here’s exactly how to insulate mobile home skirting without professional help or massive expenses. You’ll learn which insulation materials work best for exposed underbellies, how to install foam board that survives wind and weather, where heat escapes that most people miss, and simple wind barrier techniques using hardware store materials.


Understanding Mobile Home Skirting Insulation Basics

Why Mobile Home Skirting Needs Insulation Before Winter
Your mobile home sits elevated above the ground, creating an open crawl space underneath that acts like a giant wind tunnel during cold weather. Without proper mobile home skirting insulation, this exposed area becomes a major source of heat loss that drives up your energy bills and makes your floors uncomfortably cold. The thin flooring and minimal built-in insulation in most mobile homes can’t compete with freezing air circulating freely beneath your living space.
Common Heat Loss Problems in Uninsulated Skirting
You’ll notice several telltale signs when your mobile home underpinning insulation is inadequate. Cold floors are the most obvious problem, especially in bathrooms and bedrooms where you walk barefoot. Your heating system works overtime trying to maintain comfortable temperatures, leading to skyrocketing utility bills during winter months. Frozen pipes become a real threat when temperatures drop, potentially causing expensive water damage. You might also experience drafts near floor vents and exterior walls, creating uncomfortable cold spots throughout your home.
Cost Benefits of DIY Skirting Insulation
Installing cheap mobile home insulation yourself can cut your heating costs by 15-30% each winter, paying for itself within the first season. Professional installation typically costs $1,500-$3,000, while DIY mobile home skirting insulation projects using affordable materials like foam board or reflective barriers cost just $200-$500. You’ll save hundreds of dollars annually on energy bills while increasing your home’s comfort level and protecting your plumbing from freeze damage. The materials are readily available at home improvement stores, and most mobile home insulation methods require only basic tools and weekend effort.
Foam Board Insulation Installation Method
Selecting the Right Thickness and R-Value
Choose foam board insulation with an R-value between R-5 to R-10 for mobile home skirting insulation. Thicker boards provide better thermal resistance, but 1-2 inch boards work well for most climates while remaining budget-friendly.
Measuring and Cutting Foam Boards to Size
Measure each section between your mobile home’s support posts carefully. Cut your foam boards using a sharp utility knife, making multiple passes for clean edges. Leave a small gap at the top for ventilation to prevent moisture buildup under your home.
Securing Panels with Construction Adhesive
Apply construction adhesive in a zigzag pattern across the back of each foam panel. Press firmly against the mobile home underpinning or support structure. Hold each panel in place for 30 seconds to ensure proper bonding before moving to the next section.
Sealing Gaps with Expanding Foam
Fill any gaps between foam boards and around edges with expanding foam sealant. This cheap mobile home insulation step prevents air leaks that reduce your insulation’s effectiveness. Trim excess foam once cured for a professional appearance and maximum energy efficiency.
Reflective Insulation Barrier Technique
Installing Radiant Barriers on Interior Skirting Walls
Start by measuring your mobile home’s interior skirting walls and cutting reflective insulation material to fit each section. Staple the radiant barriers directly to the interior walls, ensuring the reflective side faces outward toward the crawl space. Create a continuous barrier by overlapping seams by at least two inches and sealing with reflective tape. This reflective insulation mobile home technique works by bouncing radiant heat back into your living space rather than letting it escape through the floor.
Using Double-Sided Reflective Material for Maximum Efficiency
Double-sided reflective barriers offer superior performance for mobile home skirting insulation by reflecting heat from both directions. Position these materials with at least a one-inch air gap between the reflective surface and adjacent materials to maximize effectiveness. The dual reflective surfaces create two thermal breaks, significantly improving your insulation’s R-value. When installing, avoid compressing the material against surfaces, as direct contact reduces the radiant barrier’s ability to reflect heat energy back into your home.
Proper Ventilation Considerations with Reflective Barriers
Your mobile home underpinning insulation needs adequate airflow to prevent moisture buildup behind reflective barriers. Install soffit vents every six to eight feet along your skirting perimeter to maintain proper air circulation. Leave gaps at the top and bottom of your reflective insulation installation to allow moisture to escape naturally. Check local building codes for specific ventilation requirements, as trapped moisture can lead to mold growth and structural damage. Balance your insulation efforts with proper ventilation to protect your investment long-term.
Fiberglass Batt Insulation Between Joists
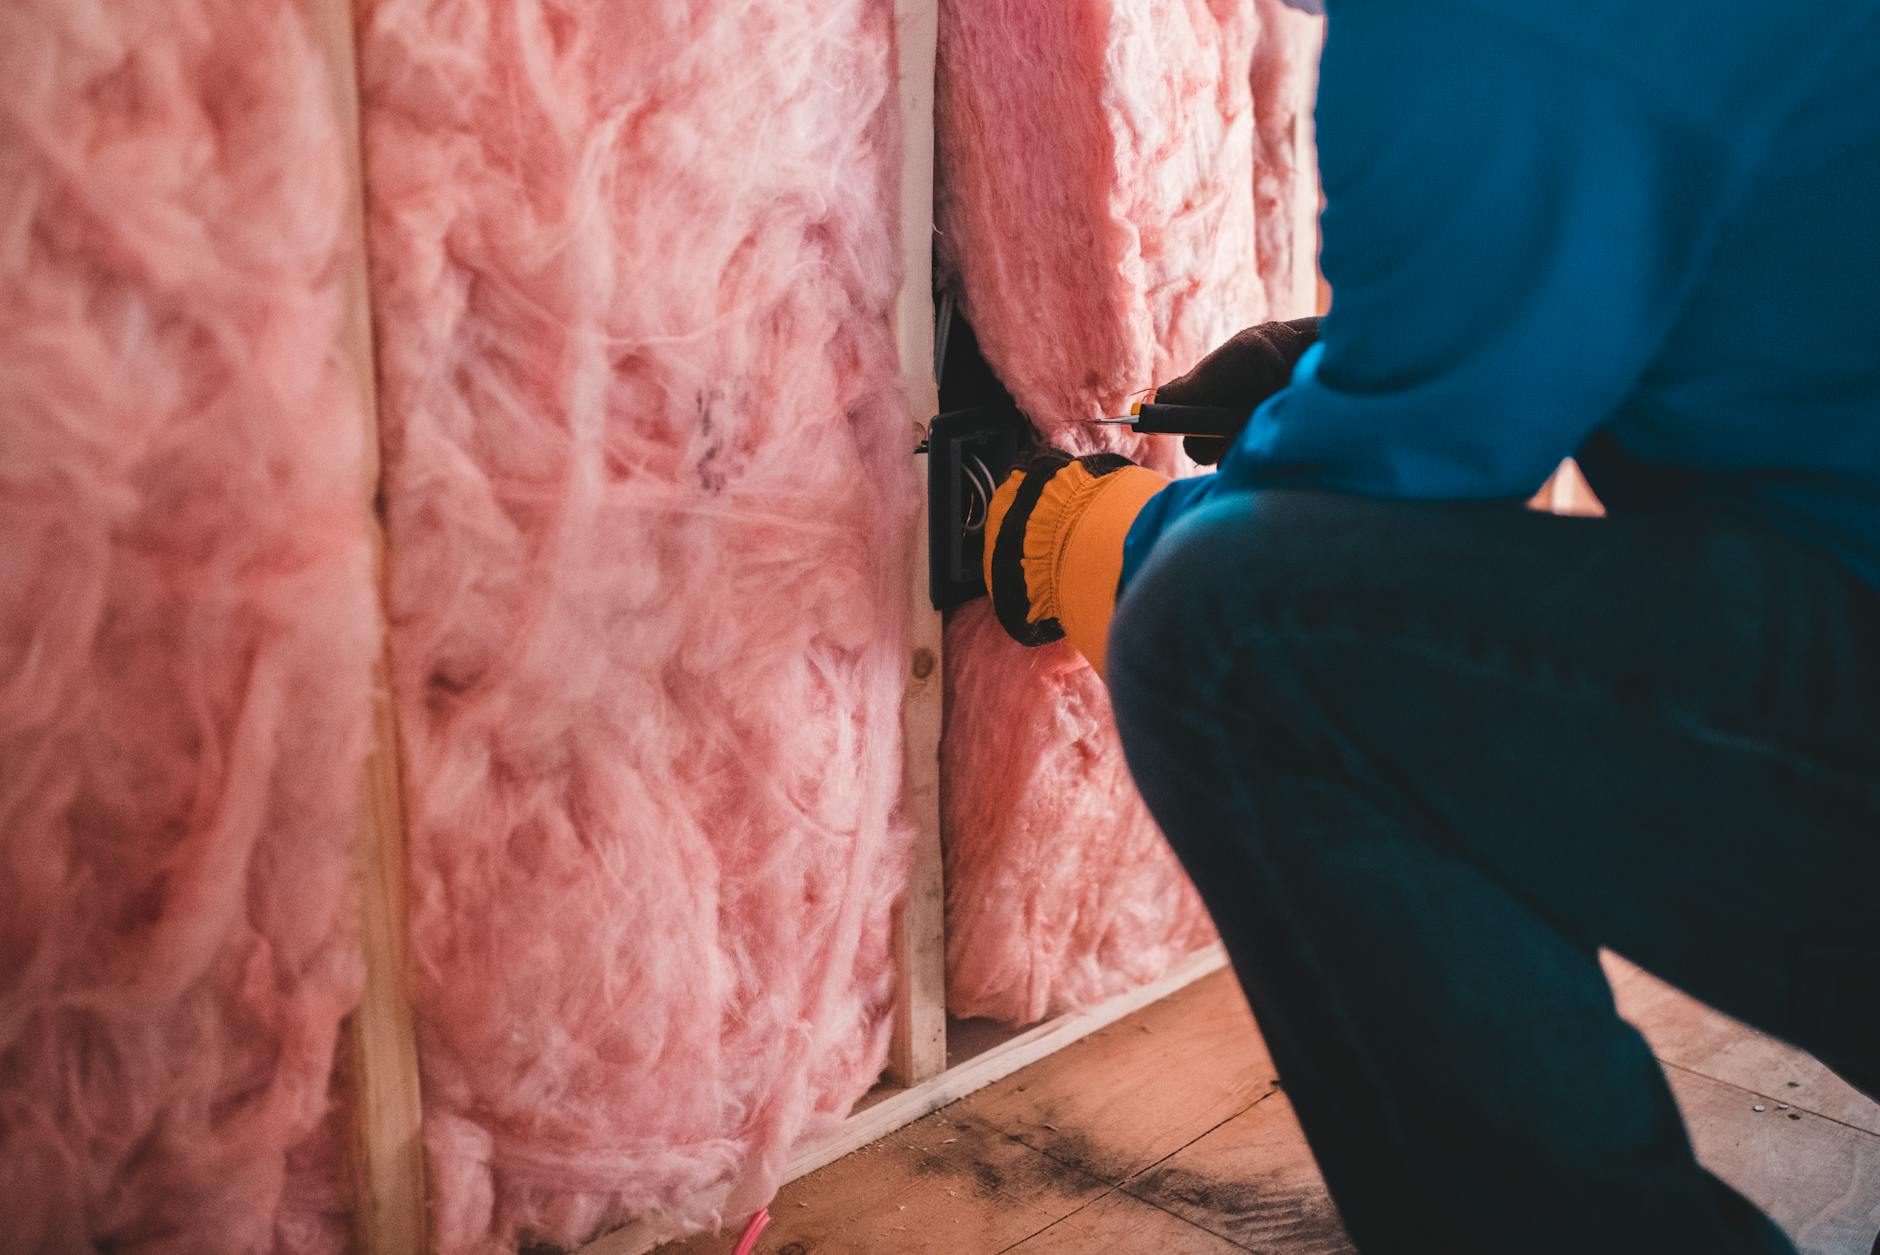
Choosing Unfaced Fiberglass for Moisture Control
When selecting fiberglass batt insulation for your mobile home skirting, always opt for unfaced batts to prevent moisture problems. Faced insulation traps condensation between layers, leading to mold and rot that can damage your floor joists and create unhealthy air quality inside your home.
Fitting Batts Snugly Between Floor Joists
Cut your fiberglass batts slightly wider than the space between joists to ensure a tight fit without compression. You want the insulation to fill the cavity completely while maintaining its loft – compressed fiberglass loses its insulating power. Work from one end to the other, gently pushing batts into place between each joist bay.
Installing Vapor Barriers to Prevent Condensation
After installing your fiberglass batts, attach a plastic vapor barrier to the bottom of your floor joists using a staple gun. This cheap mobile home insulation upgrade creates a moisture seal that prevents warm indoor air from reaching cold surfaces where condensation forms. Overlap seams by at least two inches and seal with tape for maximum protection.
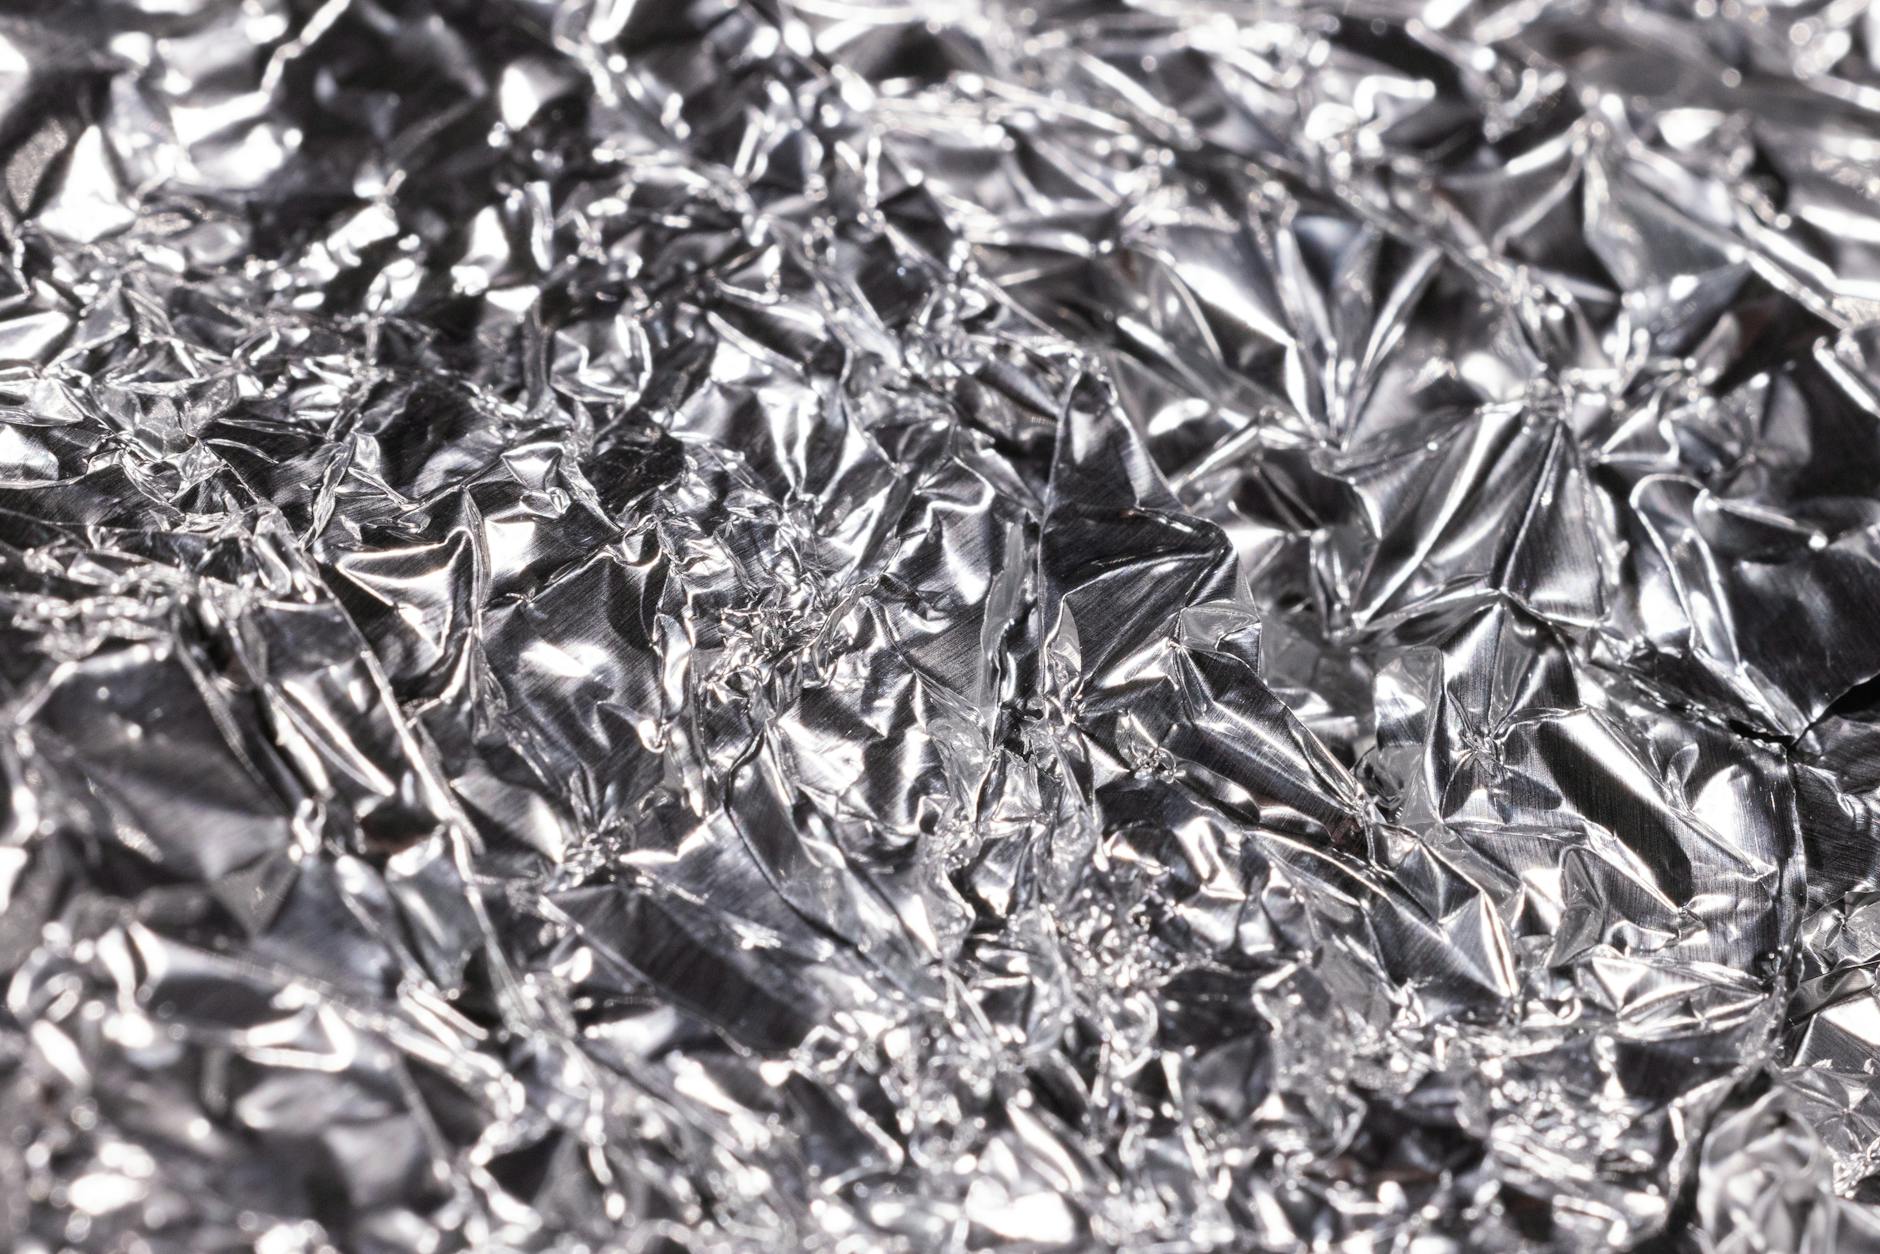
Spray Foam Insulation for Hard-to-Reach Areas

Using Canned Foam for Small Gaps and Cracks
Grab a few cans of expanding foam from your local hardware store – they’re perfect for sealing those pesky gaps around your mobile home skirting. Focus on spots where cold air sneaks in, like where the skirting meets the foundation or around access panels. The foam expands to fill irregular spaces that other mobile home skirting insulation materials can’t reach.
Professional vs DIY Spray Foam Application
You can handle small jobs with canned foam yourself, saving money on your mobile home winter prep project. Professional spray foam costs more but covers large areas faster and provides better long-term results. For most DIY mobile home skirting insulation projects, stick with the canned version for targeted sealing rather than full coverage.
Targeting Air Leaks Around Pipes and Utilities
Your biggest heat loss happens where pipes and electrical lines enter your mobile home’s underpinning. Look for gaps around water lines, sewer connections, and electrical conduits. These spots need immediate attention during your mobile home insulation methods checklist. Apply foam carefully around utilities, leaving room for thermal expansion while creating an effective air seal.
Safety Precautions When Using Spray Foam Products
Wear gloves, safety glasses, and work in well-ventilated areas when applying foam insulation. The chemicals can irritate your skin and breathing passages. Keep foam away from heat sources and electrical connections. Read label instructions carefully since some foams continue expanding for hours after application, potentially damaging pipes or wiring if overapplied.
Creating Wind Barriers with Affordable Materials

Installing Plastic Sheeting as Temporary Wind Protection
You can quickly block cold air infiltration by securing heavy-duty plastic sheeting around your mobile home’s perimeter. Choose 6-mil plastic for durability and attach it using staples or furring strips along the bottom edge of your skirting. This affordable mobile home insulation method works best as a short-term solution while you plan permanent improvements.
Using Plywood or OSB Boards for Permanent Solutions
Plywood and OSB boards create solid wind barriers that last for years around your mobile home underpinning. Cut panels to fit between support posts and secure them with galvanized screws. These materials cost more upfront than plastic but provide superior protection and can support additional insulation layers for better mobile home winter prep.
Adding Lattice Work for Aesthetic Appeal and Function
Decorative lattice panels give your mobile home skirting insulation a finished appearance while blocking wind. Install lattice sections over existing insulation or combine them with other barrier materials. You’ll find vinyl and wood options at most home improvement stores, and the open design allows proper ventilation while reducing air movement underneath your home.
Securing All Barrier Materials Against High Winds
Your wind barriers need proper anchoring to withstand storms and strong gusts. Use concrete anchors or ground stakes every 3-4 feet along the bottom edge, and add horizontal furring strips to prevent material flapping. Check all connections regularly and replace worn fasteners before they fail, especially after severe weather events that could compromise your DIY mobile home skirting insulation system.
Your mobile home skirting doesn’t have to be a major expense when winter hits. These six methods give you practical options that fit any budget, from basic foam boards to spray foam for those tricky spots you can’t reach easily. You can mix and match these approaches based on your specific needs and what you’re comfortable tackling yourself.
Don’t wait until the first freeze warning to start your insulation project. Getting your skirting properly sealed now means lower heating bills, warmer floors, and protection for your pipes and plumbing underneath. Start with the easiest method that matches your budget, and remember that even basic insulation is better than none at all. Your wallet and your comfort will thank you when those cold nights roll in.


