DIY Doggie Septic System For Backyard Waste

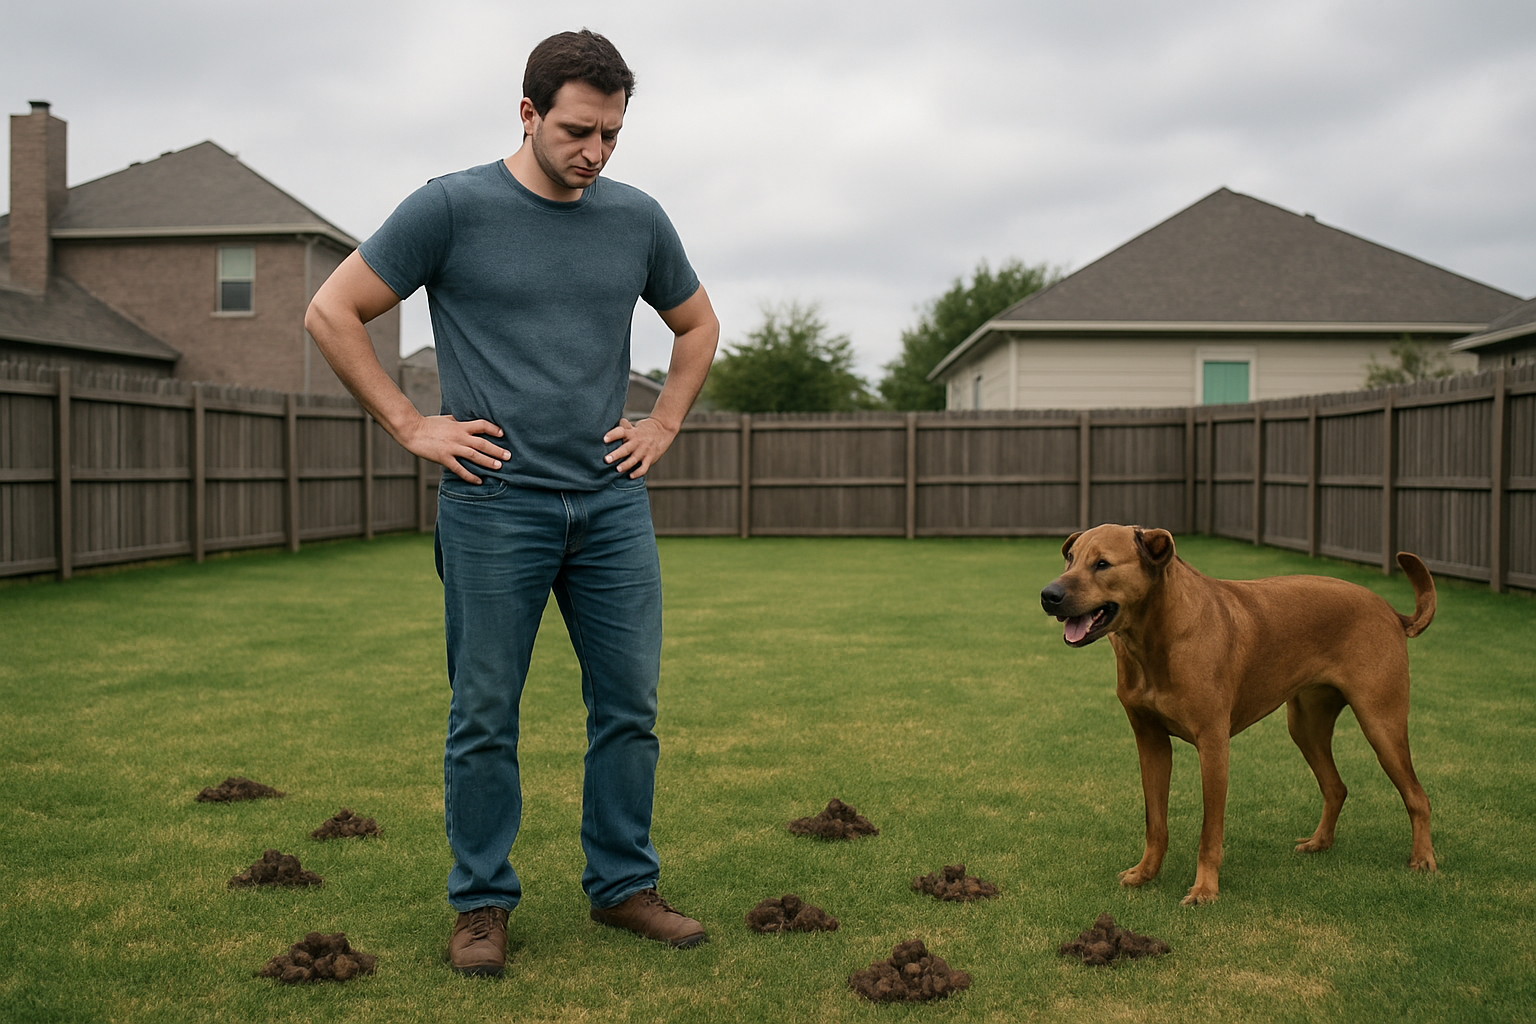
Managing your dog’s waste in your backyard can be a real headache. You love your furry friend, but dealing with constant cleanup and odors gets old fast. If you’re a dog owner tired of bagging waste or dealing with unsanitary yard conditions, a DIY doggie septic system could solve your problems.
This comprehensive guide is designed for pet owners who want a permanent, eco-friendly solution for backyard waste management. You don’t need to be a plumbing expert or spend thousands on professional installation to create an effective system.
We’ll walk you through planning your DIY dog septic system layout based on your yard size and dog’s needs. You’ll also discover the step-by-step installation process, from digging and positioning components to connecting drainage systems. Finally, we’ll cover essential maintenance routines that keep your system running smoothly for years to come.
Understanding Dog Waste Management Challenges
You Might Also Love These Ideas


Health Risks of Untreated Pet Waste in Yards
Your backyard becomes a breeding ground for dangerous bacteria and parasites when dog waste sits untreated. You’re exposing your family to E. coli, salmonella, and roundworms that can cause serious illness. Children playing in contaminated areas face the highest risk of infection through direct contact or accidental ingestion.
Environmental Impact on Soil and Groundwater
Dog waste acts like a fertilizer bomb in your yard, overwhelming soil with nitrogen and phosphorus. You’ll notice dead grass patches and contaminated runoff flowing into storm drains. Your local water supply suffers as these nutrients create algae blooms and bacterial contamination in nearby streams and groundwater sources.
Neighborhood Odor and Sanitation Concerns
You’re dealing with more than just unpleasant smells when waste accumulates in your yard. The stench attracts flies, rodents, and other pests that spread disease throughout your neighborhood. Your property value drops as odors drift to neighboring homes, creating tension with community members who expect basic sanitation standards.
Cost Comparison with Professional Waste Removal Services
| Service Type | Monthly Cost | Annual Cost | DIY Septic Cost |
|---|---|---|---|
| Weekly pickup service | $40-60 | $480-720 | $150-300 (one-time) |
| Bi-weekly service | $25-40 | $300-480 | Same initial investment |
| Monthly service | $15-25 | $180-300 | Pays for itself in 6 months |
You’ll save hundreds of dollars annually by building your own septic system instead of hiring professional waste removal services. Professional services charge premium rates for regular pickup schedules, while your DIY system requires only a one-time investment in materials and occasional maintenance supplies.
Planning Your DIY Dog Septic System
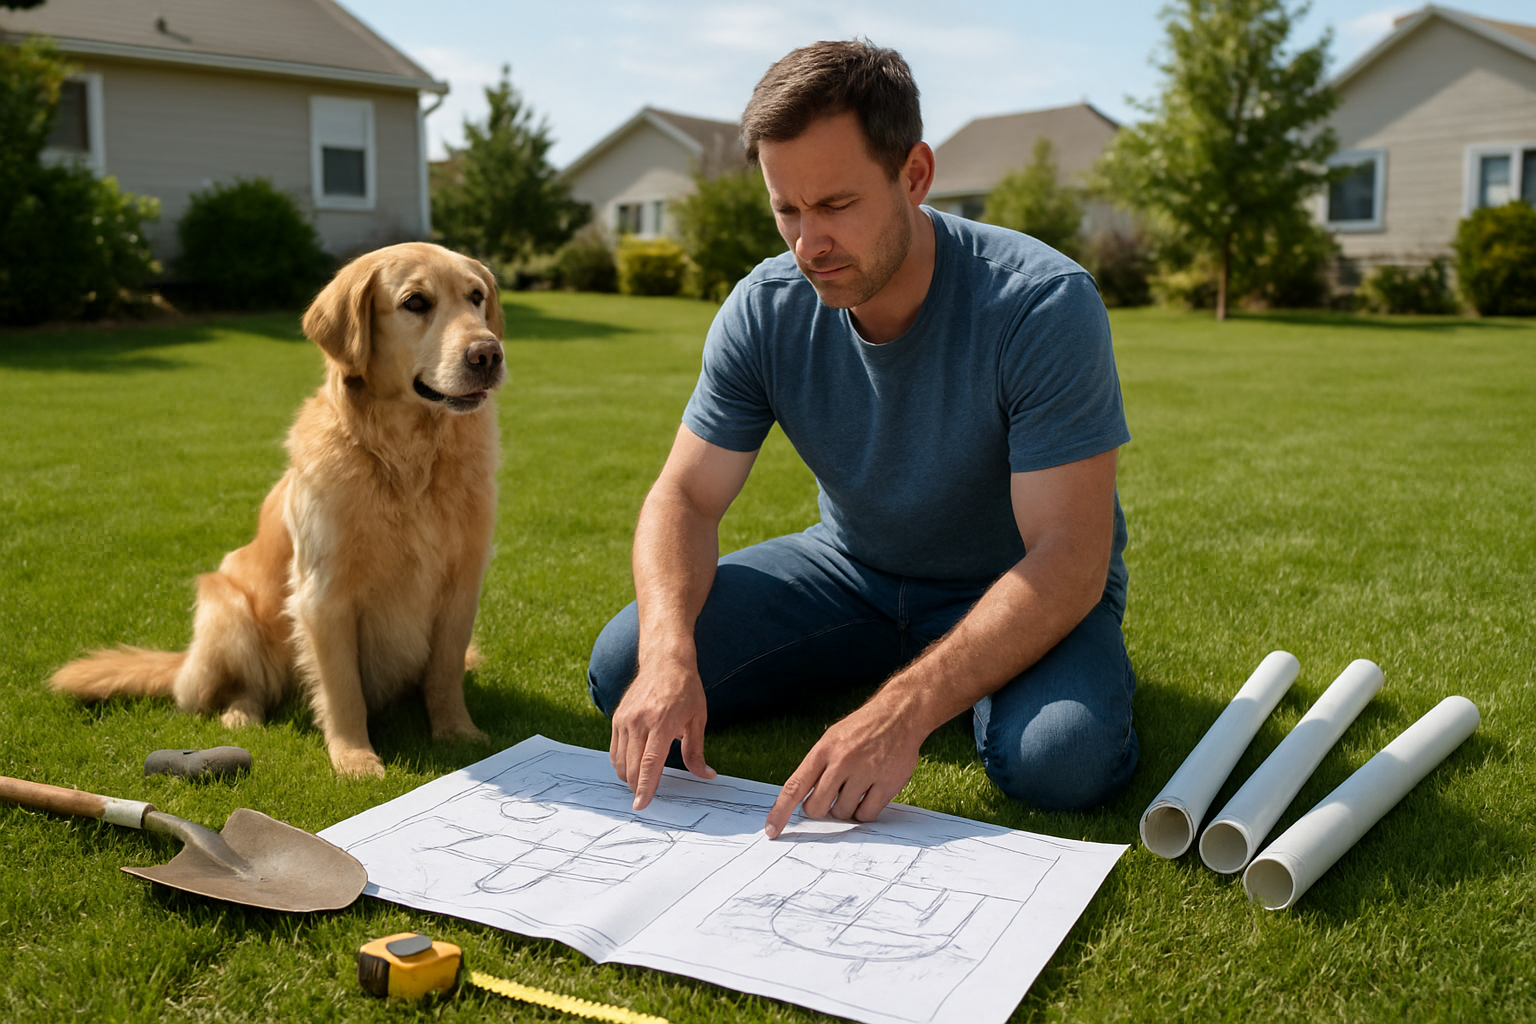
Assessing your yard size and soil conditions
Start by measuring your available space and testing your soil’s drainage capacity. Dig a hole 2 feet deep and fill it with water – if it drains within 24 hours, you have good permeability for waste breakdown. Clay soils require amendments like sand or gravel, while sandy soils drain too quickly and need organic matter mixed in.
Determining optimal location for maximum efficiency
Position your system at least 50 feet from wells, 30 feet from property lines, and 10 feet from your home’s foundation. Choose a spot with good drainage that’s easily accessible for maintenance but hidden from view. Avoid areas under trees where roots might interfere with the system or low-lying spots where water collects.
Calculating system capacity based on number of dogs
Plan for 1-2 cubic feet of system capacity per dog, depending on their size. Small dogs (under 25 lbs) need about 1 cubic foot, medium dogs require 1.5 cubic feet, and large dogs need 2 cubic feet. Multiple small dogs can share capacity, but add 25% extra space if you have more than three dogs using the same system regularly.
Essential Materials and Tools for Construction
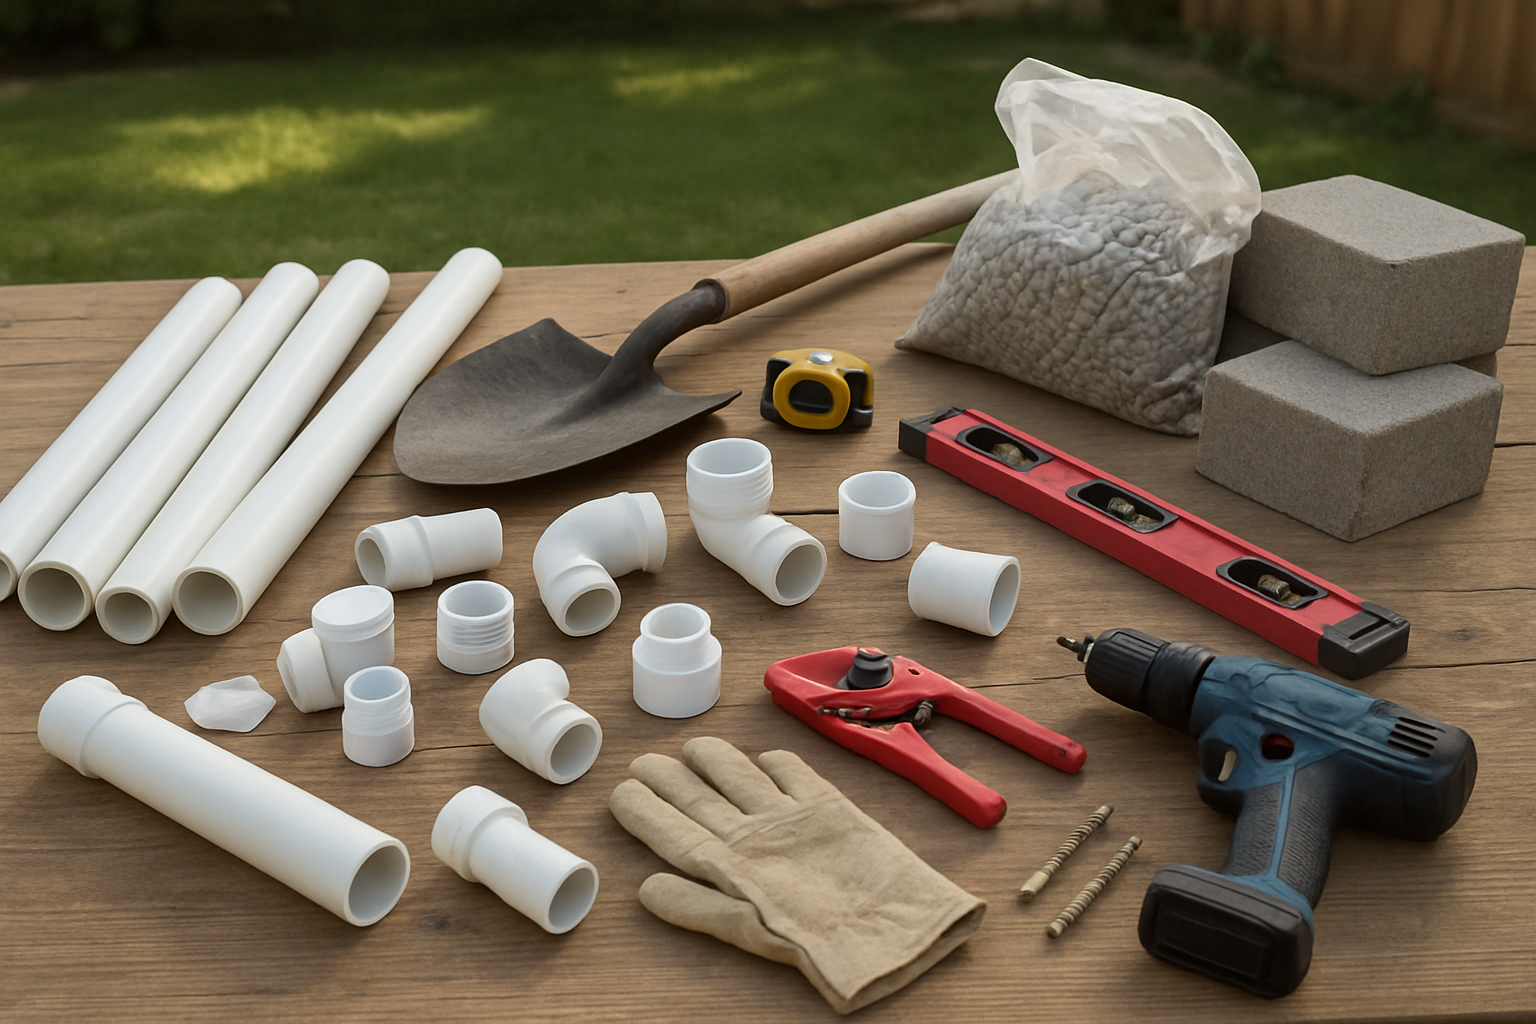
Drainage Pipes and Fittings for Proper Flow
You’ll need 4-inch PVC pipes for the main drainage lines, along with T-joints, elbows, and couplers to create your system’s framework. Pick up perforated drain pipes for the leach field area, as these allow waste water to seep into surrounding soil gradually. Don’t forget pipe cement and rubber gaskets to ensure watertight connections throughout your installation.
Septic-Safe Enzymes and Bacterial Additives
Your system depends on beneficial bacteria to break down organic matter effectively. Purchase enzyme treatments specifically designed for septic systems – avoid regular household cleaners that kill these helpful microorganisms. Stock up on monthly bacterial additives that introduce fresh cultures, keeping your system’s biological processes running smoothly. These products come in powder, liquid, or tablet forms for easy application.
Excavation Tools and Safety Equipment
Rent a mini excavator or grab a sturdy shovel for digging your system’s foundation – you’ll be moving significant amounts of dirt. Safety gear includes work gloves, steel-toed boots, and safety glasses to protect against debris. Keep a tape measure, level, and string line handy for precise measurements. You’ll also want tarps to protect your lawn and containers for sorting excavated soil.
Waterproof Containers and Filtration Materials
Choose heavy-duty plastic or concrete containers for your main septic chamber – they must withstand underground pressure and moisture. Layer gravel and sand creates natural filtration as waste water moves through your system. Pick up landscape fabric to separate soil layers and prevent clogging. Rubber seals and waterproof coating ensure your containers stay leak-proof for years of reliable operation.
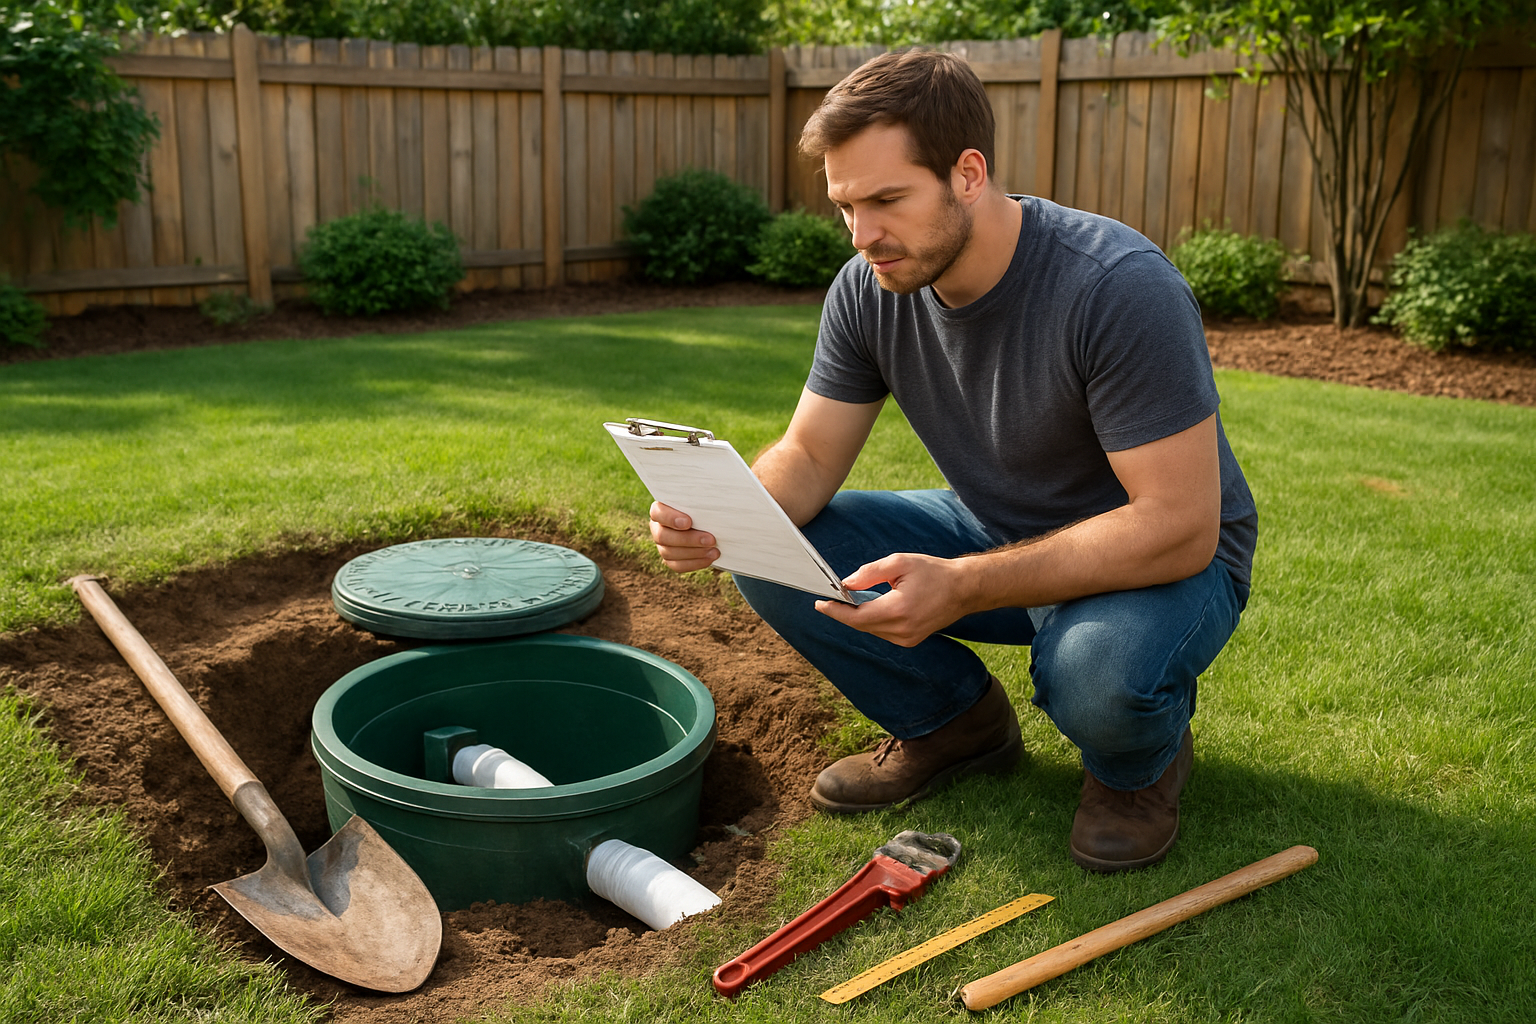
Step-by-Step Installation Process

Excavating the perfect depth and dimensions
Start by marking your installation area with spray paint, then dig a hole approximately 3 feet deep and 2 feet wide. Your excavation should be large enough to accommodate the main tank plus 6 inches of clearance on all sides for proper backfill. Check local frost lines and adjust depth accordingly – you want your system below the freeze line but above the water table. Keep excavated soil nearby for backfilling later.
Installing drainage and filtration components
Place a 4-inch layer of gravel at the bottom of your hole for drainage, then position your main septic tank or large plastic container with pre-drilled holes. Connect your inlet pipe from the collection point, ensuring a slight downward slope for proper flow. Install your filtration layers – start with landscape fabric, add activated charcoal or sand, then another fabric layer. Surround the entire system with more gravel for optimal drainage performance.
Creating proper ventilation for odor control
Install a 4-inch PVC vent pipe that extends from the top of your tank to at least 2 feet above ground level. Cap the pipe with a vent cover to prevent rain entry while allowing air circulation. Position the vent downwind from your home and outdoor living spaces. You can also add a small solar-powered fan to boost airflow during warmer months when odor potential increases.
Testing system functionality before first use
Fill your system with water to check for leaks and proper drainage flow. Pour water through your inlet pipe and observe how it moves through the filtration layers. The water should percolate slowly but steadily through the gravel base. Test your vent by dropping a tissue near the opening – it should be drawn slightly toward the pipe, indicating proper airflow. Make adjustments to pipe angles or add more gravel if drainage seems sluggish.
Maintenance Routines for Long-Term Success
Monthly Enzyme Treatments to Break Down Waste
Add enzyme treatments to your dog septic system every month to keep waste breaking down properly. Pour the recommended amount directly into your system through the access port, then add water to help distribute the enzymes throughout. Choose pet-safe bacterial enzymes specifically designed for septic systems – they’ll digest organic matter faster than regular household products. Schedule treatments on the same date each month so you don’t forget this crucial maintenance step.
Seasonal Inspections and Cleaning Protocols
Check your system thoroughly at the start of each season. Look for cracks in pipes, loose fittings, or signs of backup around the tank area. Clean out any debris from the inlet screen and inspect the drainage field for standing water or soggy spots. Winter inspections should focus on freeze protection, while spring checks help you catch any damage from frost heaving. Summer and fall reviews let you prepare for upcoming weather changes.
Troubleshooting Common Drainage Issues
Slow drainage usually means your pipes are clogged or your drainage field is saturated. Try flushing the system with water first, then check for blockages at connection points. Standing water around your tank signals either a full system or damaged drainage lines. Bad smells coming from the area indicate poor ventilation or an overloaded system that needs immediate attention. Keep a maintenance log to track recurring problems and their solutions for future reference.


