The $10,000 Mistake Homeowners Make When Installing Windows on Sloped Lots

Water poured through my living room window frame during the first heavy rain after we moved in. Our contractor had installed windows using standard methods that work fine on flat lots but fail catastrophically on slopes. The repair cost $8,400 plus temporary relocation while they fixed water damage to the walls and subfloor.
The problem was runoff flowing downhill concentrated at our foundation, overwhelming the standard window flashing. Our lot drops 12 feet from front to back, creating drainage patterns the contractor never assessed. He installed windows the same way he’d done flat-lot homes for 20 years, and we paid the price for his ignorance.
We rebuilt those windows correctly using slope-specific installation techniques and upgraded flashing systems. Five years and dozens of storms later, zero leaks. The difference between standard installation and slope-appropriate methods is about $200 per window during construction but saves thousands in repairs.
Here’s what actually works for installing windows on sloped lots without creating future disasters. You’ll learn the site assessment that predicts drainage problems before installation, which window types and flashing systems survive hillside conditions, what contractors get wrong on slopes, and maintenance that prevents the slow failures most homeowners discover too late.


Understanding the Unique Challenges of Sloped Lot Construction

How Gravity Affects Window Frame Alignment and Stability
Gravity works against you constantly when installing sloped lot windows. Your window frames face uneven settling pressure that can warp openings over time. The downhill side experiences more stress, pulling frames out of square and creating gaps that compromise energy efficiency. You’ll notice doors and windows that stick or develop air leaks within just a few years if proper reinforcement isn’t installed during construction.
Drainage Issues That Impact Window Placement and Longevity
Water becomes your biggest enemy on hillside home construction projects. Rain naturally flows downhill, pooling around improperly positioned windows and creating moisture problems you never anticipated. Your window wells can become mini swimming pools during heavy storms, forcing water through seals and into your home’s structure. Poor drainage planning around sloped terrain leads to foundation erosion that shifts your entire window installation over time.
Accessibility Constraints for Installation Crews and Equipment
Getting crews and equipment to your hillside home windows creates logistical nightmares you don’t face on flat lots. Your installation team can’t simply back a truck up to every window opening, forcing them to hand-carry materials up steep grades. Scaffolding becomes more complex and expensive when dealing with uneven terrain. Limited access points mean your contractor might need specialized equipment or additional labor, driving up costs significantly beyond standard window installation pricing.
Essential Pre-Installation Site Assessment for Sloped Properties

Measuring Precise Grade Percentages and Elevation Changes
Your property’s exact slope measurements determine everything from window sizing to installation methods. Use a digital level or hire a surveyor to calculate grade percentages – anything over 15% requires specialized techniques for sloped lot windows. Document elevation changes across your home’s footprint, as even small variations can create water infiltration issues and structural stress on window frames.
Identifying Optimal Window Placement for Maximum Natural Light
Position windows strategically on your hillside home construction to capture morning and evening light while avoiding harsh midday glare. South-facing slopes typically need smaller windows or specialized glazing, while north-facing slopes can accommodate larger openings. Consider seasonal sun angles – what works in winter might create overheating problems in summer on steep terrain.
Evaluating Soil Stability and Foundation Requirements
Check your soil’s drainage capacity and stability before finalizing window locations. Clay-heavy soils on slopes can shift dramatically during wet seasons, potentially warping window frames and breaking seals. Schedule a geotechnical assessment to identify any potential settling issues that could affect windows for sloped terrain. Poor soil conditions might require deeper foundations or additional support structures around window openings.
Planning for Proper Water Runoff and Drainage Systems
Design comprehensive drainage around your windows to prevent the costly mistakes that plague sloped property construction. Install French drains, window wells, and proper grading to direct water away from your foundation. Your terrain specific window types need adequate protection from runoff – consider adding extended overhangs or specialized flashing systems. Map water flow patterns during heavy rains to identify potential problem areas before installation begins.
Choosing the Right Window Types for Slope-Specific Conditions

Impact-resistant options for weather-exposed elevations
Your hillside home faces unique weather challenges that flat-lot properties never encounter. Strong winds, driving rain, and debris from storms hit slope-facing windows with increased intensity. You’ll want impact-resistant glass rated for your specific wind zone, especially on your home’s weather-exposed sides. Laminated glass windows provide superior protection against flying debris while maintaining visibility during storms. Consider hurricane-rated windows even if you’re not in a traditional hurricane zone – hillside locations create wind tunnel effects that can generate surprising force. Double-pane impact glass offers both protection and insulation, making it ideal for sloped lot windows that face prevailing winds.
Energy-efficient features that maximize hillside views
Your sloped terrain naturally provides stunning vistas, but capturing those views efficiently requires strategic window selection. Low-E coatings become critical on hillside homes since you’re often dealing with extreme sun exposure on certain elevations while other sides remain shaded. Triple-pane windows work exceptionally well for terrain specific window types, offering superior insulation without compromising your panoramic views. You’ll want to consider dynamic glass options for south-facing slopes where solar heat gain varies dramatically throughout the day. Window placement on sloped lots should maximize natural light while controlling energy costs – select windows with high visible light transmission but low solar heat gain coefficients for the best balance.
Custom sizing requirements for non-standard wall angles
Standard window sizes rarely work for sloped lot windows due to the unique architectural demands of hillside construction. Your foundation and framing will create non-standard angles that require custom-sized windows to fit properly and maintain structural integrity. You’ll need precise measurements that account for slope-induced settling and potential shifting over time. Custom windows for sloped terrain often require reinforced frames to handle the stress distribution differences compared to level-ground installations. Work with manufacturers experienced in hillside home construction – they understand how slope angles affect window performance and can recommend appropriate sizing adjustments. Your contractor should order windows after final framing to ensure perfect fits, as even small miscalculations become expensive mistakes on sloped properties.
Professional Installation Techniques for Sloped Terrain Success
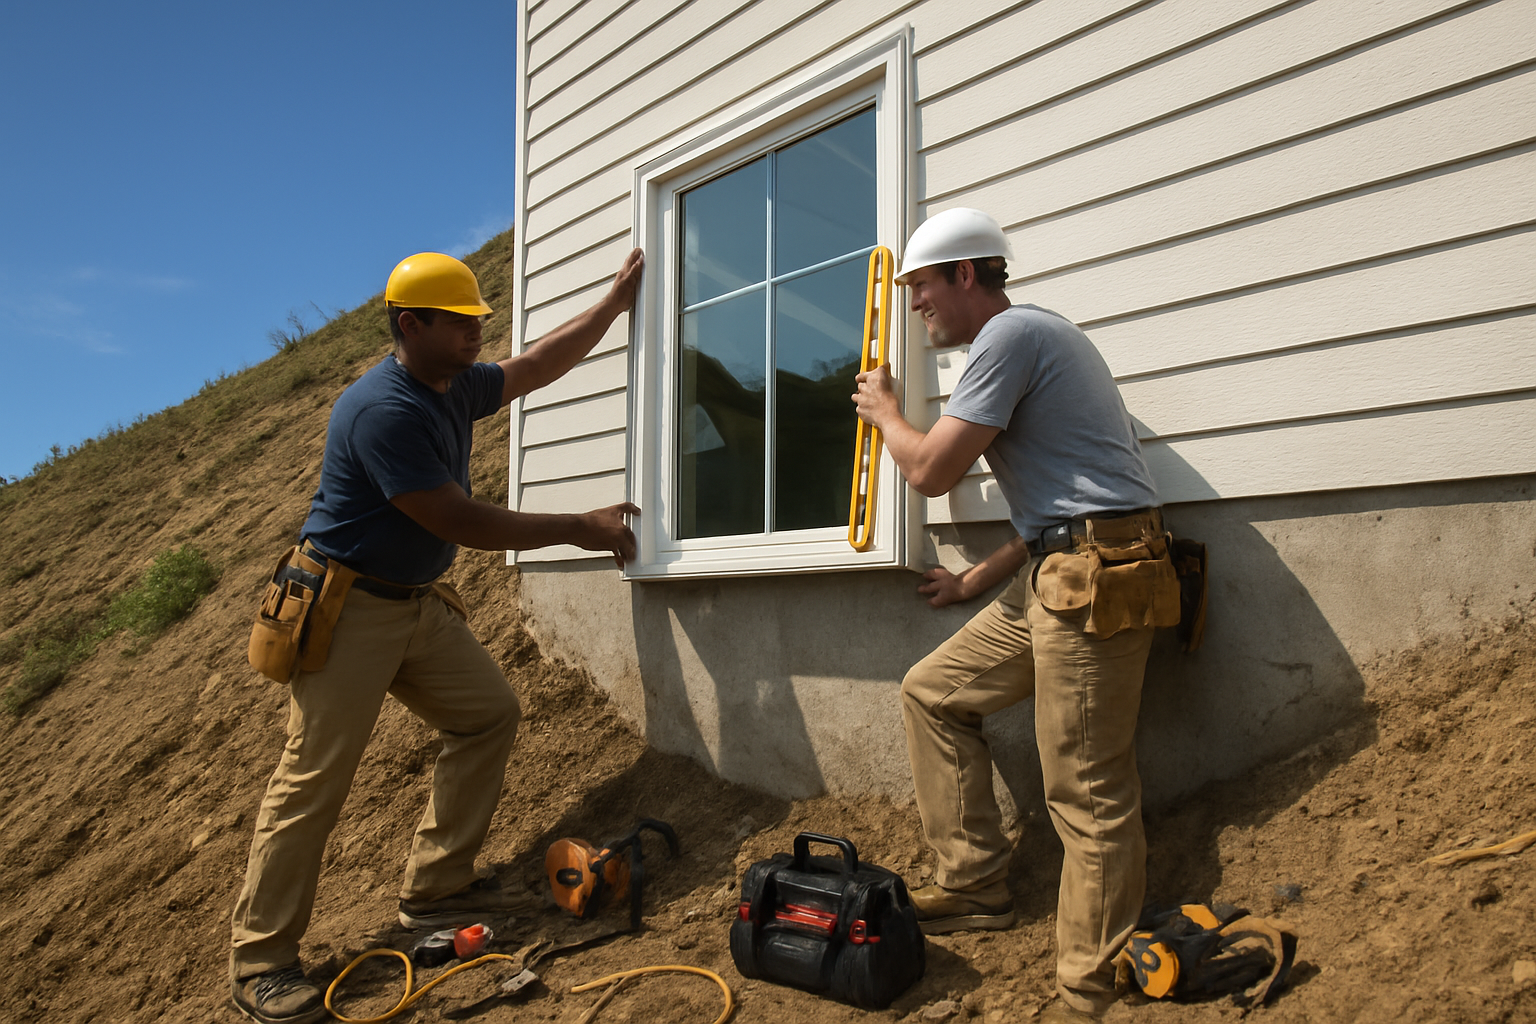
Specialized Equipment and Safety Measures for Steep Grades
When you’re working on sloped lot windows, standard equipment won’t cut it. You’ll need specialized scaffolding systems designed for uneven terrain, harness anchor points rated for dynamic loads, and all-terrain lifts that can navigate steep grades safely. Your crew should use fall protection gear rated for construction work, including full-body harnesses with shock-absorbing lanyards. Non-slip footwear becomes critical on wet or muddy slopes, and you’ll want portable winches for lifting heavy window units up steep inclines without risking worker injury.
Advanced Waterproofing Methods to Prevent Moisture Infiltration
Your hillside home construction demands multi-layer waterproofing that goes beyond standard installations. Start with a continuous air barrier system that wraps around your window rough opening, then apply a high-performance liquid membrane that can flex with seasonal ground movement. You’ll need to install drainage mats behind your siding to create a ventilation gap, allowing any moisture that penetrates to drain away from your window frames. Pay special attention to the sill pan installation – it should extend well beyond the rough opening and tie into your house wrap with proper overlaps.
Proper Flashing Installation for Challenging Angles
Flashing on sloped terrain requires custom fabrication to handle complex water flow patterns. You’ll need to install step flashing that follows your roof’s pitch while integrating seamlessly with your window head flashing. The key is creating overlapping layers that direct water away from vulnerable joints, especially where your windows meet changing roof lines or retaining walls. Use butyl tape sealants at all flashing joints and ensure your head flashing extends at least 6 inches beyond each side of your window opening to handle wind-driven rain.
Securing Adequate Structural Support on Uneven Foundations
Your sloped lot building challenges include ensuring your window headers can handle differential settling that’s common on hillside properties. You’ll need to install adjustable jack studs that can accommodate minor foundation movement without compromising your window operation. Consider using engineered lumber for headers spanning large openings, as it provides consistent performance even when your foundation experiences slight shifts. Install shims that can be adjusted over time, and use construction adhesive in addition to mechanical fasteners for long-term stability.
Timeline Considerations for Weather-Dependent Slope Work
Your slope specific window installation timeline must account for weather patterns that affect hillside properties more severely than flat lots. Plan your rough opening work during dry seasons, as exposed slopes can become unstable during heavy rains. You’ll need to sequence your installation so that waterproofing layers are completed before any predicted precipitation. Keep emergency tarping materials on-site, as sudden weather changes can threaten exposed openings on steep terrain. Allow extra time for material delivery, since steep lots often require multiple trips with smaller loads rather than single deliveries.
Long-Term Maintenance Strategies for Hillside Windows
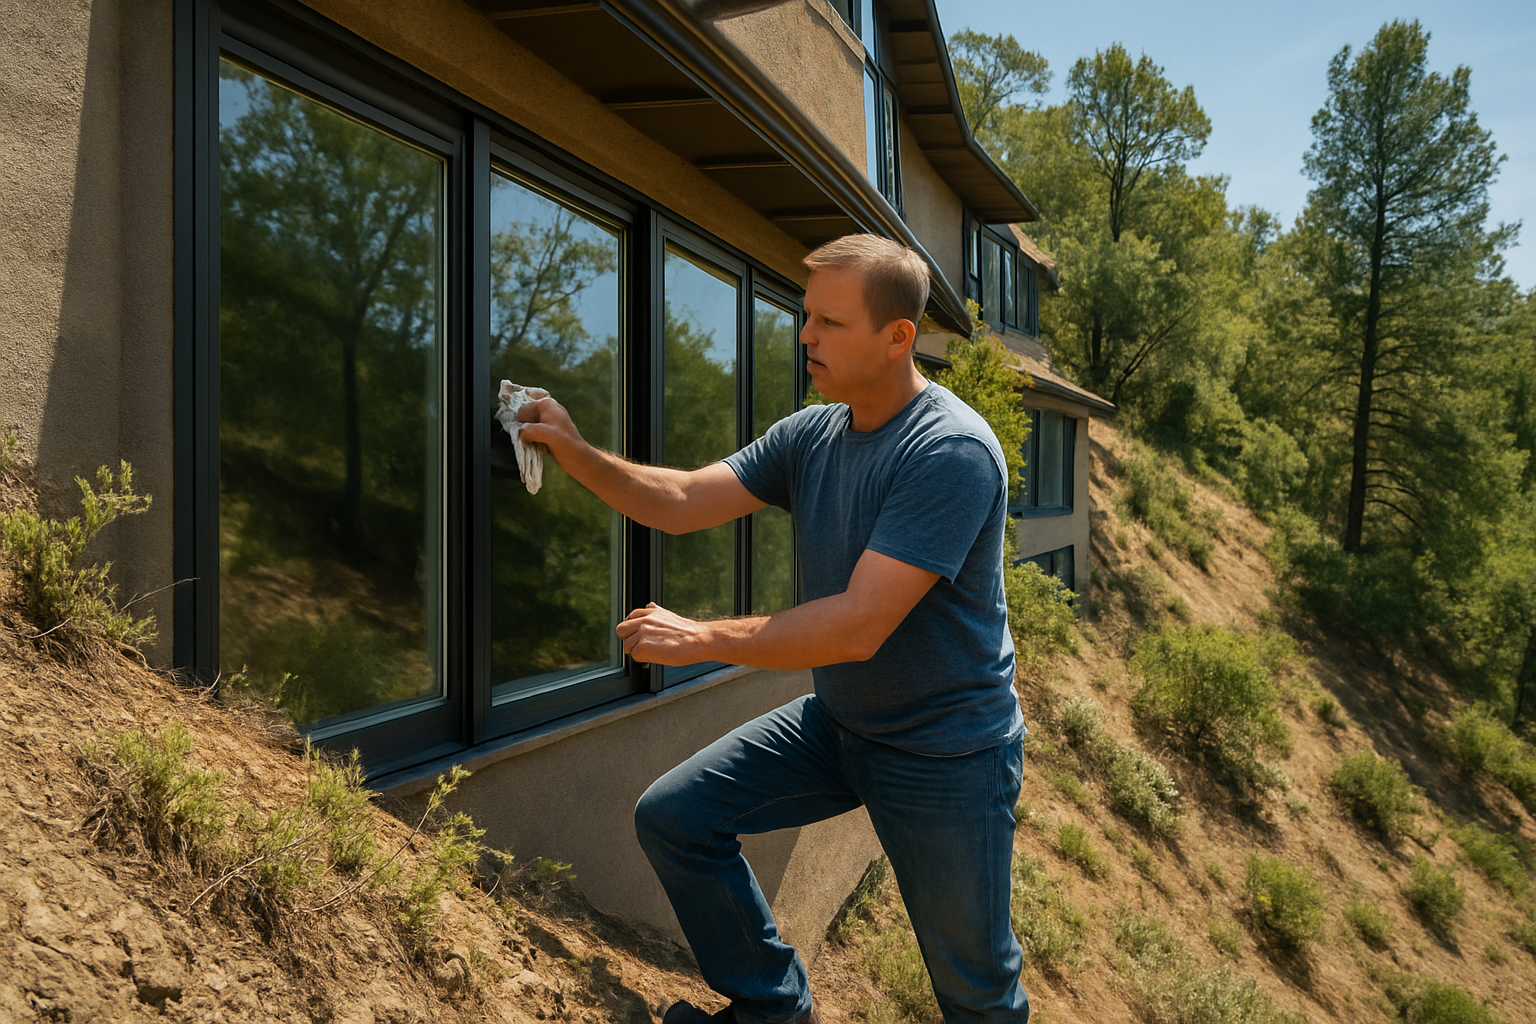
Seasonal Inspection and Cleaning Protocols
Your hillside window maintenance schedule needs to account for the unique environmental stresses that sloped terrain creates. Rain runoff patterns change seasonally on slopes, so inspect your window seals and drainage systems every three months. Clean gutters and downspouts monthly during heavy rain seasons to prevent water backup that can compromise your hillside home windows. Check for soil erosion around window wells quarterly, as shifting ground can create gaps that allow moisture infiltration and structural issues over time.
Weatherproofing and Seal Maintenance
You’ll need to replace weatherstripping on sloped lot windows more frequently than standard installations due to increased wind exposure and thermal cycling. Inspect all window seals twice yearly, paying special attention to the downhill side where water pressure builds up. Apply fresh caulking annually around window frames, using high-grade sealants designed for slope specific window installation conditions. Your hillside location means temperature fluctuations are more extreme, causing materials to expand and contract more dramatically than level-ground installations.
Drainage System Upkeep
Water management around your sloped property windows requires constant vigilance. Clear debris from window wells monthly and ensure proper grading directs water away from foundations. Install and maintain French drains or other slope-appropriate drainage solutions to prevent water accumulation near window installations. Monitor for signs of foundation settling that could affect window alignment, as sloped terrain naturally experiences more ground movement than flat lots throughout seasonal freeze-thaw cycles.


