How To Make A DIY Snuffle Mat For Mental Stimulation

Your dog deserves more than just a boring food bowl – they need mental challenges that tap into their natural foraging instincts. A DIY snuffle mat for mental stimulation gives your furry friend the perfect opportunity to work for their treats while keeping their mind sharp and engaged.
This guide is perfect for dog owners who want to create an affordable, effective enrichment tool at home. You don’t need crafting experience or expensive materials – just a few hours and some basic supplies.
You’ll learn how to gather the right materials and tools, including the best fleece types and drainage mats that work perfectly together. We’ll walk you through preparing your fleece strips for assembly, so your snuffle mat holds up to enthusiastic sniffing and pawing. Finally, you’ll discover simple customization tricks that make your mat even more challenging and engaging for dogs of all sizes and skill levels.
Understanding Snuffle Mats and Their Benefits
What is a snuffle mat and how it works
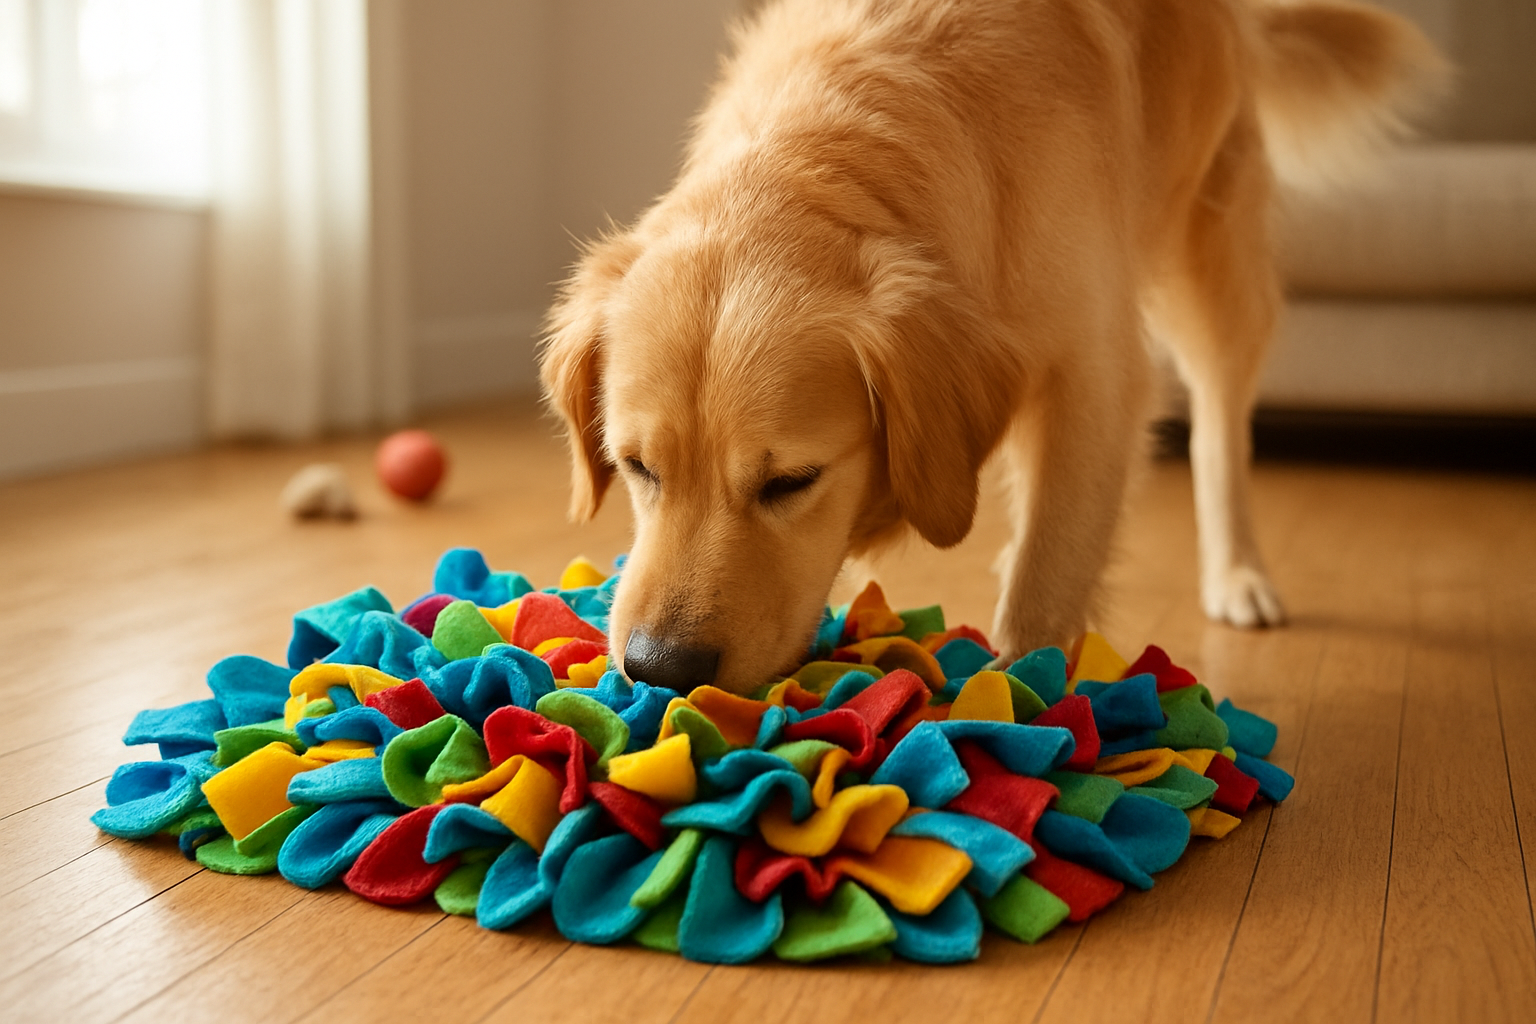
A snuffle mat is a puzzle toy made from fleece strips tied to a rubber base that mimics grass or foraging surfaces. You scatter your dog’s food or treats throughout the fabric strips, creating a challenging feeding experience. Your dog uses their natural sniffing instincts to hunt for food, turning mealtime into an engaging activity that can keep them occupied for 15-30 minutes instead of gulping food in seconds.
Mental stimulation benefits for dogs
Your dog’s brain needs exercise just like their body does. Snuffle mats provide the mental workout your pet craves by activating their strongest sense – smell. When you use a snuffle mat, you’re encouraging problem-solving skills and satisfying your dog’s natural foraging instincts. This mental stimulation helps reduce boredom-related behaviors like excessive barking, chewing furniture, or destructive digging. Regular use can improve your dog’s focus and create a calmer, more content pet.
Physical health advantages through slower eating
Fast eating creates serious health risks for your dog, including bloat, choking, and poor digestion. Your snuffle mat forces slower consumption by making your dog work for each piece of food. This natural pacing allows proper chewing and saliva production, improving nutrient absorption. You’ll notice less gulping, reduced vomiting after meals, and better overall digestive health. The slower eating pace also helps your dog feel fuller with less food, supporting healthy weight management.
Cost savings compared to store-bought alternatives
Store-bought snuffle mats typically cost $20-50, while you can create your own for under $10. Your homemade version offers the same benefits at a fraction of the price. You can customize the size, colors, and density to match your dog’s specific needs rather than settling for generic options. With basic materials like fleece fabric and a rubber sink mat, you’ll have enough supplies to make multiple mats or replace worn sections easily.
Essential Materials and Tools You’ll Need

Rubber sink mat with drainage holes
You’ll need a rubber sink mat as your foundation – look for one with evenly spaced drainage holes, typically measuring 12×15 inches. The holes should be large enough to thread fleece strips through but small enough to hold them securely. Kitchen supply stores and online retailers offer the best selection of mats with consistent hole patterns.
Fleece fabric selection and quantity requirements
Choose soft, washable fleece in multiple colors to make foraging more challenging for your dog. You’ll need approximately 1-2 yards of fleece fabric, depending on your mat size. Anti-pill fleece works best since it maintains its texture after multiple washes. Avoid fleece with loose fibers or decorative elements that could pose choking hazards.
Sharp scissors for cutting strips
Quality fabric scissors make cutting hundreds of fleece strips much easier and more precise. Your strips should measure 1 inch wide by 8 inches long for optimal snuffling difficulty. Dull scissors will fray the fleece edges and slow down your project significantly. Keep your scissors sharp throughout the cutting process for clean, even strips.
Optional accessories for enhanced durability
Consider adding rubber backing or non-slip grips underneath your finished mat to prevent sliding during use. Some crafters attach carabiners to corners for easy hanging and storage. Fabric markers help you plan color patterns, while measuring rulers ensure consistent strip lengths. These extras aren’t essential but can improve your mat’s functionality and longevity.
Preparing Your Fleece Strips for Assembly
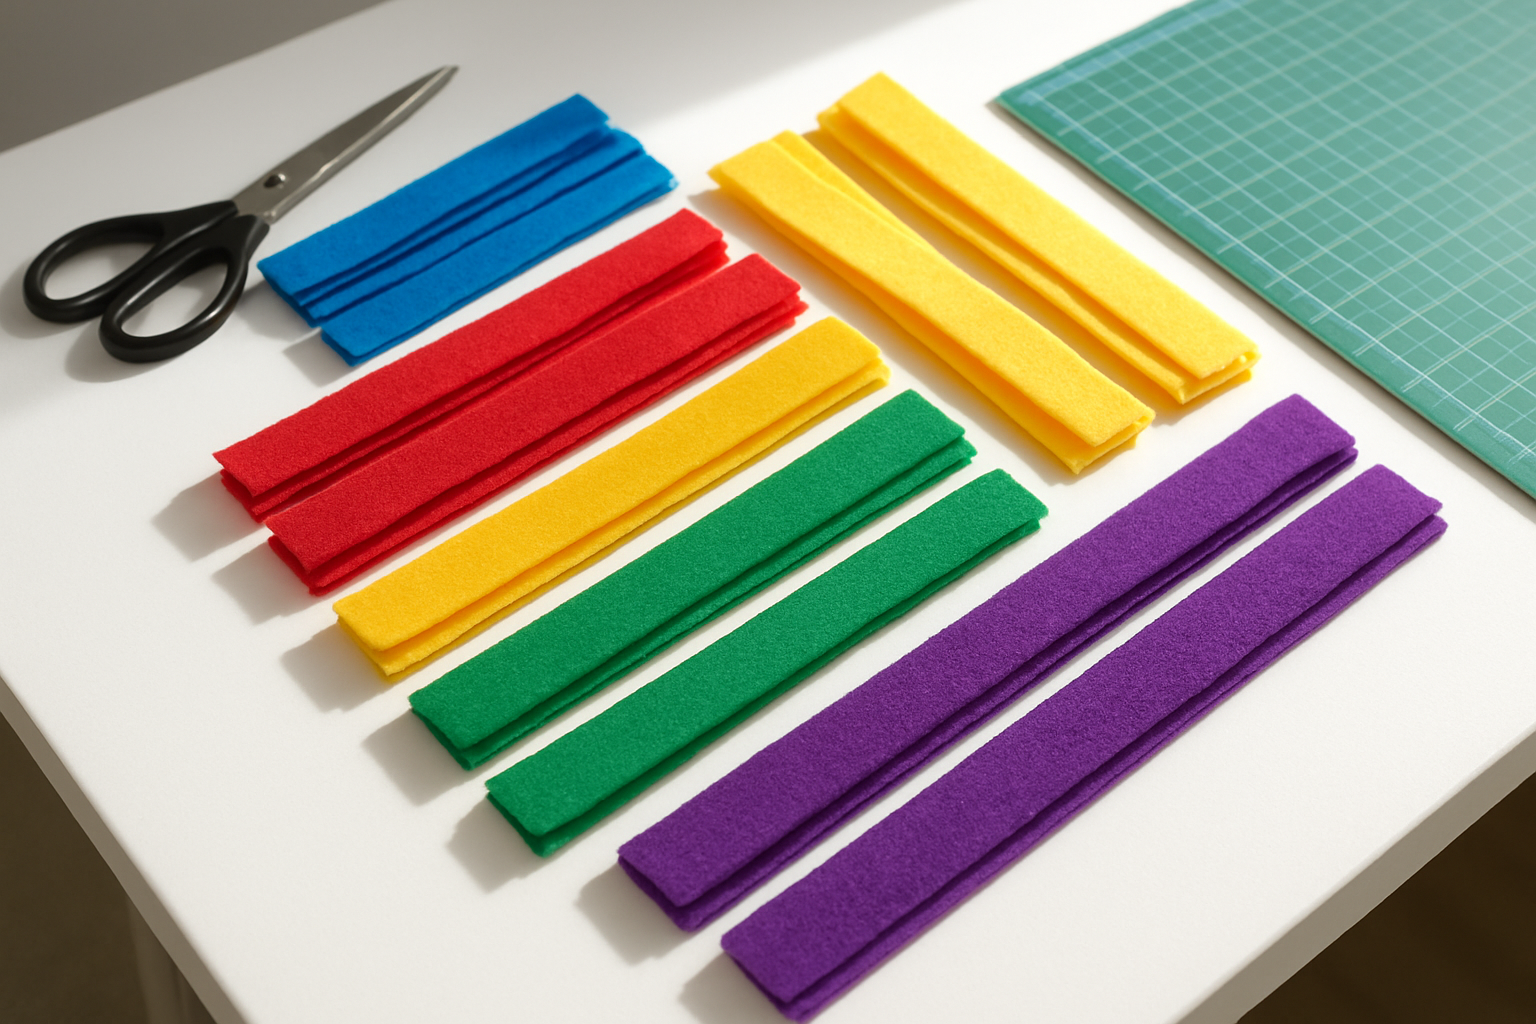
Cutting Fleece into Optimal Strip Dimensions
Your fleece strips should be cut to 8-10 inches long and 1-2 inches wide for the best results. This length gives your dog enough material to sniff through while preventing the strips from becoming tangled or too overwhelming. You can adjust the length based on your dog’s size – smaller dogs work better with shorter strips around 6-8 inches, while larger breeds can handle the full 10-inch length.
Creating Consistent Strip Widths for Uniform Appearance
Consistency is key when cutting your strips. Use a ruler or fabric cutting mat to mark your measurements before cutting, ensuring each strip maintains the same 1-2 inch width throughout. You’ll find that uniform strips not only look more professional but also create better hiding spots for treats. Consider making a cardboard template to trace around – this speeds up the cutting process and keeps your strips perfectly even.
Sorting Colors for Pattern Design
Before you start assembling, sort your cut strips by color to create appealing patterns. You can arrange them in stripes, create a rainbow effect, or alternate between light and dark colors for contrast. Lay out your planned pattern on a flat surface first to visualize how it will look. This planning step saves time during assembly and helps you distribute colors evenly across your mat’s surface.
Step-by-Step Assembly Instructions
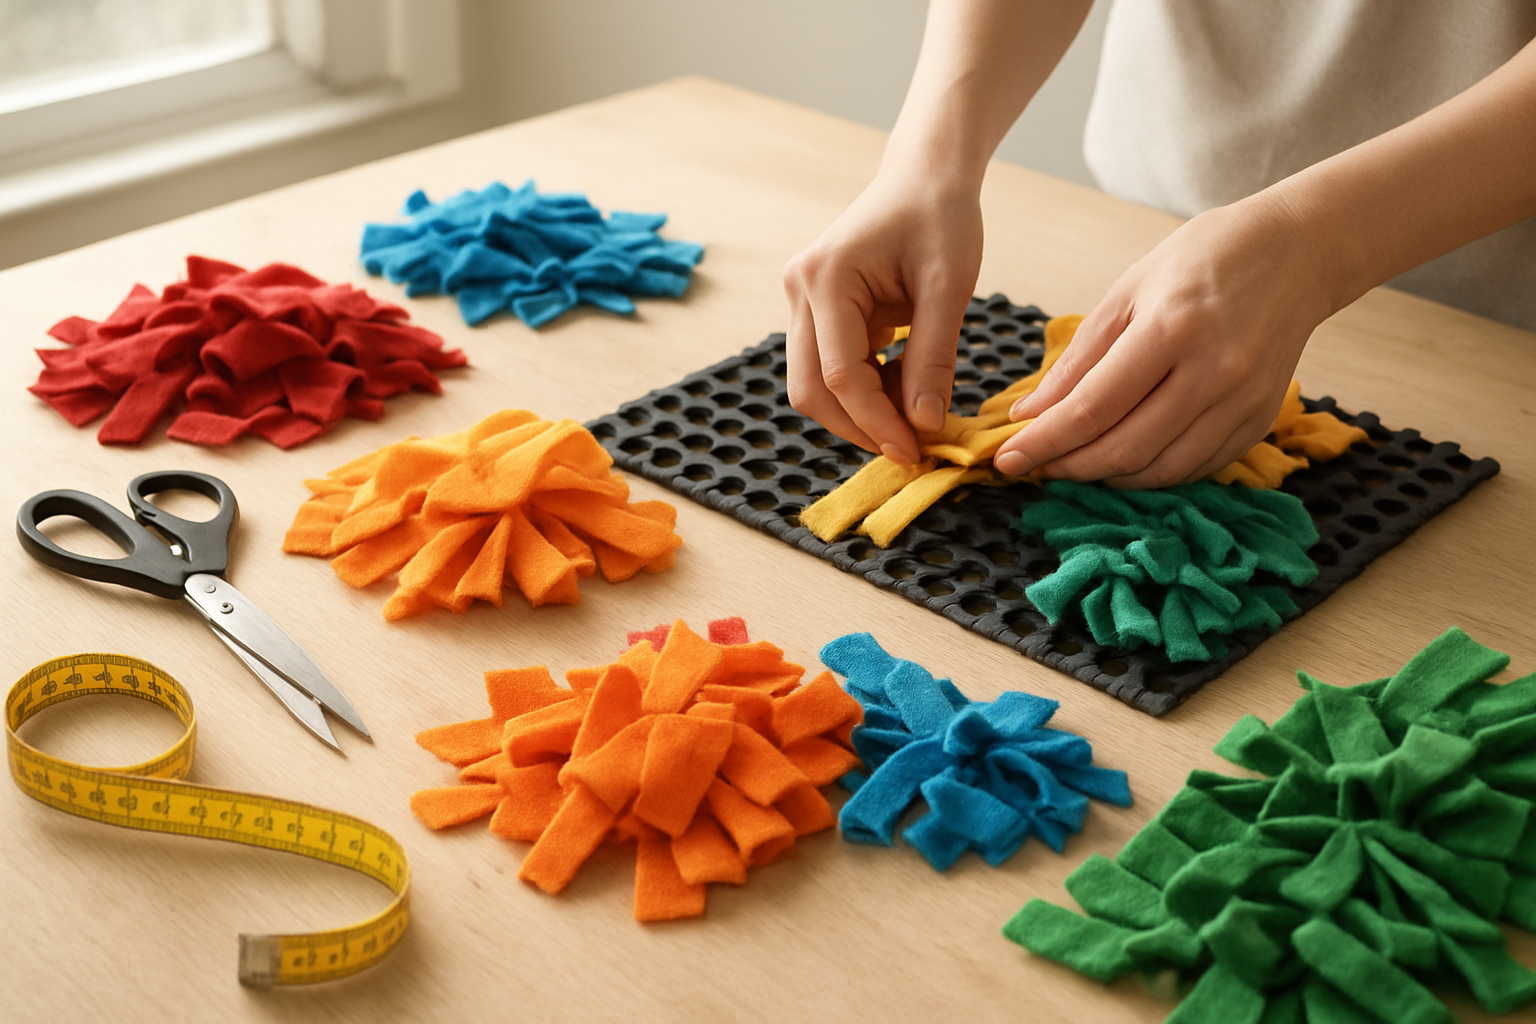
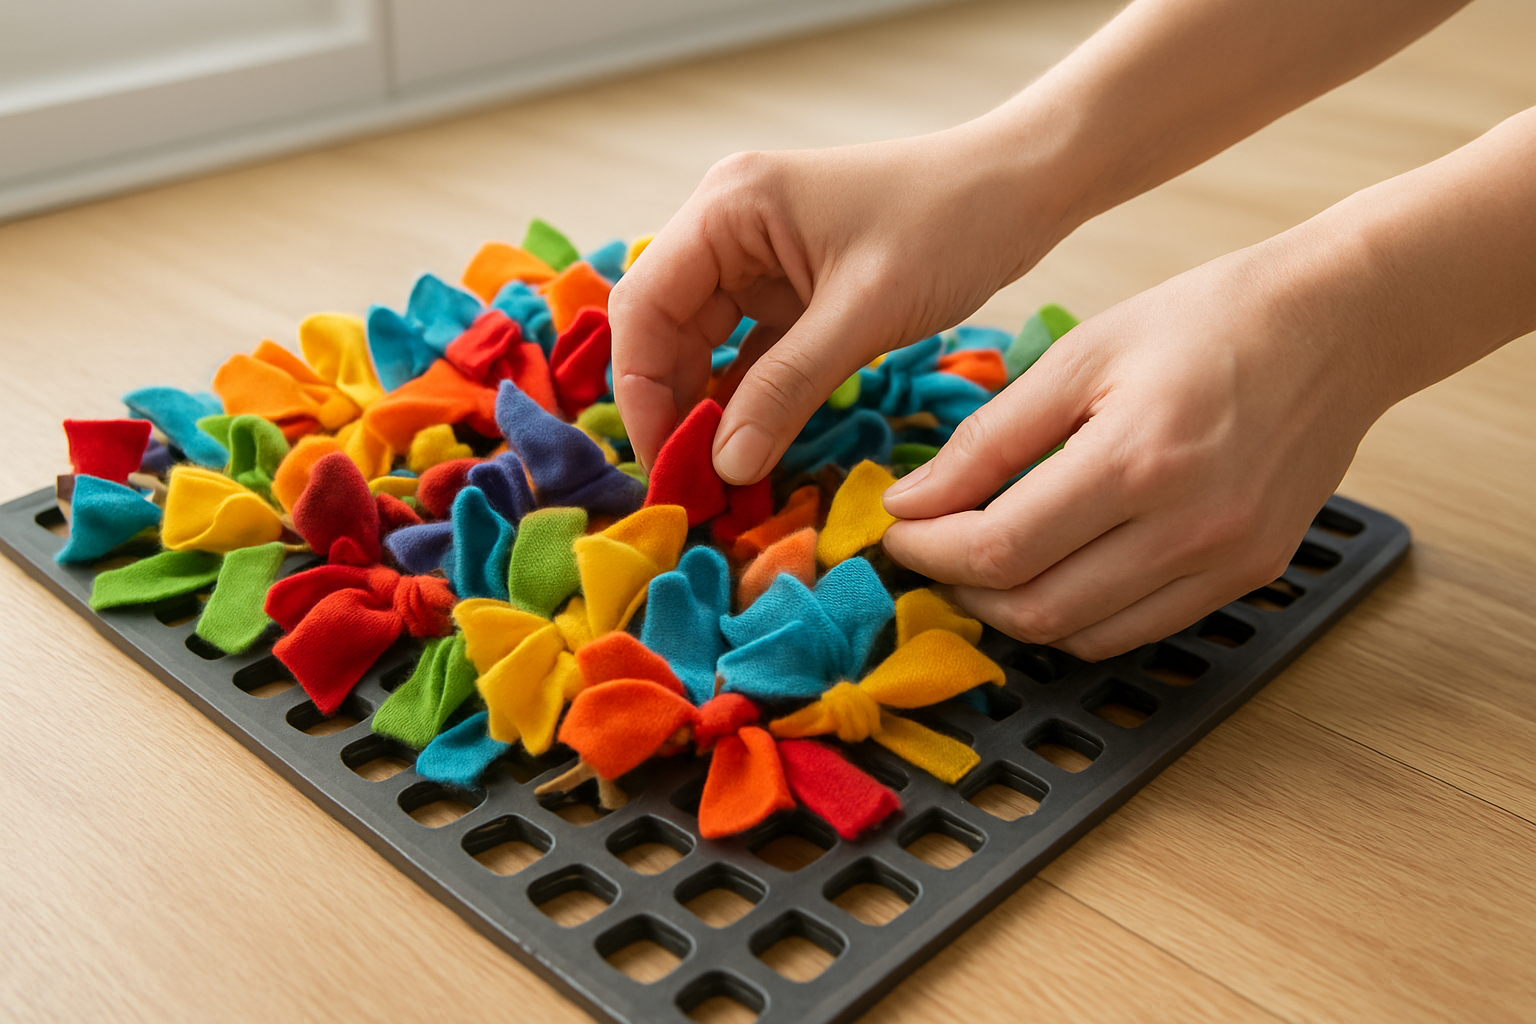
Threading fleece strips through mat holes
Start at one corner of your rubber mat and work systematically across each row. Push one end of your fleece strip through a hole from the top, then bring it back up through the adjacent hole. Keep your strips centered so equal lengths hang on both sides of the mat.
Securing strips with proper knotting technique
Tie a simple double knot directly against the mat’s surface, pulling firmly to ensure it won’t slip through the hole. Your knot should sit flush with the rubber without being overly tight. Test each knot by gently tugging the fleece strips – they should hold securely without damaging the material.
Maintaining consistent density throughout the mat
Fill every hole in your mat for optimal foraging difficulty. Skip holes only if you’re creating specific patterns or easier areas for beginners. Count your strips as you work to ensure even distribution. A properly dense mat should have fleece strips touching each other when laid flat, creating a thick carpet of hiding spots.
Creating varied heights for increased difficulty
Cut your fleece strips to different lengths before knotting – mix 6-inch, 8-inch, and 10-inch pieces randomly throughout the mat. This variation forces your pet to work harder, searching through multiple layers. Place longer strips toward the center and shorter ones near edges for a natural gradient effect.
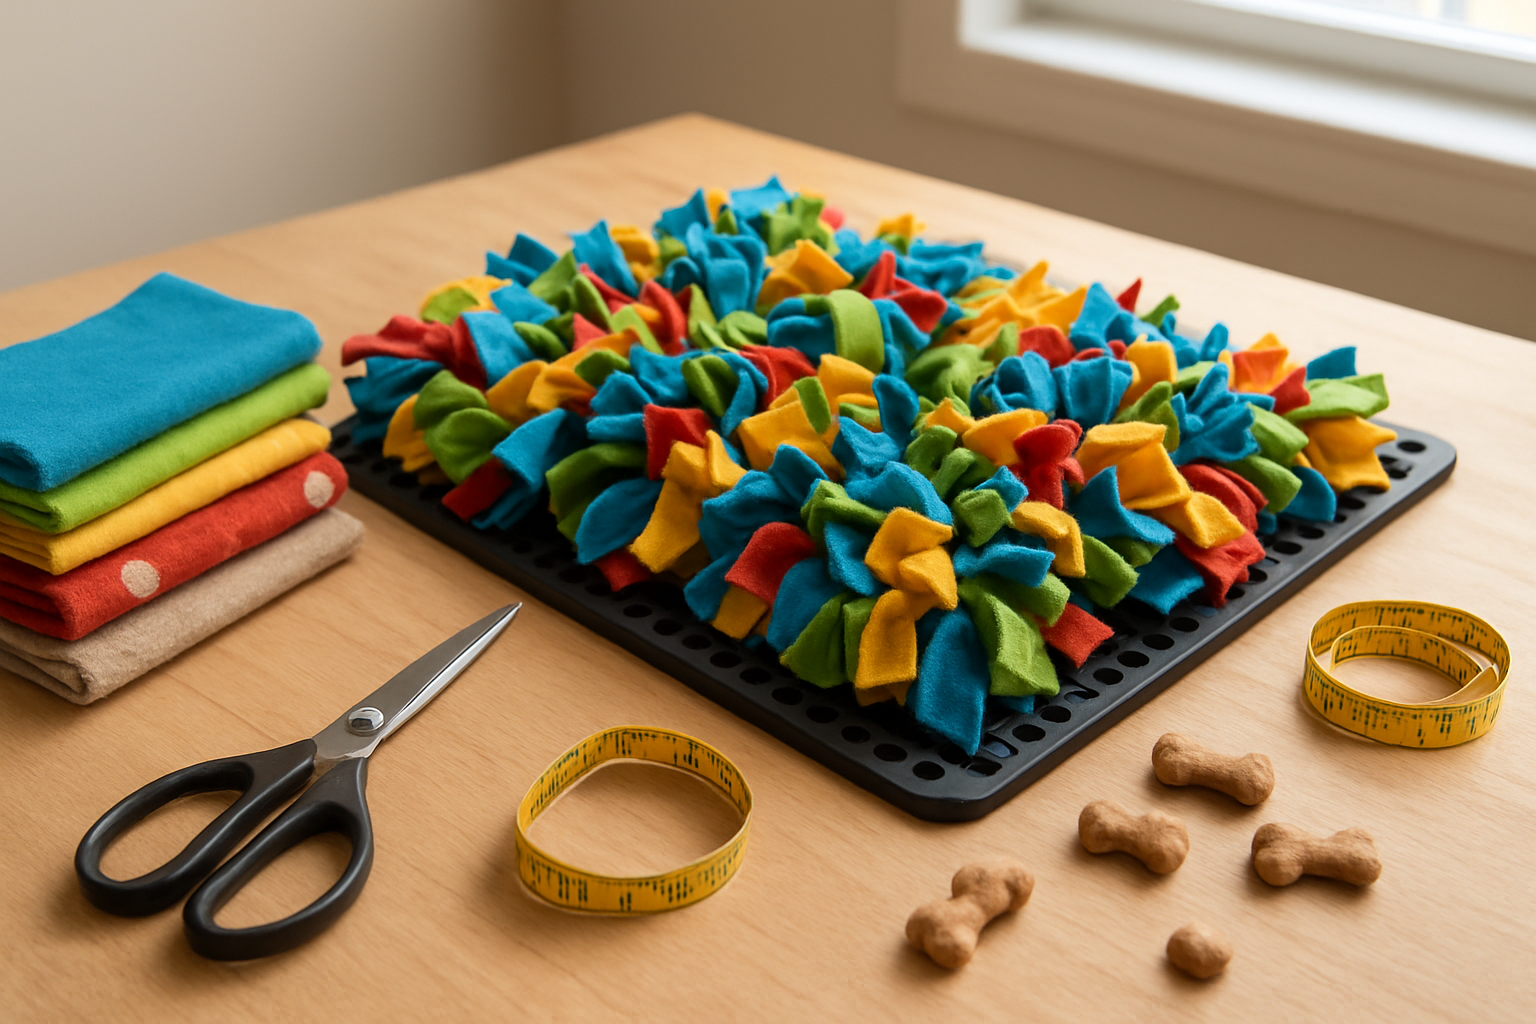
Finishing edges for professional appearance
Trim any uneven strip ends with sharp scissors, cutting at slight angles for a more natural look. Check that all knots are secure and sitting at the same height. Shake out the completed mat vigorously to fluff the fleece strips and remove any loose fibers before first use.
Customizing Your Snuffle Mat for Maximum Effectiveness
Adjusting Strip Length Based on Dog Size
Tailor your fleece strips to match your dog’s snout length and foraging style. For small breeds like Chihuahuas or Yorkshire Terriers, cut strips to 4-5 inches, allowing easy access without overwhelming their tiny faces. Medium dogs such as Beagles or Border Collies work best with 6-7 inch strips that provide adequate challenge while remaining manageable. Large breeds like Golden Retrievers or German Shepherds need 8-10 inch strips to create proper difficulty levels. Giant breeds require even longer strips, up to 12 inches, to engage their powerful snouts effectively. Watch your dog’s initial interactions with the mat and adjust strip lengths if they seem frustrated or bored.
Creating Difficulty Zones with Different Densities
Design your snuffle mat with varying challenge levels by adjusting fleece density across different sections. Create an “easy zone” with strips spaced every other hole, perfect for initial training or senior dogs with limited mobility. Build a “medium zone” by filling every hole with single strips, providing moderate challenge for regular foraging sessions. Construct a “hard zone” by doubling or tripling strips in certain areas, creating dense forests of fleece that require serious nose work. Place treats strategically in each zone, starting with obvious placements in easy areas and hiding rewards deep within dense sections. This graduated difficulty system keeps your dog engaged and prevents boredom during extended play sessions.
Adding Textural Variety with Different Fleece Types
Mix different fleece textures and weights throughout your mat to create a more engaging sensory experience. Combine standard anti-pill fleece with minky fleece for contrasting textures that stimulate your dog’s sense of touch. Add polar fleece strips for extra softness or use micro fleece for a silkier feel. Incorporate corduroy or flannel strips sparingly to introduce new textures without overwhelming your dog. Vary the colors randomly to create visual interest, though remember that dogs see blues and yellows more vividly than reds and greens. You can even add a few strips of different materials like cotton or felt, ensuring they’re dog-safe and won’t shed excessively during use.
Safety Considerations and Best Practices
Choosing dog-safe materials and avoiding toxic substances
Select fleece made from 100% polyester or cotton, avoiding synthetic blends that might contain harmful chemicals. Skip materials treated with flame retardants, stain-resistant coatings, or strong dyes that could irritate your dog’s skin or cause digestive issues if ingested.
Proper supervision during initial use
Watch your dog closely during their first few snuffle mat sessions to gauge their interaction style. Some dogs dive in gently, while others attack with enthusiasm. Stay nearby to redirect any aggressive chewing or attempts to destroy the mat rather than forage through it.
Regular inspection for wear and loose threads
Check your snuffle mat weekly for frayed edges, loose knots, or separated strips that could pose choking hazards. Run your hands through all the fleece strips, feeling for any pieces that pull away easily. Replace worn sections immediately or retire the entire mat if damage becomes extensive.
Age-appropriate sizing guidelines
Match your mat size to your dog’s breed and age – puppies need smaller 12×12 inch mats, while large breeds benefit from 18×24 inch surfaces. Senior dogs with limited mobility work best with lower-profile mats, while energetic adult dogs can handle denser, taller fleece arrangements for increased difficulty.


