How to Build Raised Beds on Any Slope: 5 Simple Steps

My backyard slopes 8 feet from the house to the back fence. Every time it rained, water rushed downhill and created a muddy mess. I wanted to grow vegetables but had no flat ground to work with and assumed I’d need to pay thousands for professional terracing.
I built three terraced raised beds last spring for $240 in lumber and materials. Used the cut and fill method to create level platforms without renting equipment or hiring contractors. My tomatoes and peppers thrived in those beds while the sloped sections around them continued to wash out during storms.
The biggest challenge was figuring out which direction to orient the beds and how much soil to move. Once I understood the basic principle—cut into the slope on the high side, use that dirt to build up the low side—everything clicked. Each bed took about 4 hours to build and level.
Here’s the exact process for building stable raised beds on slopes without professional help. You’ll learn how to assess your slope angle, calculate how much leveling you actually need, build beds that won’t shift or erode, and avoid the drainage mistakes that make sloped beds fail. Whether your yard has a gentle grade or a steep hillside, these steps work without expensive tools or landscaping experience.


Assess Your Slope and Choose the Perfect Location
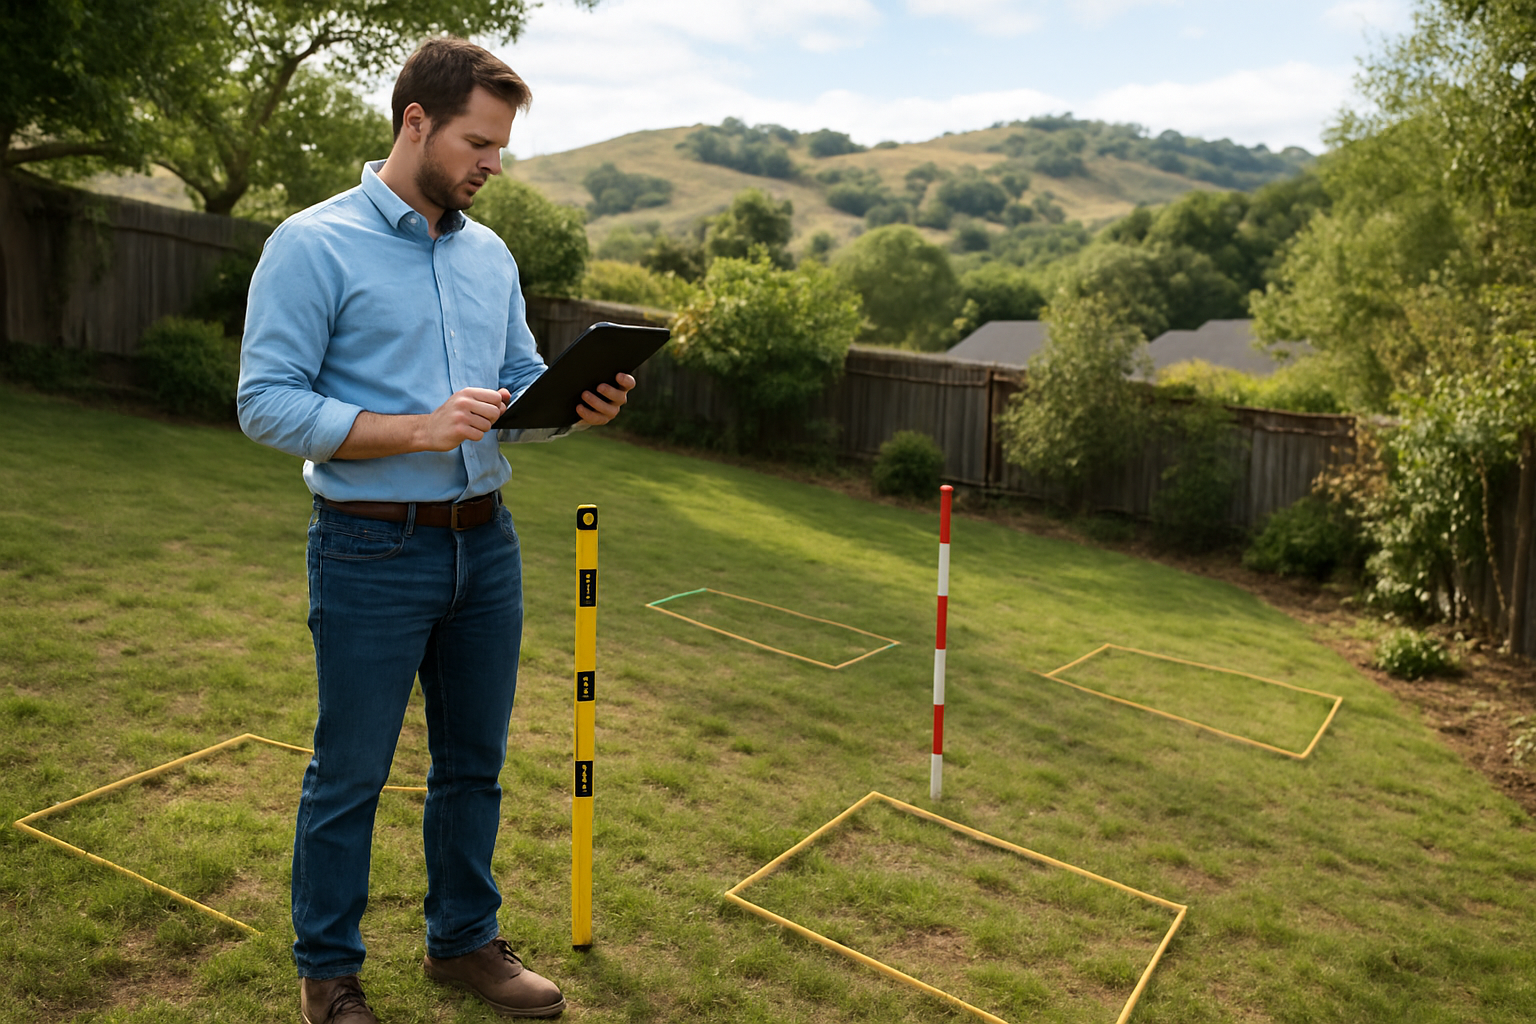
Measure slope angle and drainage patterns
Start by walking your property with a level and measuring stick to determine the slope’s steepness. You’ll want to map where water naturally flows during rain, noting any problem areas where it pools or rushes downhill. Mark these drainage patterns with spray paint or flags, as they’ll guide your raised bed placement. Slopes steeper than 30 degrees require more intensive terracing, while gentler grades under 15 degrees work perfectly for simple raised beds on sloped ground.
Identify optimal sun exposure throughout the day
Track sunlight patterns across your slope by checking every two hours from sunrise to sunset over several days. South-facing slopes get the most intense sun, while north-facing areas stay cooler and shadier. Note how trees, buildings, or landscape features cast shadows that shift throughout the day. Your raised beds on slope should capture at least 6-8 hours of direct sunlight for most vegetables, though you can plan shade-loving crops for naturally darker spots.
Test soil quality and composition
Dig test holes at different elevations to check soil composition, drainage, and pH levels. Slopes often have varying soil quality – the top might be thin and rocky while lower areas collect rich, organic matter. Use a simple soil test kit or send samples to your local extension office for detailed analysis. Rocky or clay-heavy soil actually works in your favor for terraced raised beds since you’ll be adding quality growing medium above the existing ground.
Check accessibility for maintenance and harvesting
Plan pathways and access routes before building your sloped garden beds. You’ll need comfortable footing for regular watering, weeding, and harvesting – especially when carrying tools or full harvest baskets. Consider the width needed for wheelbarrows or garden carts between terraced levels. Mark where you’ll install steps or switchback paths, ensuring each raised bed frame has easy access from at least one side. Think about proximity to water sources and storage areas to make maintenance realistic long-term.
Design Your Terraced Raised Bed System

Calculate bed dimensions based on slope steepness
Your terraced raised beds work best when sized according to your slope’s angle. For gentle slopes (5-15 degrees), build beds 4-8 feet wide and 2-3 feet tall. Steeper slopes (15-30 degrees) need narrower beds of 3-4 feet wide with taller retaining walls up to 4 feet. Measure your slope with a level and measuring tape to determine the exact grade. Space beds 2-3 feet apart to create comfortable walking paths and prevent erosion between levels.
Plan drainage and water flow management
Proper drainage prevents waterlogged soil and foundation erosion in your sloped garden beds. Install French drains behind each retaining wall using perforated pipe surrounded by gravel. Create weep holes every 4-6 feet in your raised bed frames to allow excess water to escape. Position beds perpendicular to the slope’s natural water flow, and add gravel channels between terraces to direct runoff safely away from your growing areas.
Determine materials needed for construction
Choose durable materials that can handle soil pressure and weather on slopes. Pressure-treated lumber works well for most terraced raised beds, requiring 2×10 or 2×12 boards for retaining walls. Stone or concrete blocks offer superior longevity but cost more upfront. Calculate material quantities by measuring total linear feet of retaining walls needed, plus hardware like galvanized screws, metal brackets, and landscape fabric. Add 10% extra materials to account for cuts and waste during construction.
Create Level Foundations Using the Cut and Fill Method
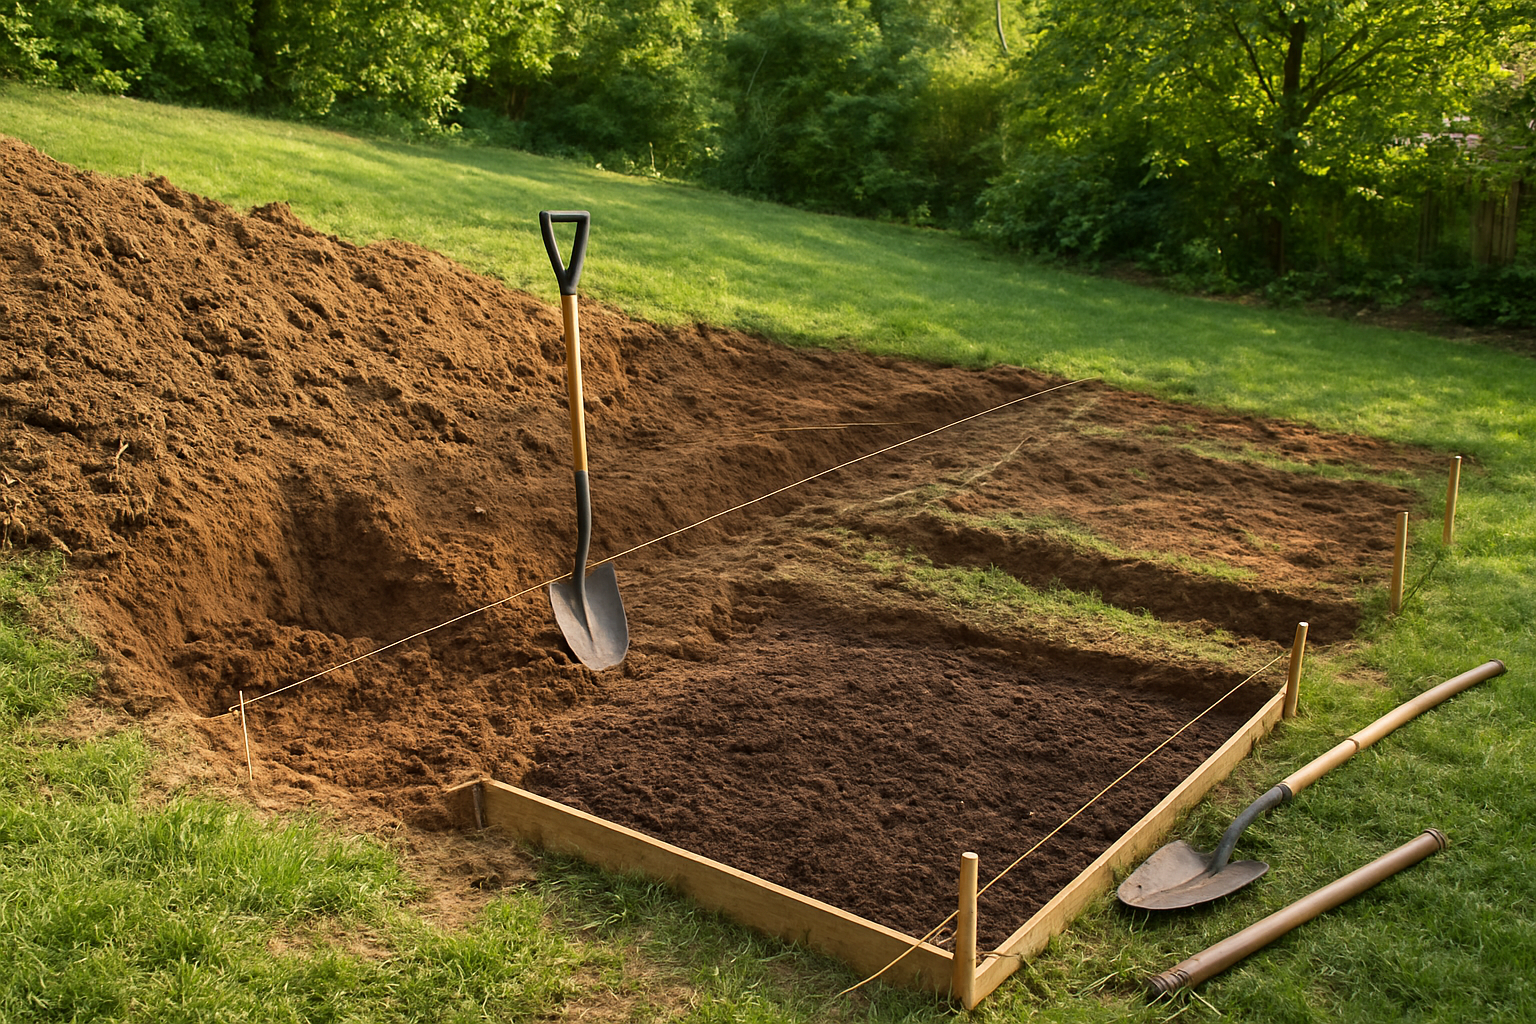
Excavate Uphill Side to Create Flat Surfaces
Start your cut and fill method by digging into the uphill side of your slope to create level terraces. Remove soil from higher areas and redistribute it to lower sections, creating stepped platforms for your raised beds on slope. Mark your level lines using stakes and string, then excavate systematically from top to bottom. This technique transforms challenging sloped ground into manageable flat surfaces perfect for stable raised bed construction.
Build Retaining Walls for Soil Support
Your terraced system needs strong retaining walls to hold back the excavated soil and prevent erosion. Install pressure-treated lumber, concrete blocks, or stone walls along the back edge of each terrace. These walls should extend at least 6 inches below ground level and include proper backfill drainage. Building raised beds on hillside requires these structural supports to maintain your level foundations and protect your investment from soil movement.
Install Proper Drainage Systems
Water management becomes critical when building raised beds on sloped ground. Install French drains behind retaining walls using perforated pipe surrounded by gravel. Create drainage channels between terraces to direct water flow safely down the slope. Add landscape fabric to prevent soil migration while allowing water passage. Your slope gardening techniques must include these drainage solutions to prevent waterlogging and foundation failure.
Compact and Stabilize Foundation Areas
Complete your foundation preparation by compacting all disturbed soil using a hand tamper or plate compactor. Add a base layer of crushed gravel where needed for extra stability. Check levels frequently with a spirit level to ensure your terraced raised beds sit perfectly flat. Proper compaction prevents settling and ensures your raised bed frames for slopes remain stable season after season, giving you a solid foundation for successful slope gardening.
Build Sturdy Raised Bed Frames for Slope Stability
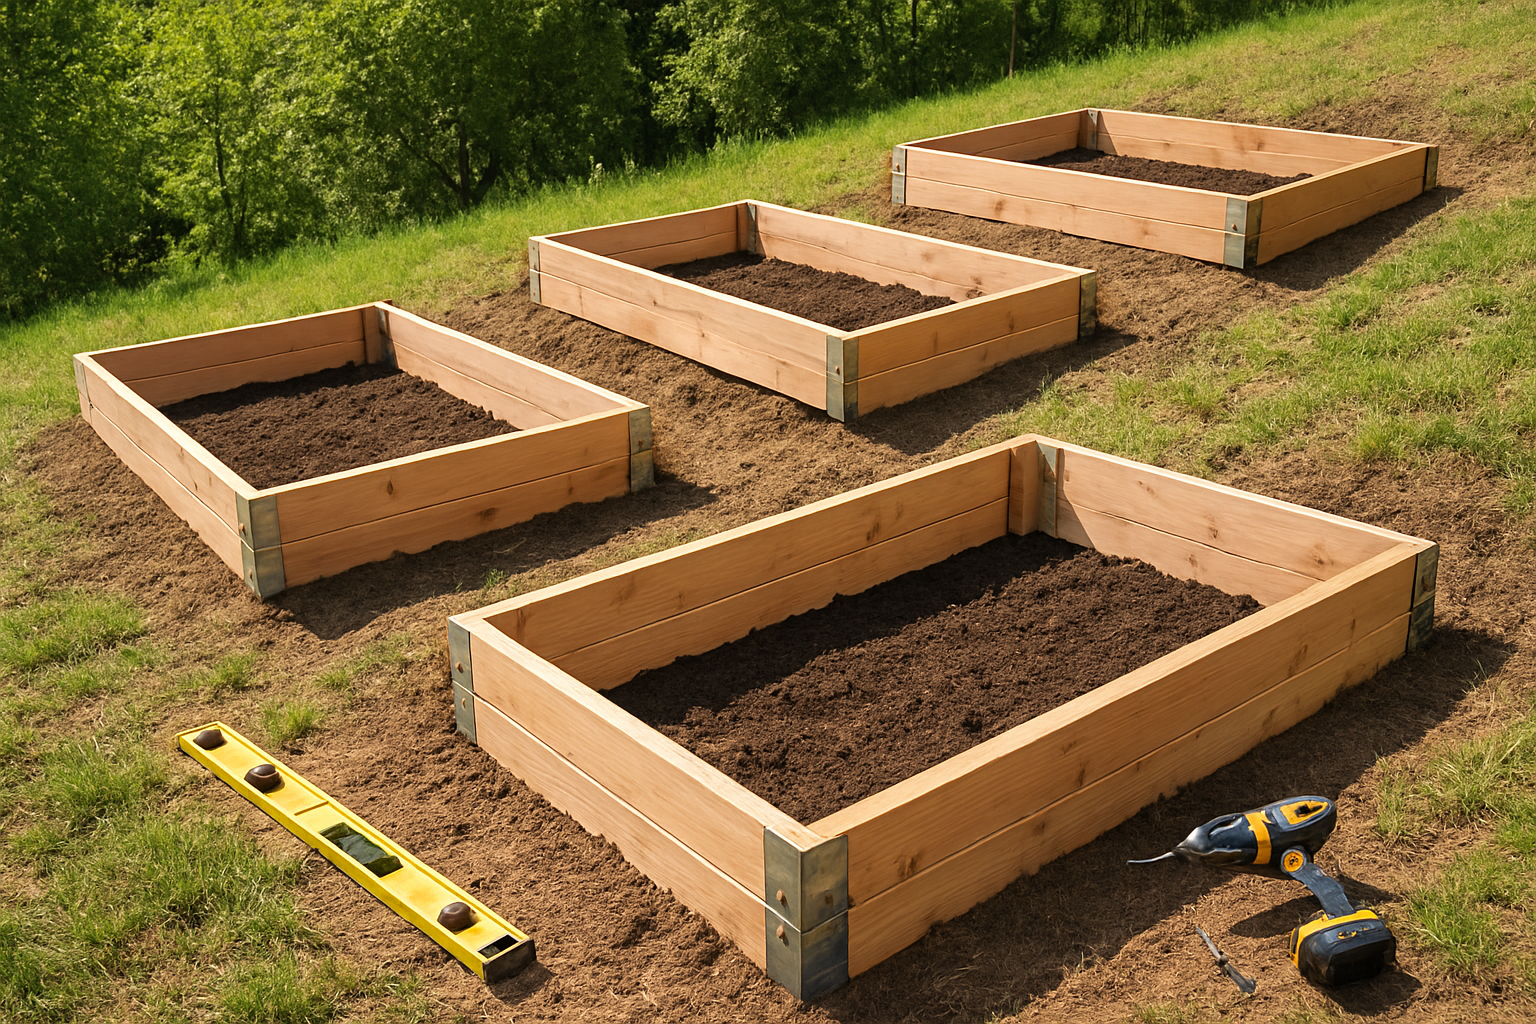
Select Durable Materials for Harsh Slope Conditions
When building raised bed frames for slopes, you need materials that can handle steep angles, water runoff, and soil pressure. Cedar and redwood naturally resist rot and moisture, making them perfect for sloped terrain. Pressure-treated lumber offers excellent durability but requires proper sealing. For extreme slopes, consider composite materials or galvanized steel that won’t warp under stress. Avoid untreated pine or particle board, as these materials quickly deteriorate on slopes where moisture accumulates.
Secure Frames with Anchoring Systems
Your raised bed frames need solid anchoring to prevent sliding down the slope. Drive rebar stakes or galvanized anchors at least 18 inches into the ground behind each frame corner. Use L-brackets to connect the frame directly to these anchors, creating a secure attachment point. For steeper slopes, add additional anchor points every 3-4 feet along the frame’s back edge. Consider concrete footings for permanent installations on challenging terrain where standard anchoring might fail.
Install Cross-Bracing for Additional Support
Cross-bracing prevents your raised bed frames from racking and shifting on uneven ground. Install diagonal braces between opposite corners of rectangular beds, creating an X-pattern for maximum stability. Add horizontal support beams across the middle of longer beds to distribute soil weight evenly. For terraced raised beds, connect adjacent levels with sturdy cross-braces that transfer loads between frames. Use galvanized bolts rather than screws for these connections, as they handle lateral forces much better on sloped installations.
Fill and Plant Your Slope Raised Beds Successfully
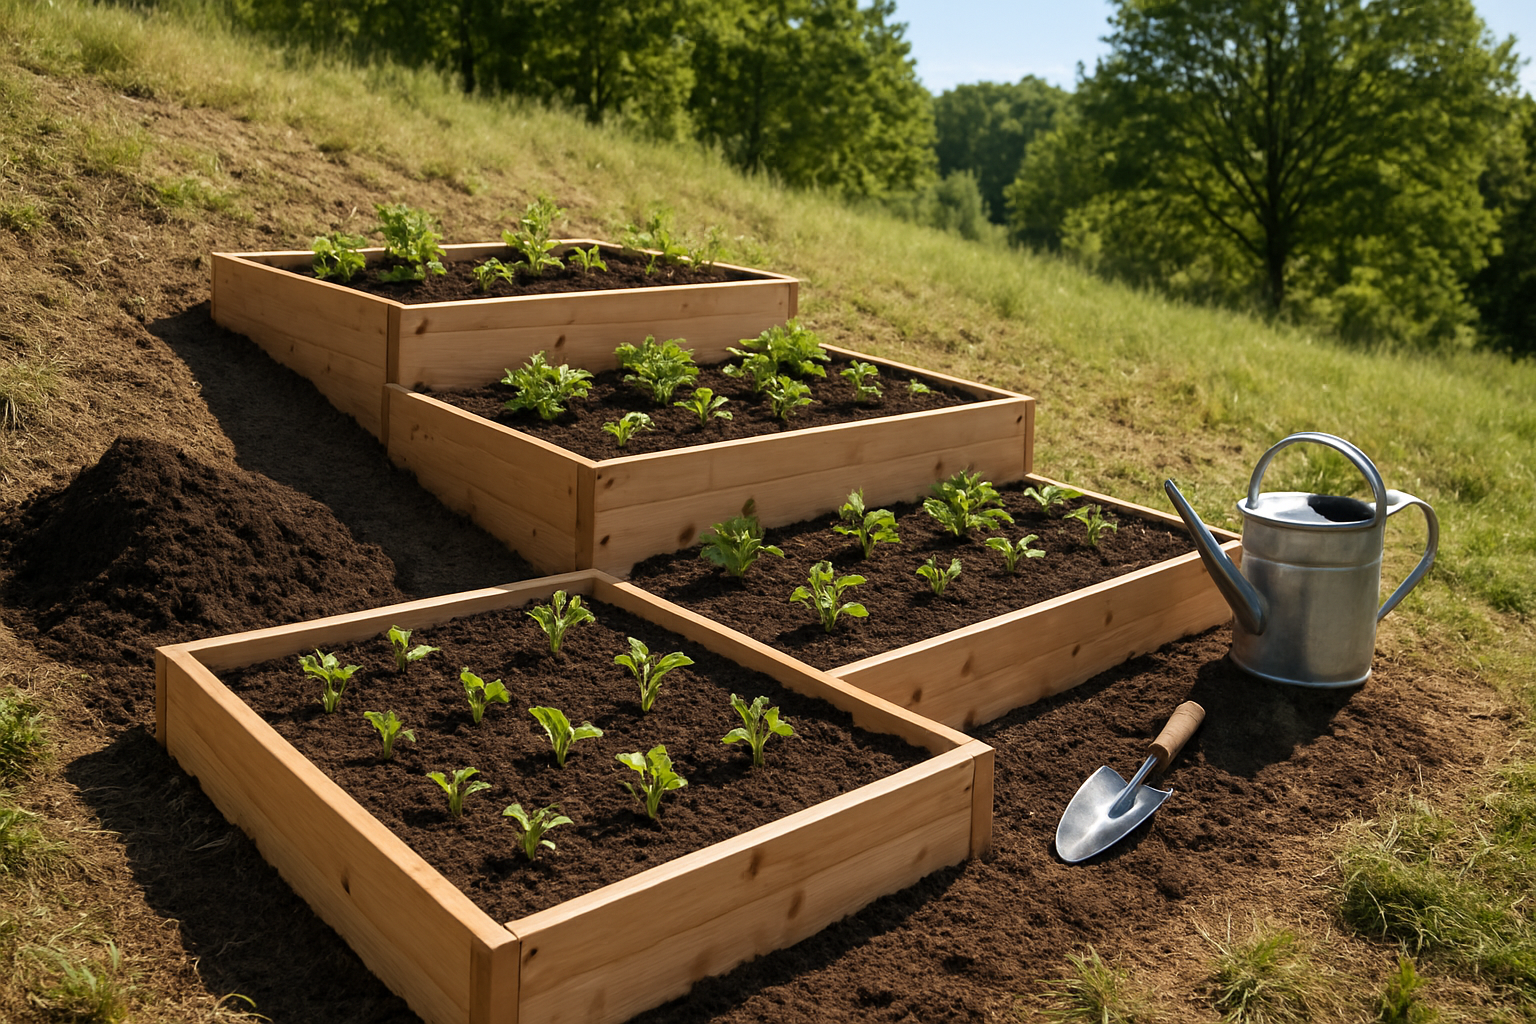
Layer soil and amendments for optimal drainage
Start with a layer of coarse material like gravel or broken pottery at the bottom of your raised beds on slope to prevent waterlogging. Mix quality topsoil with compost and perlite to create a well-draining blend that won’t wash away during heavy rains. Your sloped garden beds need soil that holds moisture without becoming soggy.
Choose plants suited for sloped garden conditions
Select plants with strong root systems that can handle water runoff and varying moisture levels. Deep-rooted vegetables like tomatoes and beans work well in terraced raised beds, while shallow-rooted crops like lettuce should go in the most level sections. Consider drought-tolerant herbs and perennials that thrive in well-draining conditions.
Implement efficient watering techniques
Install drip irrigation or soaker hoses to deliver water slowly and evenly across your slope raised beds. Water early morning to reduce evaporation and prevent runoff. Focus watering at the uphill end of each bed, allowing gravity to help distribute moisture throughout the terraced garden design while preventing soil erosion.
Add mulch to prevent soil erosion
Apply a thick layer of organic mulch around plants to lock soil in place and retain moisture. Straw, wood chips, or shredded leaves work best for raised bed construction slope situations. Keep mulch a few inches away from plant stems to prevent pest issues while maintaining coverage that stops rain from washing away your carefully prepared soil.
Create pathways for safe garden access
Build stable pathways between your terraced raised beds using gravel, stepping stones, or wooden planks. Make paths at least 18 inches wide with gentle slopes no steeper than 1:12 for safe navigation. Install handrails on steeper sections and ensure good traction with non-slip materials to make your hillside garden both accessible and enjoyable to maintain.


