DIY Outdoor Pet Wash Station for Dogs and Cats

Tired of wrestling your muddy dog in the bathtub or chasing your cat around the house with a damp towel? A DIY outdoor pet wash station gives you the perfect solution for keeping your furry friends clean without turning your bathroom into a disaster zone.
This guide is perfect for pet owners who want a dedicated washing area that works for both dogs and cats, whether you’re dealing with a Great Dane who loves rolling in dirt or a long-haired cat who needs regular grooming. You’ll learn how to plan and build a functional wash station that fits your space and budget.
We’ll walk you through the essential materials and tools you need to get started, then guide you through each step of the construction process. You’ll also discover smart design features that keep your pets comfortable and safe during bath time, plus money-saving maintenance tips to protect your investment year-round.
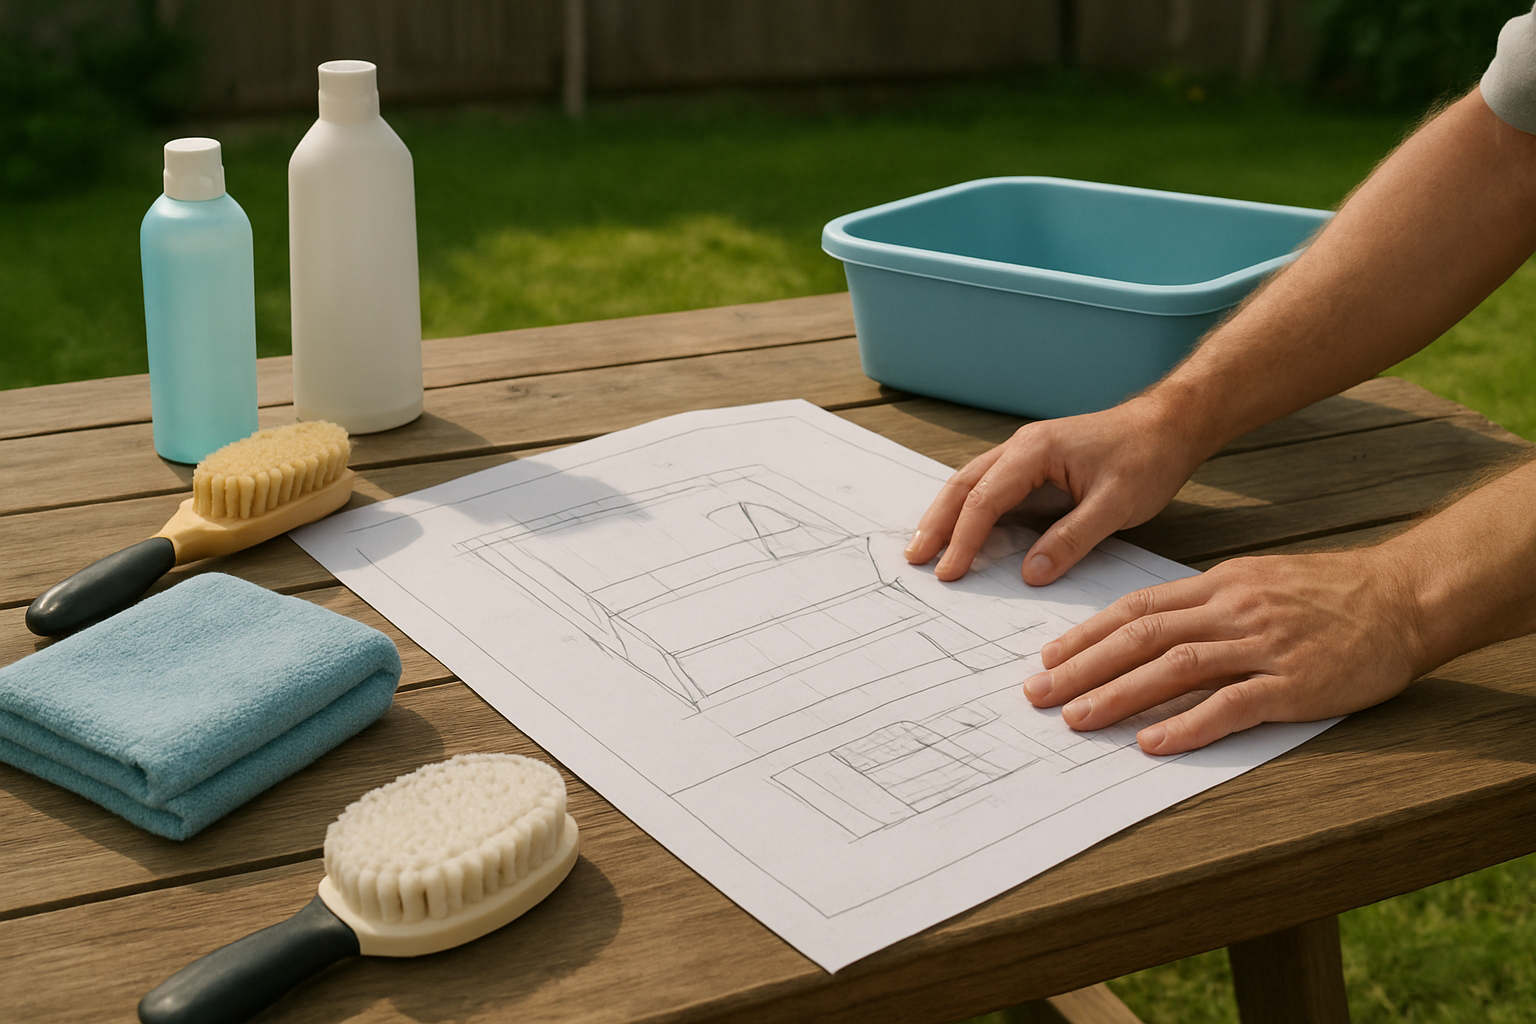
Planning Your Perfect Pet Wash Station Setup
You Might Also Love These Ideas


Choosing the ideal outdoor location for maximum convenience
Your outdoor pet wash station needs easy access to both your house and a water source. Pick a spot within 50 feet of your main water line to avoid expensive plumbing extensions. Consider proximity to your back door since you’ll be carrying wet pets inside. A level area near your utility room or laundry area works perfectly, giving you quick access to towels and grooming supplies.
Measuring space requirements for comfortable pet washing
You’ll need at least 6 feet by 4 feet for a basic setup that accommodates medium-sized dogs. Large breeds require 8 feet by 5 feet minimum. Factor in extra space for you to move around comfortably – add 2 feet on all sides. Your wash station should include room for a raised platform, storage for supplies, and space to maneuver squirmy pets safely.
Considering water drainage and runoff solutions
Proper drainage prevents muddy disasters and protects your yard. Install your wash station on a slight slope – even 1-2 inches makes a huge difference. Connect to existing drainage systems when possible, or create a gravel French drain leading away from your foundation. Avoid washing directly over septic drain fields, and check local regulations about pet shampoo runoff into storm drains.
Evaluating sun exposure and weather protection needs
Morning sun helps dry wet pets quickly, but afternoon shade keeps everyone comfortable during summer washes. Position your station to catch 4-6 hours of morning sunlight while providing overhead protection. A simple pergola or awning shields you and your pets from harsh weather. Consider wind patterns too – you don’t want cold gusts chilling wet animals or blowing soap suds everywhere.
Essential Materials and Tools for Construction

Selecting durable plumbing fixtures and connections
Your pet wash station needs robust plumbing components that can handle frequent use and outdoor conditions. Choose brass or stainless steel fittings over plastic ones, as they resist corrosion and temperature changes better. Install a quality shut-off valve near your water source for easy maintenance, and consider quick-connect hoses for convenient setup and storage. PVC pipes work well for drainage, but ensure all joints are properly sealed with weatherproof compounds.
Choosing weather-resistant building materials
Weather protection starts with your material choices. Pressure-treated lumber provides excellent resistance to moisture and insects for your frame construction. Cedar naturally repels water and pests while offering beautiful aesthetics. For surfaces, marine-grade plywood or composite decking boards resist warping and cracking. Galvanized or stainless steel hardware prevents rust, and exterior-grade screws hold better than nails in changing weather conditions.
Gathering necessary tools for installation
Stock your toolbox with essential construction equipment before starting. You’ll need a circular saw or miter saw for precise cuts, a drill with various bits for assembly, and a level to ensure proper drainage slopes. Plumbing tools include pipe wrenches, PVC cutter, and waterproof sealant. Don’t forget measuring tape, pencil, safety glasses, and work gloves. Having a wheelbarrow nearby helps transport materials efficiently around your workspace.
Step-by-Step Construction Process
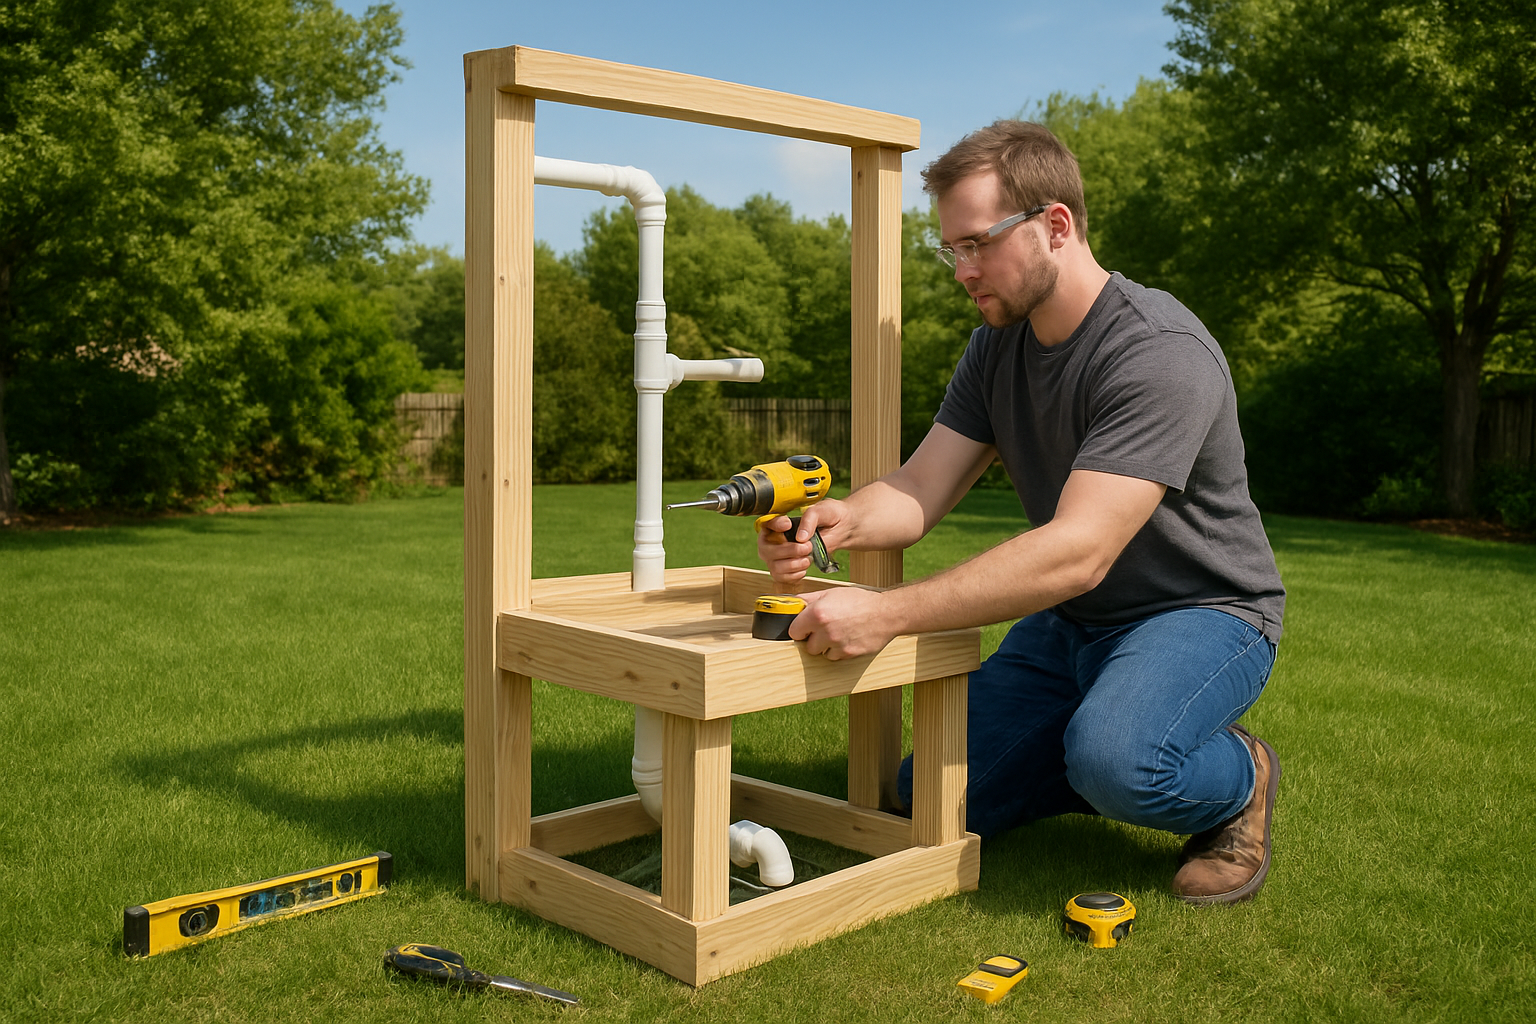
Preparing the Foundation and Base Structure
Start by marking your chosen location and digging a foundation area 4-6 inches deep for proper drainage. Level the ground using a tamping tool, then lay a base of compacted gravel followed by sand for stability. Install concrete pavers or pour a concrete pad if you want a permanent structure. Make sure your foundation slopes slightly toward the drainage area to prevent water pooling around your pet’s feet.
Installing Water Supply Lines and Drainage Systems
Connect your water supply by running PVC pipes from your home’s main line or installing a garden hose connection with a shut-off valve. Install a drainage system by digging a trench leading to your yard’s natural drainage area or connecting to existing drainage. Place a floor drain in your washing platform and connect it with PVC piping. Test all connections for leaks before covering with your platform material.
Building the Washing Platform and Walls
Construct your washing platform using pressure-treated lumber or waterproof materials, ensuring it’s elevated 2-3 inches above ground level. Build three walls around the platform using cedar boards, vinyl panels, or concrete blocks, leaving one side open for easy pet access. Install a non-slip surface like rubber mats or textured paint on the platform. Add hooks and shelves on the walls for hanging leashes, storing shampoo, and keeping towels within reach.
Adding Finishing Touches and Safety Features
Install adequate lighting with weatherproof fixtures for evening washes and winter months. Add a handheld spray nozzle with adjustable pressure settings to make rinsing easier and less stressful for your pets. Create a drying area with towel hooks and a small bench for post-bath activities. Apply weather-resistant sealant to all wood surfaces and check that all electrical connections meet outdoor safety standards.
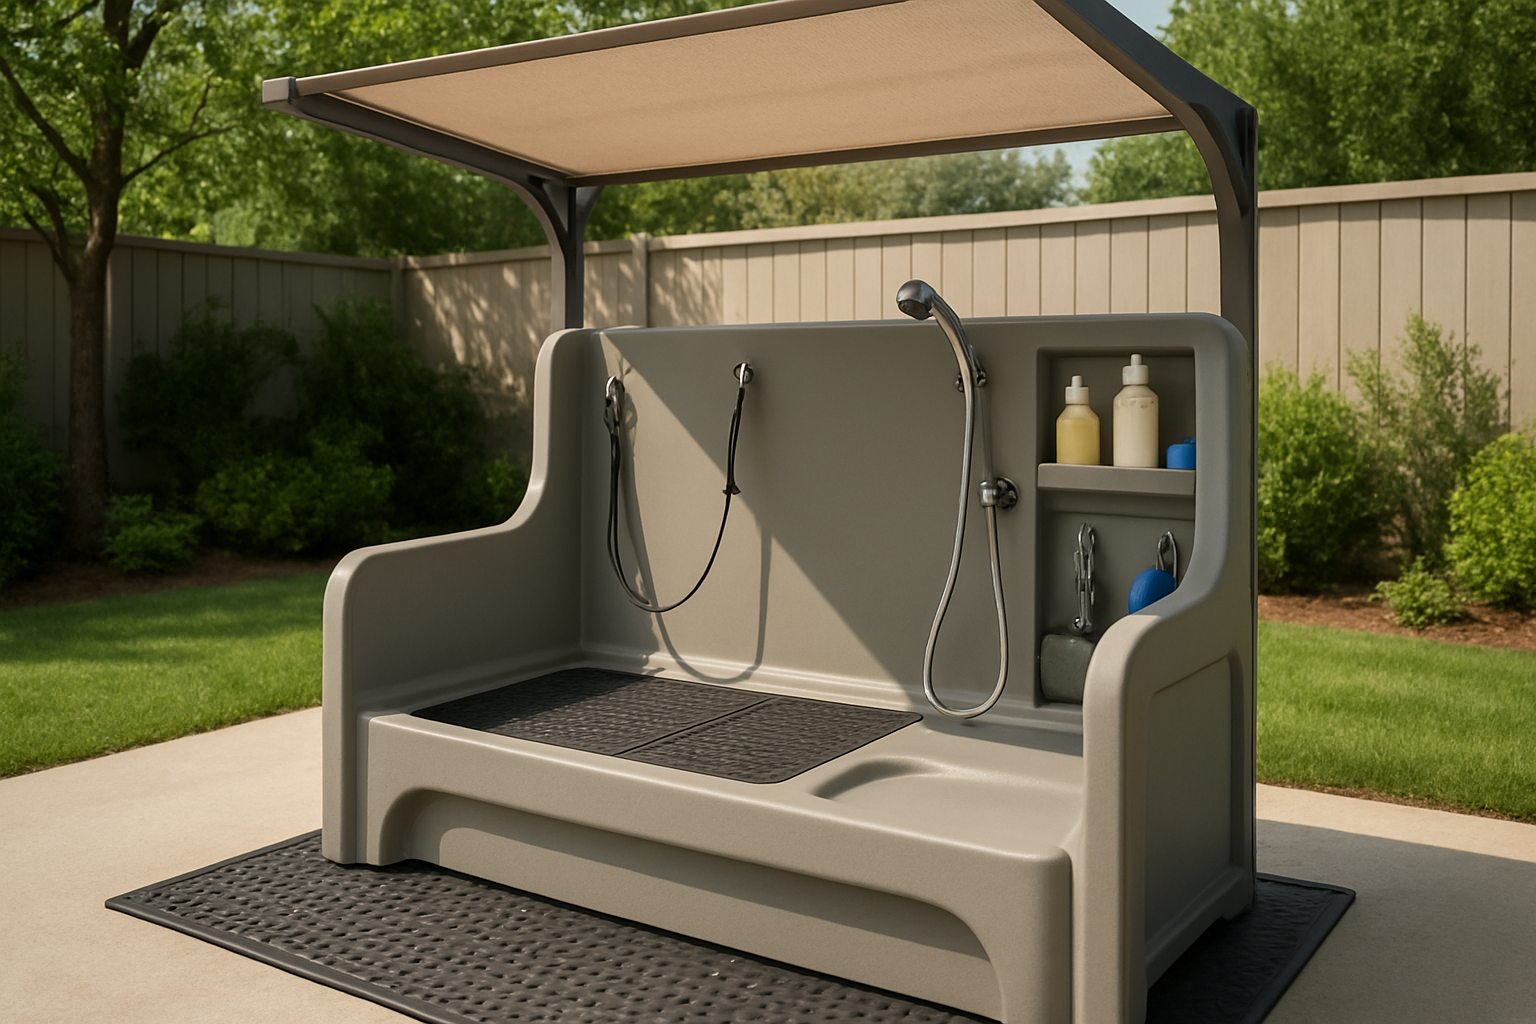
Smart Design Features for Pet Comfort and Safety
Creating non-slip surfaces for secure footing
Install textured rubber mats or apply non-slip coating to your wash station floor to prevent your pet from slipping during bath time. You can also add grip strips along the washing area edges or use removable textured pads that provide extra traction while being easy to clean.
Installing adjustable height options for different pet sizes
Build your wash station with adjustable legs or create a tiered platform system that accommodates both small cats and large dogs. Consider installing a removable ramp or steps that can be adjusted based on your pet’s size, making it easier for older pets or those with mobility issues to enter the washing area comfortably.
Adding restraint systems for anxious pets
Incorporate gentle restraint options like overhead tie-downs with quick-release clips or side-mounted tethering points that keep nervous pets secure without causing stress. You can install a grooming arm with an adjustable noose or create designated anchor points where you can attach your pet’s collar or harness during washing sessions.
Incorporating storage solutions for washing supplies
Design built-in shelving or cabinet space around your wash station to keep shampoos, towels, and grooming tools within easy reach. Add waterproof storage containers underneath the washing platform or install wall-mounted organizers that protect your supplies from water splash while keeping everything organized and accessible during bath time.
Cost-Effective Maintenance and Winterization Tips
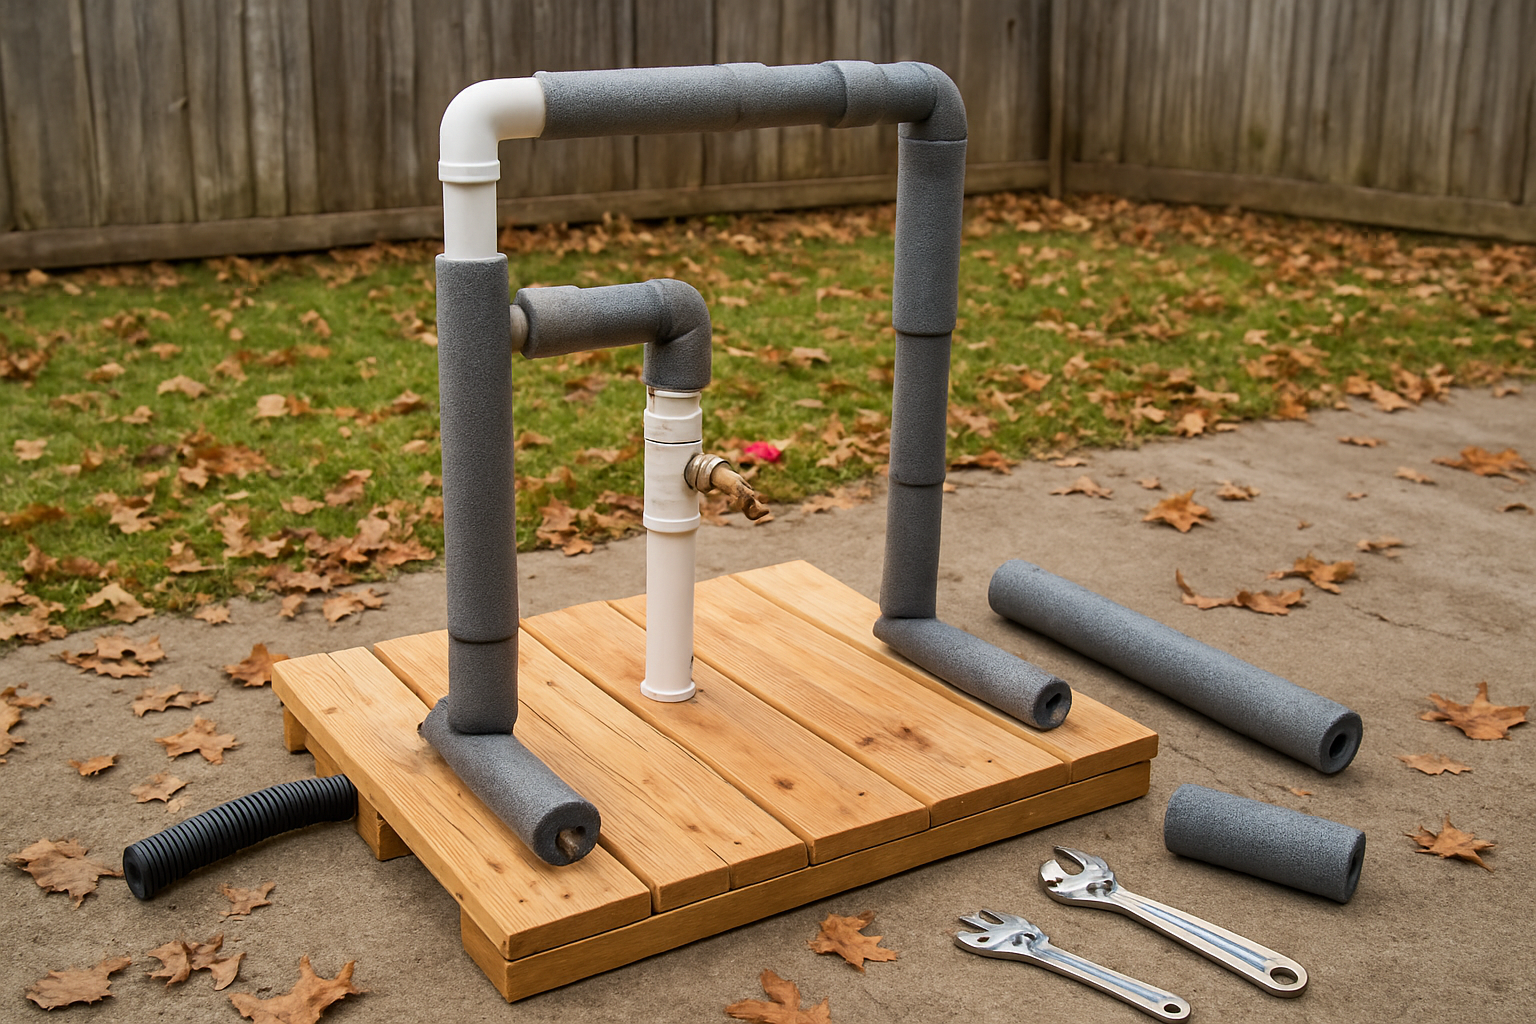
Protecting plumbing from freeze damage
Before winter hits, shut off your water supply and drain all pipes completely. Remove any detachable hoses and store them indoors. Wrap exposed pipes with foam insulation sleeves and install freeze-proof spigots if possible. For extra protection, add a heated pipe cable to vulnerable sections. Keep your outdoor faucet covers handy – they’re cheap insurance against costly repairs come spring.
Cleaning and sanitizing your wash station regularly
Your wash station needs weekly cleaning to prevent bacteria buildup and odors. Scrub surfaces with pet-safe disinfectant and rinse thoroughly. Check drainage regularly – hair and debris can clog pipes fast. Mix baking soda and vinegar monthly to clear minor blockages naturally. Replace worn brushes and tools as needed, and always rinse soap residue completely to keep your pets safe during their next bath.
Troubleshooting common issues and repairs
Low water pressure usually means clogged aerators or mineral buildup – soak them in vinegar overnight. Drainage problems often stem from hair clogs, so keep a drain snake nearby for quick fixes. Leaky connections need immediate attention to prevent water damage. Tighten loose fittings first, then replace worn washers or gaskets. Keep basic plumbing supplies on hand: Teflon tape, replacement washers, and pipe sealant will handle most common repairs.


