How To Install A Solar Water Fountain For A Low-Cost, Zero-Wire Upgrade

Want to add the soothing sound of flowing water to your garden without running electrical lines or watching your utility bill spike? A solar water fountain offers the perfect solution for homeowners and garden enthusiasts who want an eco-friendly water feature that costs nothing to operate.
This guide walks you through installing a solar water fountain from start to finish. You’ll learn how to choose the right fountain for your space and find the optimal location for maximum solar efficiency. We’ll also cover the step-by-step installation process and share tips for optimizing performance so your new water feature keeps running smoothly for years to come.
By the end, you’ll have a beautiful, self-powered fountain that transforms your outdoor space without the hassle of electrical work or ongoing energy costs.
Choose the Perfect Solar Water Fountain for Your Space
You Might Also Love These Ideas


Evaluate your garden size and layout requirements
Your space determines everything from fountain size to placement options. Measure your available area and consider existing landscape features like pathways, flower beds, and seating areas. Small patios work best with tabletop or compact tiered fountains, while larger yards can accommodate grand multi-level designs. Think about viewing angles from windows and outdoor living spaces to maximize visual impact.
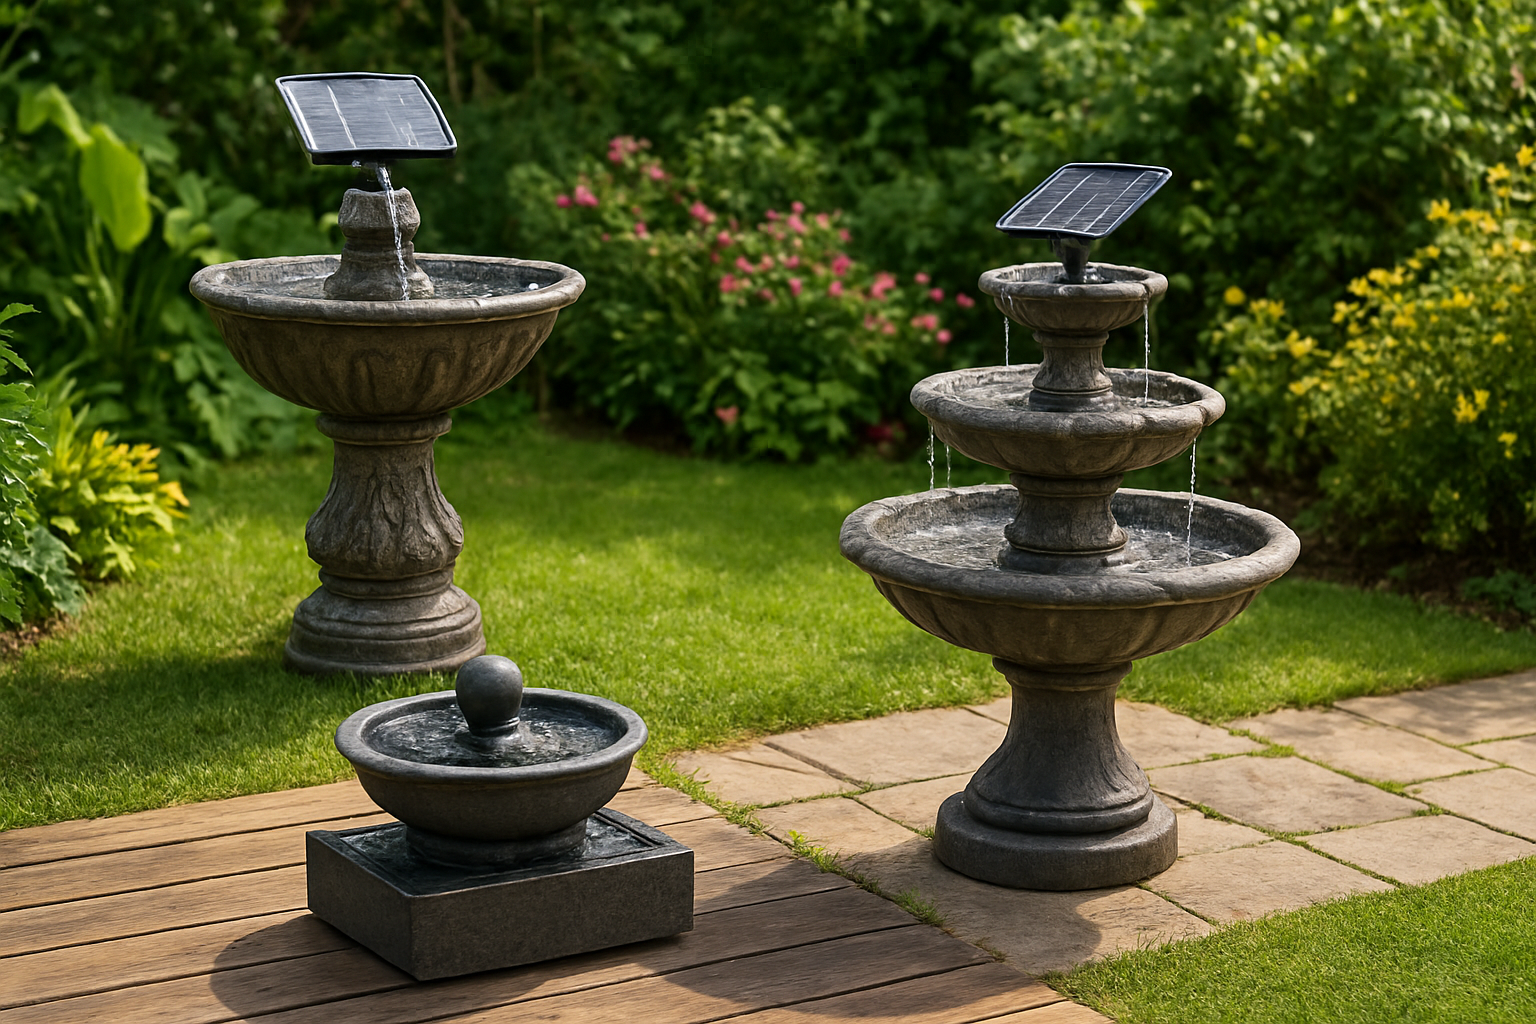
Compare fountain styles and water flow options
Different fountain styles create unique atmospheres in your outdoor space. Tiered fountains provide classic elegance with gentle cascading water, while modern geometric designs offer contemporary appeal. Bird bath fountains attract wildlife, and rock or stone styles blend naturally with gardens. Water flow options range from gentle bubbling for peaceful ambiance to stronger streams for dramatic sound effects that mask neighborhood noise.
Select appropriate solar panel wattage for consistent operation
Your fountain’s pump requirements dictate the solar panel size you need. Small fountains typically need 5-10 watt panels, medium-sized ones require 10-20 watts, and large installations demand 20+ watts. Higher wattage panels ensure operation during cloudy days and provide battery backup power. Check your pump’s specifications and choose panels with 25-50% extra capacity to account for weather variations and seasonal sunlight changes.
Consider budget-friendly models with maximum impact
Smart shopping gets you the best fountain for your money. Entry-level solar fountains start around $30-50 and work well for small spaces, while mid-range options ($75-150) offer better build quality and features like LED lights or battery backup. High-end models ($200+) provide premium materials and advanced solar technology. Look for complete kits that include everything needed, avoiding hidden costs for additional pumps, tubing, or installation hardware.
Gather Essential Tools and Materials for Quick Installation
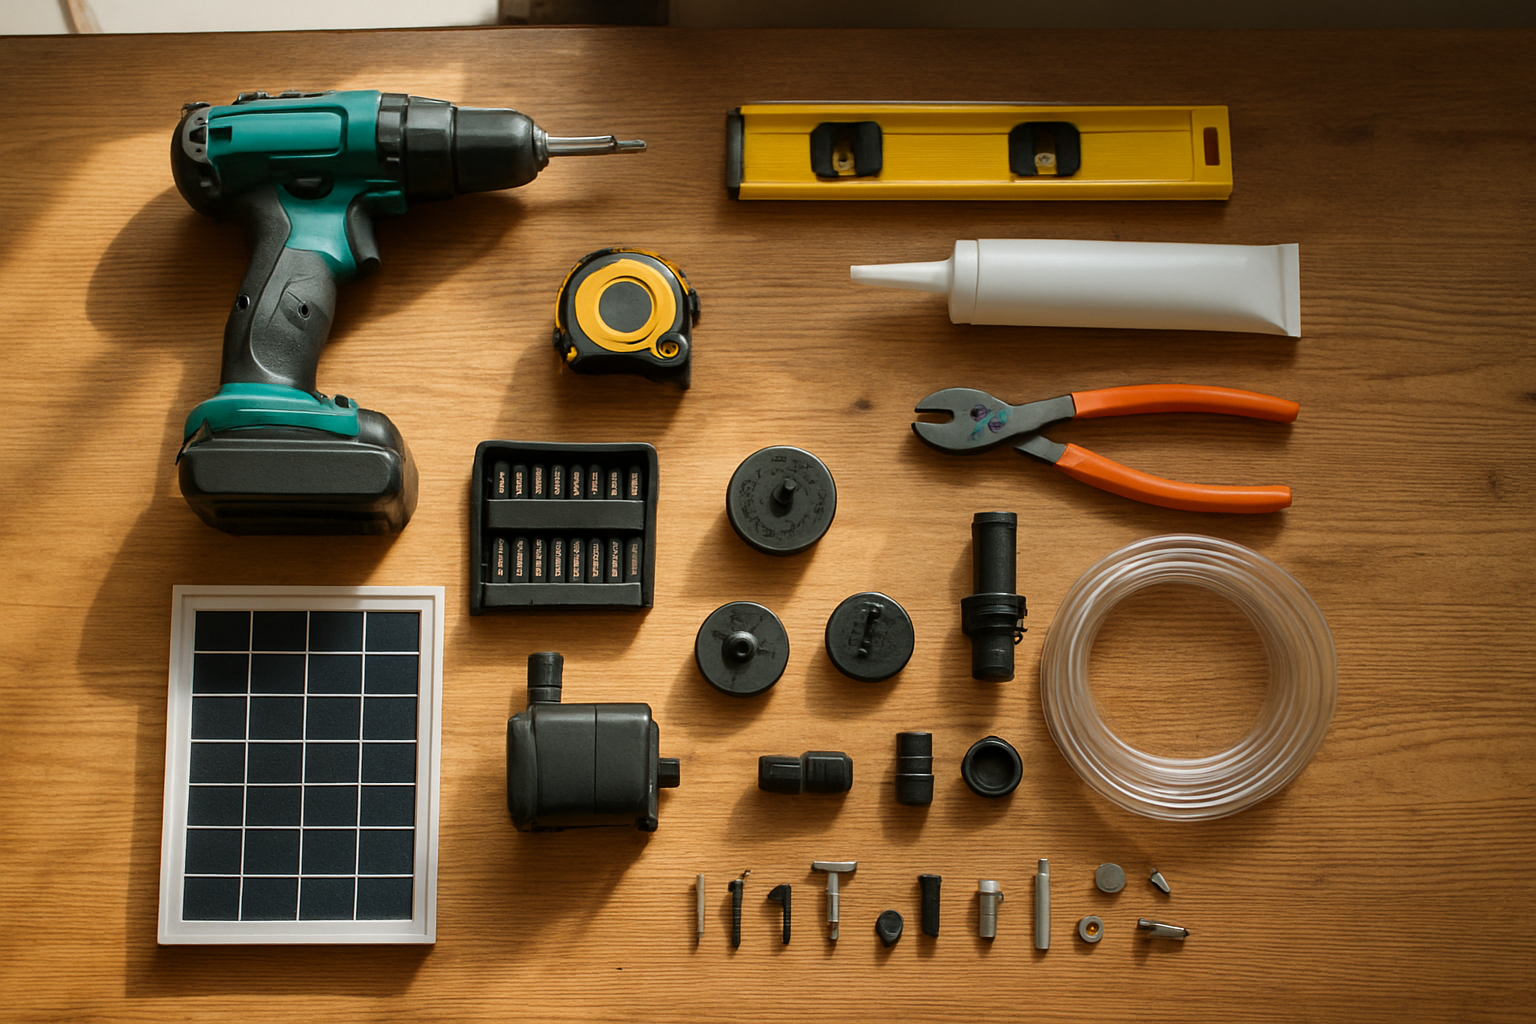
Identify basic tools needed for fountain setup
You’ll need a basic screwdriver set, adjustable wrench, and measuring tape for assembly. Most solar fountains come with detailed instructions, but having a drill with various bits helps secure components to different surfaces. Keep a level handy to ensure your fountain sits properly and operates efficiently.
Source additional accessories for enhanced performance
Consider purchasing a fountain cover to protect your investment during harsh weather. Water treatment tablets prevent algae buildup and keep your fountain running smoothly. LED lighting accessories can transform your fountain into an evening focal point, while extension cables give you more flexibility in solar panel placement.
Prepare backup components for seamless operation
Stock up on replacement pump filters and cleaning brushes since these wear out with regular use. Having spare fountain nozzles lets you change water patterns seasonally. Keep extra waterproofing sealant on hand for quick repairs, and consider buying a backup pump motor to avoid downtime during peak enjoyment seasons.
Select the Optimal Location for Maximum Solar Efficiency
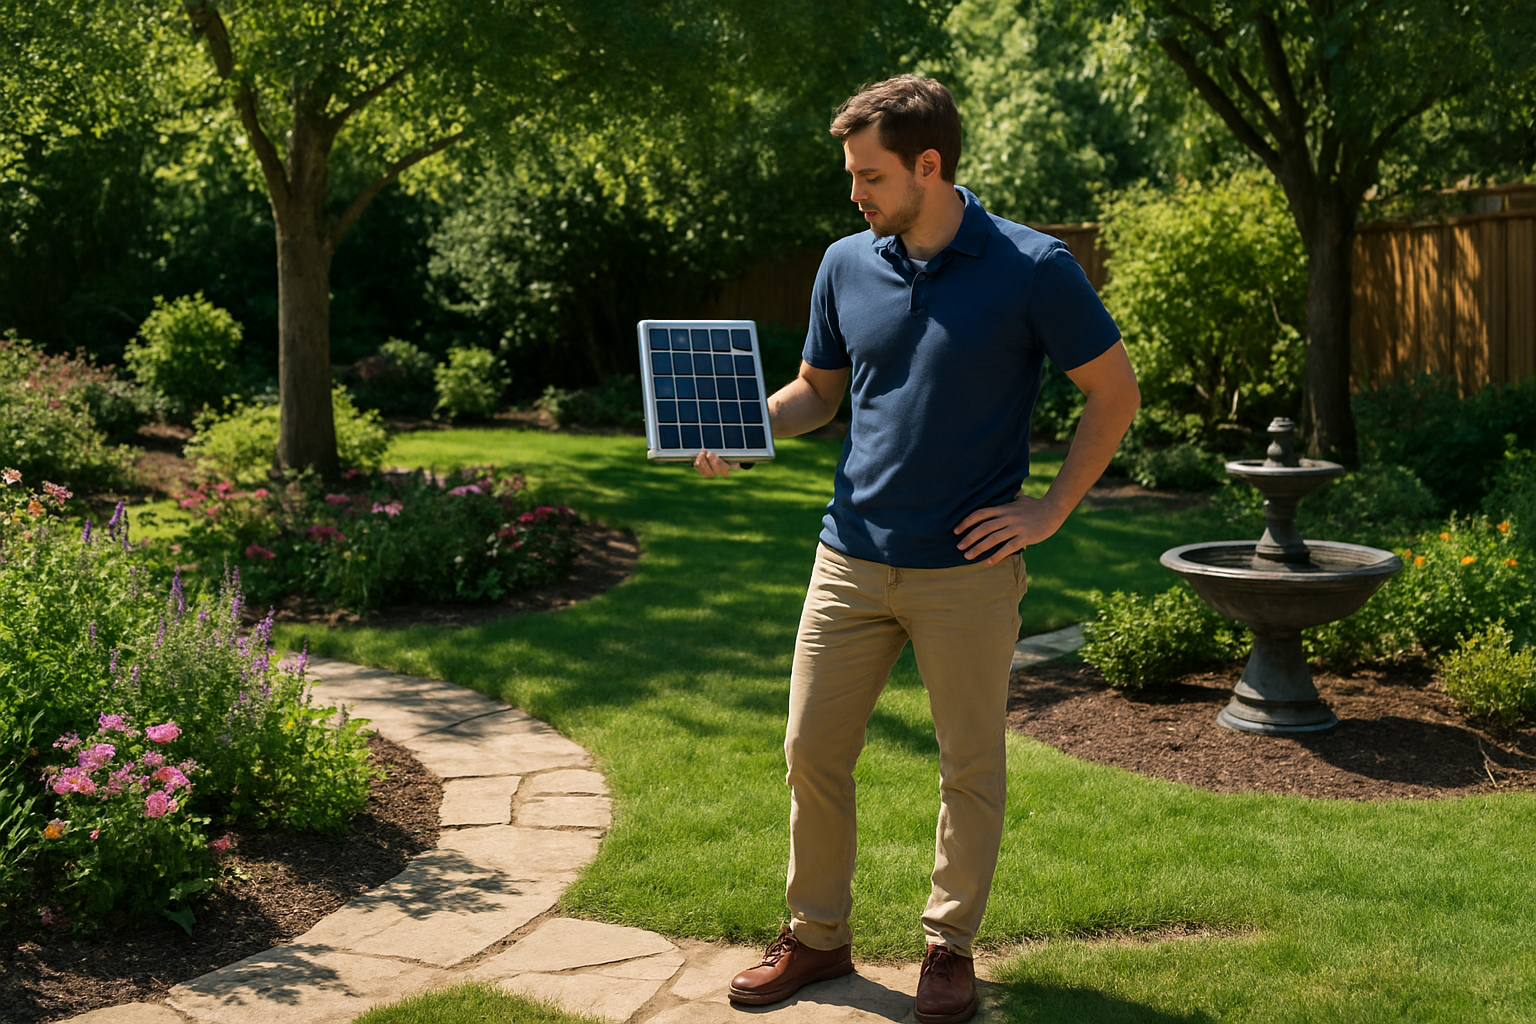
Find areas with 6-8 hours of direct sunlight exposure
Your fountain’s performance depends entirely on consistent sunlight hitting the solar panel. Scout your yard during different times of day, marking spots that receive uninterrupted sun from morning until late afternoon. Trees, buildings, and fences create shadows that shift throughout the day, so watch for patterns. South-facing locations typically get the most consistent exposure. Avoid areas under tree branches that might grow fuller during summer months, blocking your panel’s power source.
Position fountain near existing water sources for easy filling
Save yourself countless trips with a heavy watering can by placing your fountain within hose reach of outdoor spigots or rain collection systems. You’ll need to top off the water regularly due to evaporation, especially during hot weather. Consider proximity to your house if you plan to run extension cords for backup pumps or lighting. Access matters just as much as aesthetics – you want maintenance to be simple, not a chore that makes you avoid caring for your fountain.
Ensure level ground for stable fountain placement
Uneven surfaces cause fountains to wobble, create uneven water flow, and potentially damage pump components over time. Use a carpenter’s level to check potential spots, or lay a long board across the area to spot dips and rises. Small irregularities can be fixed with sand or gravel, but major slopes require more work. Concrete pads, flagstones, or compacted gravel bases work well for permanent installations. Avoid soft soil that might settle or shift during rainy seasons.
Consider visual appeal and landscape integration
Your fountain should enhance your outdoor space, not look like an afterthought dropped randomly in the yard. Think about sight lines from your house, patio, and garden paths. Position it where you’ll actually see and enjoy it daily. Consider existing landscaping elements like flower beds, walkways, and seating areas. The fountain can serve as a focal point or complement existing features. Don’t forget practical concerns like splash zones – nearby plants should tolerate extra moisture, and walkways shouldn’t become slippery from spray.
Set Up Your Solar Panel System for Reliable Power
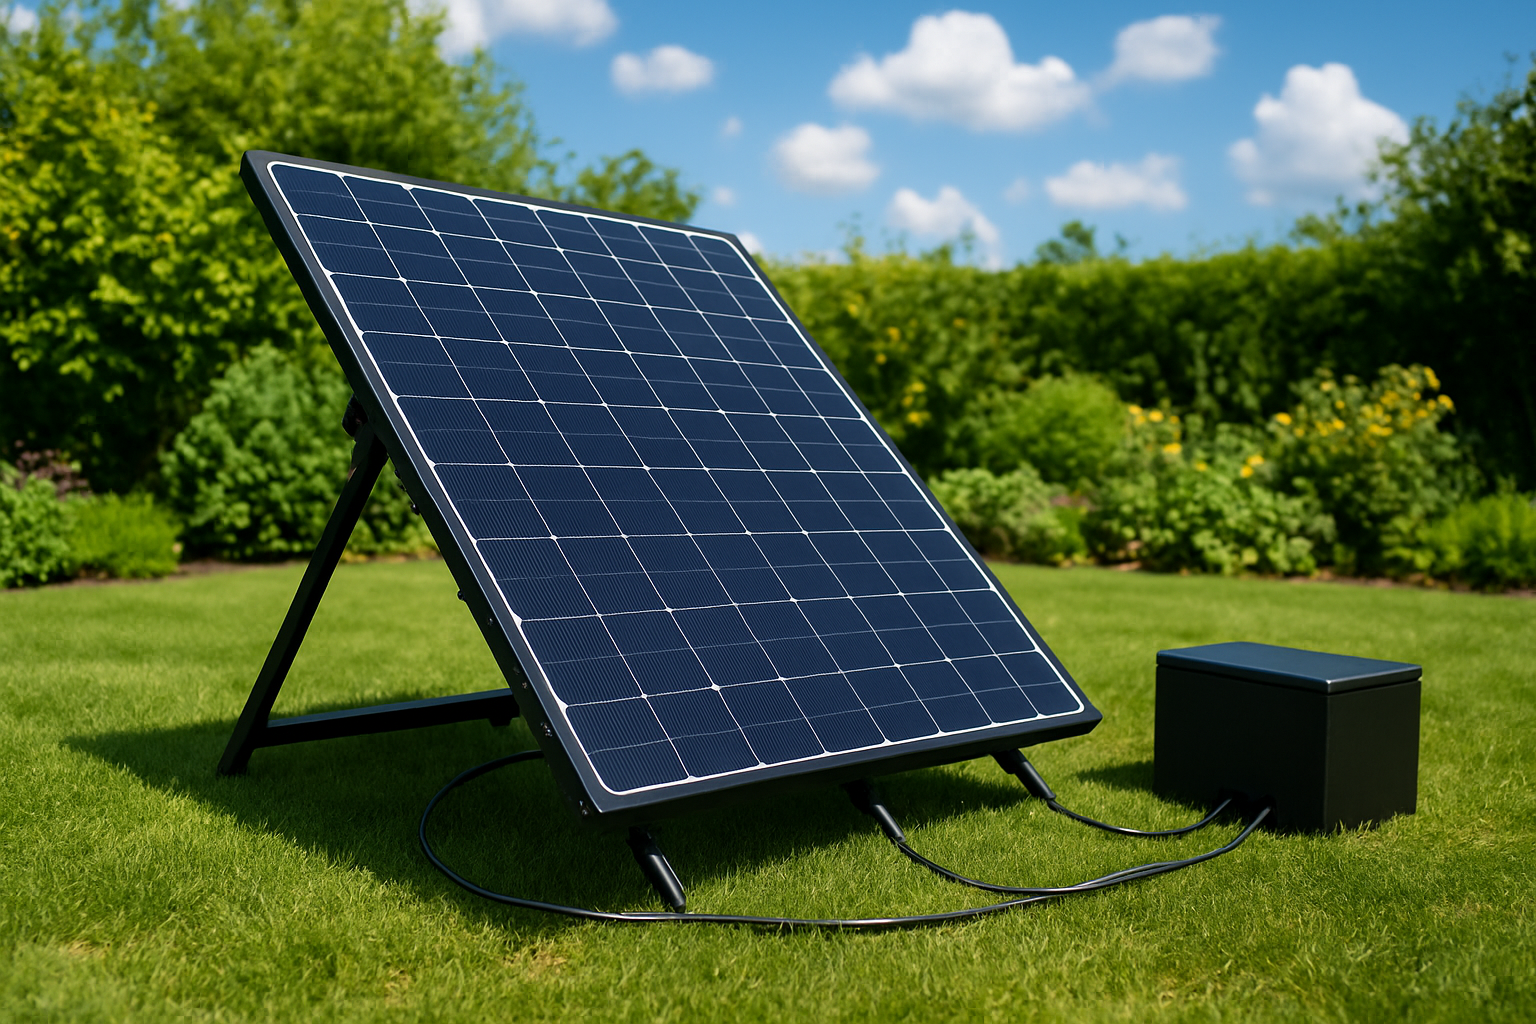
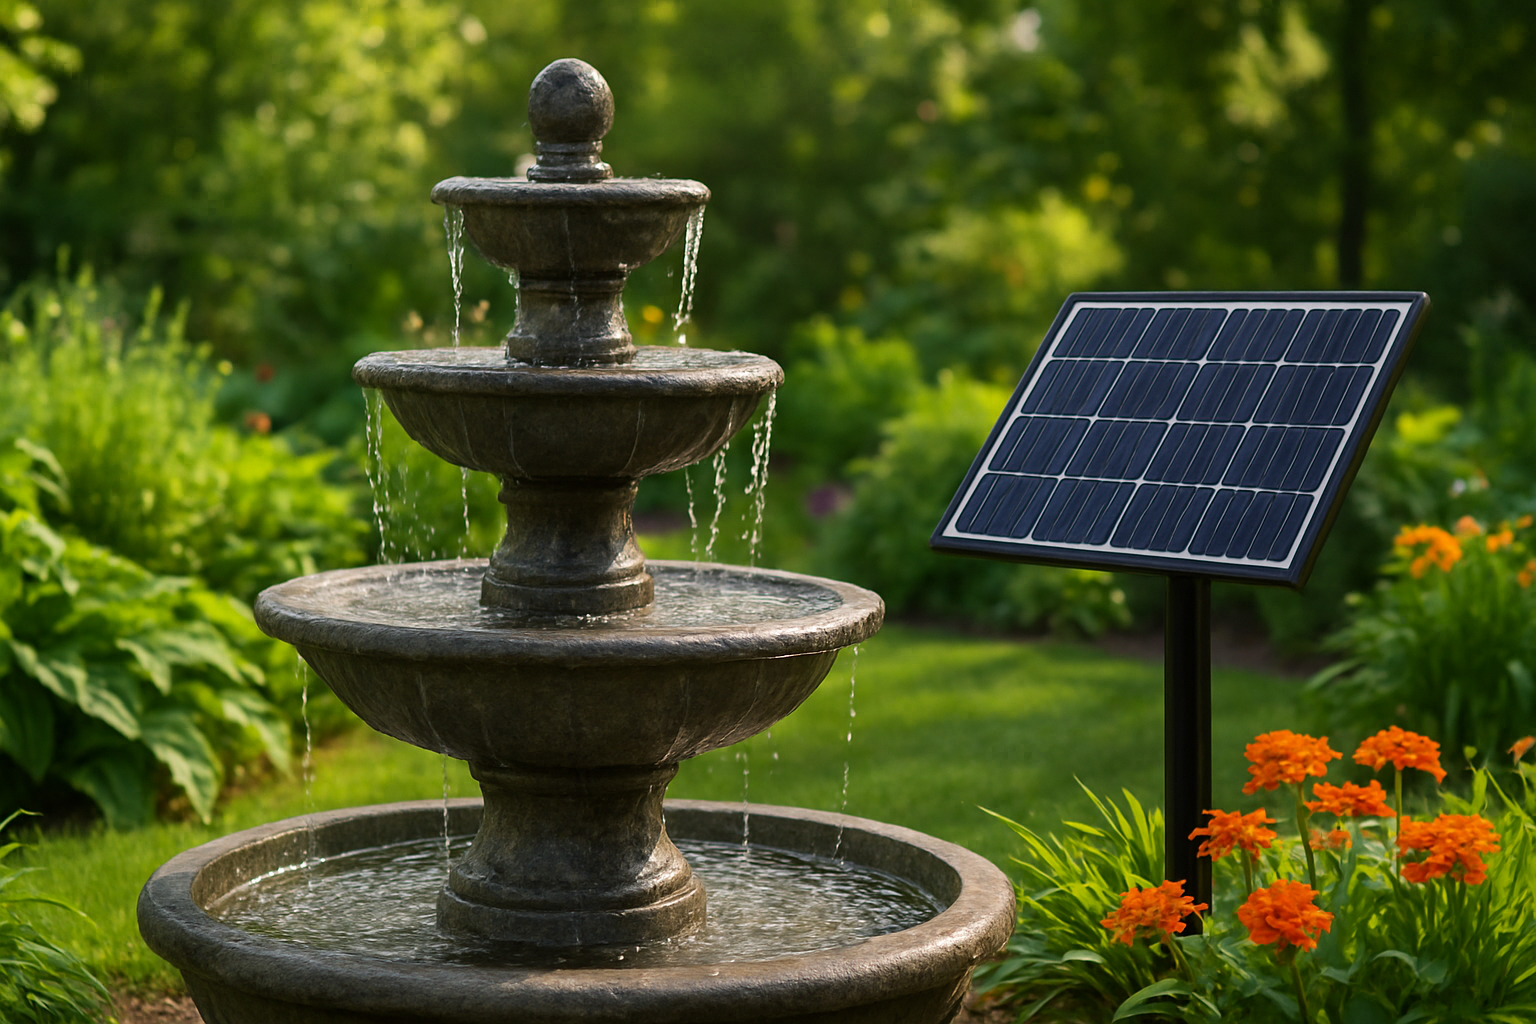
Install Solar Panels at Proper Angle for Peak Performance
Position your solar panel at a 30-degree angle facing south to capture maximum sunlight throughout the day. Mount it securely on a stable surface or pole, ensuring no shadows from trees or structures block the panel during peak sun hours from 10 AM to 4 PM.
Connect Weatherproof Wiring Between Panel and Pump
Run the weatherproof cable from your solar panel to the fountain pump, keeping connections tight and dry. Use cable clips to secure wiring along fences or walls, avoiding areas where foot traffic might damage the cord. Wrap all connection points with electrical tape for added protection.
Position Battery Backup for Continuous Evening Operation
Place your battery backup unit in a shaded, dry location near the fountain but away from direct water spray. Connect the battery between the solar panel and pump using the provided connectors. This setup stores excess daytime power, allowing your fountain to run for several hours after sunset.
Install the Water Fountain Components Step-by-Step
Assemble Fountain Basin and Decorative Elements
Start by unpacking your fountain basin and placing it in your chosen location. Position any decorative stones, sculptures, or tier components according to the manufacturer’s instructions. Make sure all pieces fit securely together and check that drainage holes aren’t blocked by decorative elements.
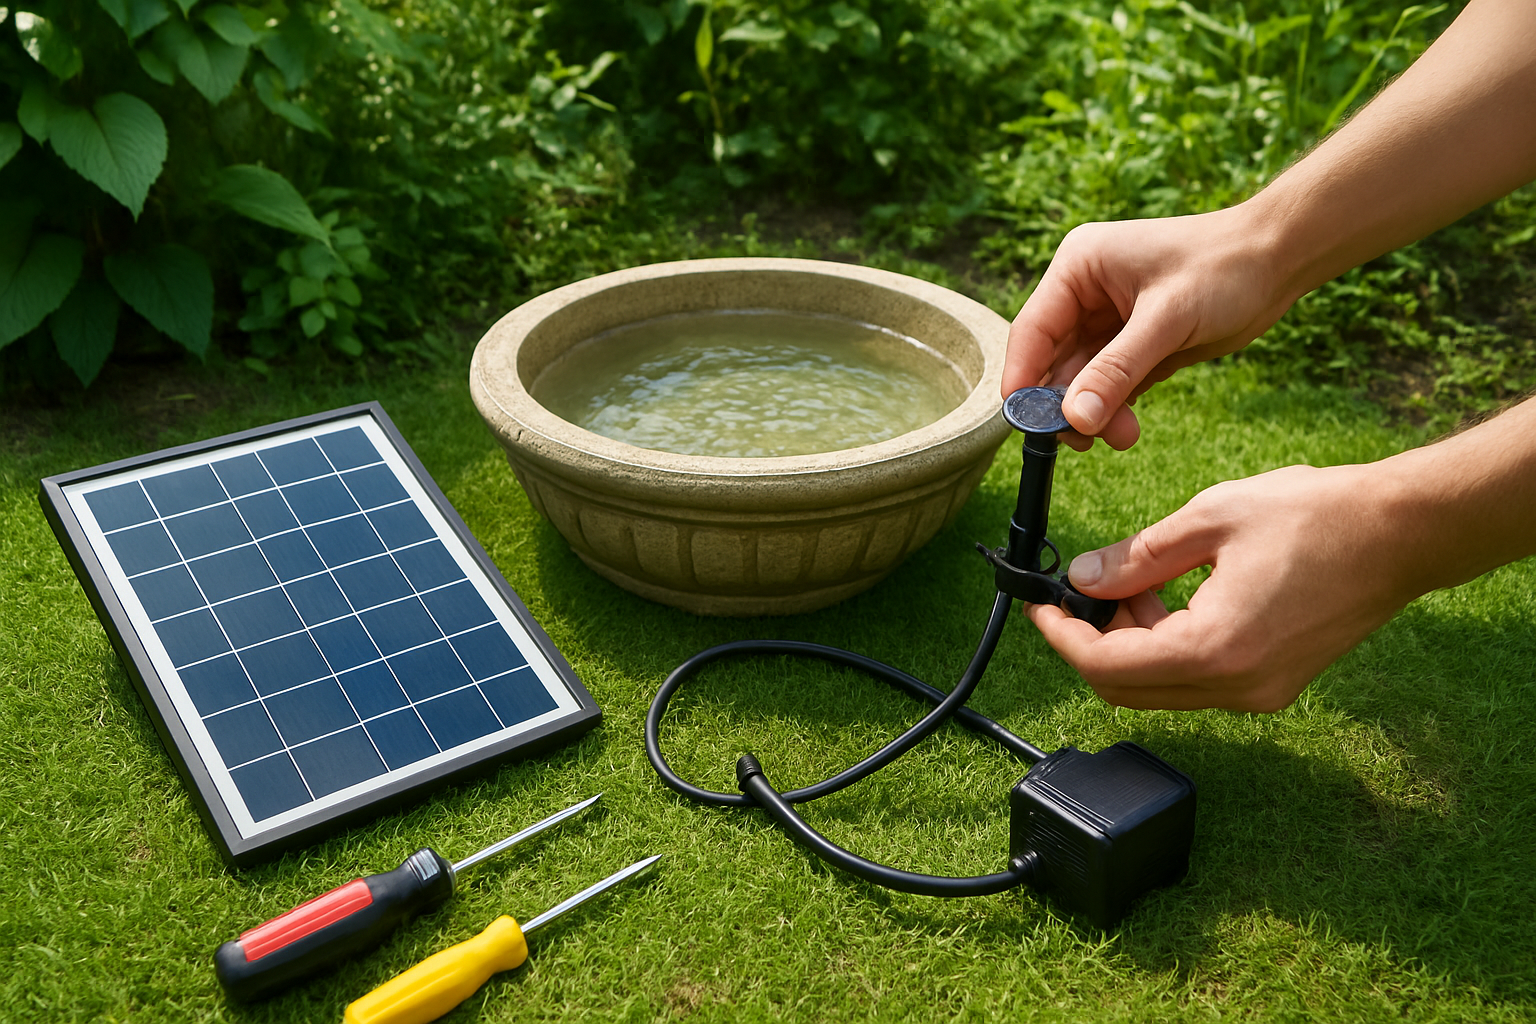
Install Submersible Pump and Filtration System
Place your submersible pump at the bottom center of the basin, ensuring the intake isn’t touching the basin floor. Connect the pump to your filtration system if included, and run the water delivery tube through any designated channels or behind decorative elements to keep it hidden from view.
Connect All Electrical Components Safely
Route the pump’s power cord to your solar panel connection point, keeping all electrical connections above the waterline. Use waterproof wire connectors where needed and secure loose cables with clips to prevent them from falling into the water. Double-check all connections are tight and properly sealed.
Fill Fountain and Test Initial Water Flow
Add clean water to your fountain basin, filling it to the recommended level marked on the pump or basin. Turn on your solar panel system and observe the water flow. Check for any leaks around connections and ensure water circulates properly without unusual noises or vibrations from the pump.
Adjust Spray Patterns and Water Height Settings
Fine-tune your fountain’s performance by adjusting the pump’s flow rate and any included spray nozzles. Most pumps have variable speed controls that let you customize water height and pattern intensity. Test different settings to find the perfect balance between visual appeal and water conservation for your space.
Optimize Performance and Ensure Long-Term Success
Fine-tune solar panel positioning for seasonal changes
Adjust your solar panel angle quarterly to match the sun’s changing position throughout the year. During winter months, tilt panels at a steeper angle to capture lower sun rays, while summer requires a flatter position for overhead sunlight. Track your fountain’s daily operation time and move panels slightly if performance drops. Small adjustments of 10-15 degrees can boost energy collection by up to 25% during seasonal transitions.
Establish simple maintenance routine for peak efficiency
Clean your solar panels monthly with a soft cloth and mild soap solution to remove dust, pollen, and bird droppings that block sunlight. Check pump filters every two weeks and rinse debris away to prevent clogs. Inspect electrical connections quarterly for corrosion or loose wires. During winter, drain water completely if temperatures drop below freezing to prevent pump damage from ice expansion.
Troubleshoot common issues before they become problems
Watch for reduced water flow, which usually signals a dirty pump or blocked intake screen. If your fountain stops working on cloudy days, your battery may need replacement after 2-3 years of use. Algae growth in your water basin reduces pump efficiency, so add aquatic plants or use fountain-safe algaecide monthly. Keep spare O-rings and gaskets handy since these rubber components wear out first and cause most leaks.


