Healthy Sweet Potato Pumpkin Dog Treats (Easy Homemade Recipe)

Your furry friend deserves treats that taste amazing and support their health. These healthy sweet potato pumpkin dog treats combine two nutrient-packed ingredients your pup will love, and you can whip them up in your own kitchen with just a few simple ingredients.
This easy homemade recipe is perfect for pet parents who want to skip the store-bought treats filled with preservatives and artificial ingredients. You’ll discover why sweet potato and pumpkin make such a powerful combo for your dog’s health, plus get the complete ingredient list and step-by-step instructions to make these treats from scratch. We’ll also share smart storage tips to keep your homemade treats fresh and customization ideas to win over even the pickiest eaters.
Health Benefits of Sweet Potato and Pumpkin for Dogs
Essential vitamins and minerals boost immune system
Your dog’s immune system gets a powerful boost from sweet potatoes and pumpkin, both packed with vitamin C, vitamin E, and potassium. These nutrients work together to strengthen your pet’s natural defenses against illness and infection.
High fiber content promotes healthy digestion
The natural fiber in these orange powerhouses keeps your dog’s digestive system running smoothly. You’ll notice better bowel movements and less stomach upset when you add these ingredients to your pup’s diet regularly.
Beta-carotene supports eye health and coat shine
That vibrant orange color comes from beta-carotene, which your dog’s body converts to vitamin A. This antioxidant protects your pet’s vision while giving their coat a gorgeous, healthy shine that you’ll love showing off.
Low-calorie ingredients help maintain healthy weight
Both sweet potatoes and pumpkin are naturally low in calories but high in satisfaction. Your dog feels full without packing on extra pounds, making these treats perfect for weight management and guilt-free snacking.
Essential Ingredients and Kitchen Tools You Need
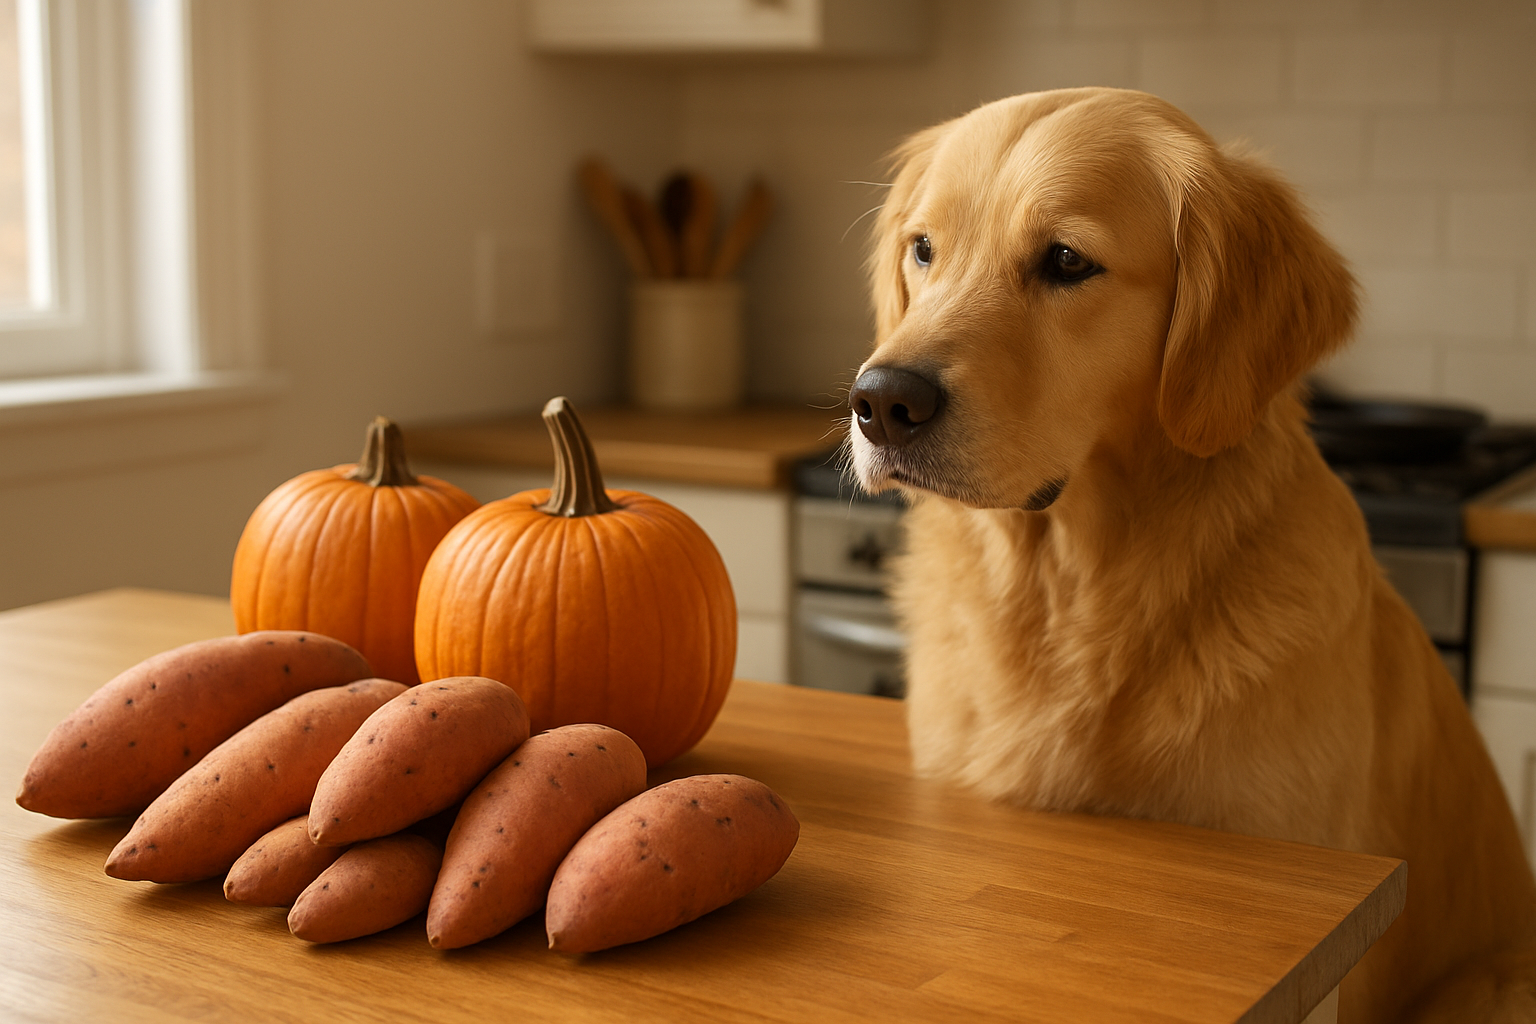
Fresh sweet potatoes and pumpkin selection tips
Choose firm sweet potatoes with smooth, unblemished skin and avoid any with soft spots or sprouting eyes. Fresh pumpkins should feel heavy for their size with intact stems and no cracks. You can also use canned pure pumpkin (not pie filling) as a convenient alternative that works just as well.
Dog-safe additional ingredients for flavor enhancement
Enhance your treats with dog-friendly ingredients like plain Greek yogurt, natural peanut butter (xylitol-free), rolled oats, or a sprinkle of cinnamon. Coconut oil adds healthy fats while eggs help bind everything together. Always avoid chocolate, raisins, garlic, onions, and artificial sweeteners which are toxic to dogs.
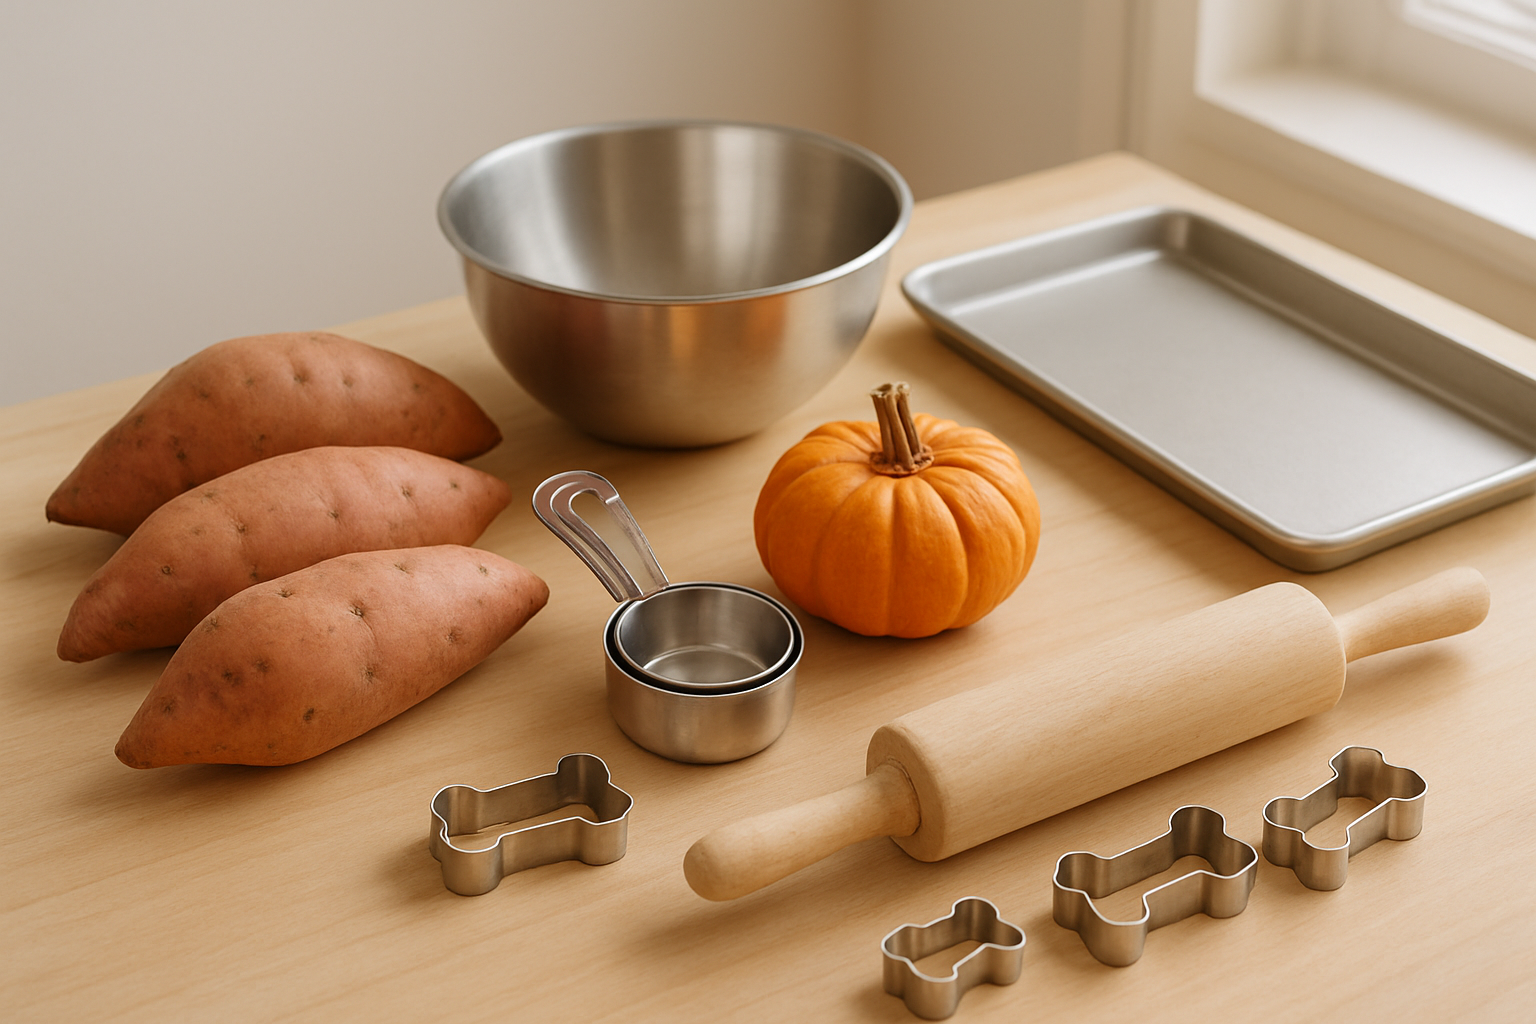
Basic kitchen equipment for preparation and baking
You’ll need basic tools: a vegetable peeler, sharp knife, large mixing bowl, potato masher or food processor, measuring cups, baking sheets, and parchment paper. A cookie cutter or knife helps shape treats, while an oven thermometer ensures accurate baking temperatures. Most items are standard kitchen essentials you likely already own.
Step-by-Step Recipe Instructions
Proper preparation and cooking of sweet potatoes and pumpkin
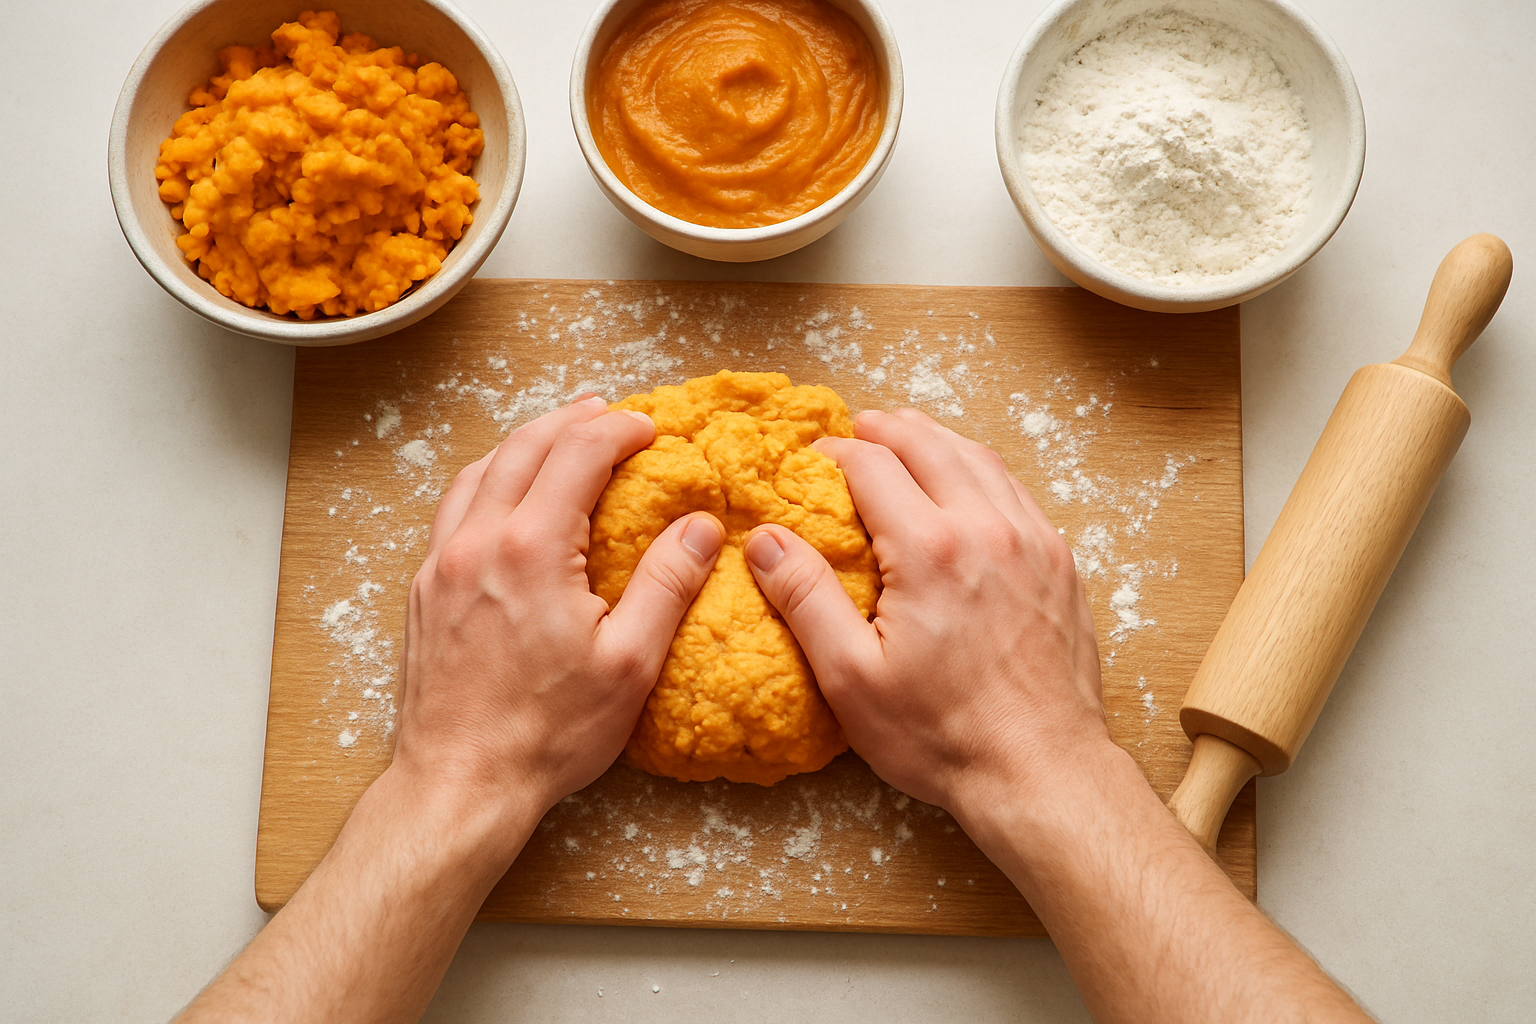
Start by preheating your oven to 400°F and washing one large sweet potato and half a small pumpkin thoroughly. Pierce the sweet potato several times with a fork, then place both vegetables on a baking sheet lined with parchment paper. Roast for 45-60 minutes until they’re fork-tender and slightly caramelized. Once cooled, scoop out the pumpkin flesh and peel the sweet potato skin. Mash both ingredients together until you achieve a smooth, lump-free consistency that will blend easily with your dry ingredients.
Mixing techniques for perfect dough consistency
Combine 2 cups of your mashed sweet potato and pumpkin mixture with 2½ cups of whole wheat flour in a large mixing bowl. Create a well in the center and crack one egg into it, then gradually fold the wet and dry ingredients together using a wooden spoon. Add flour one tablespoon at a time if the dough feels too sticky, or incorporate small amounts of water if it’s too dry. You’ll know you’ve reached the perfect consistency when the dough holds together without sticking to your hands and can be rolled out smoothly on a floured surface.
Shaping and cutting treats for optimal size
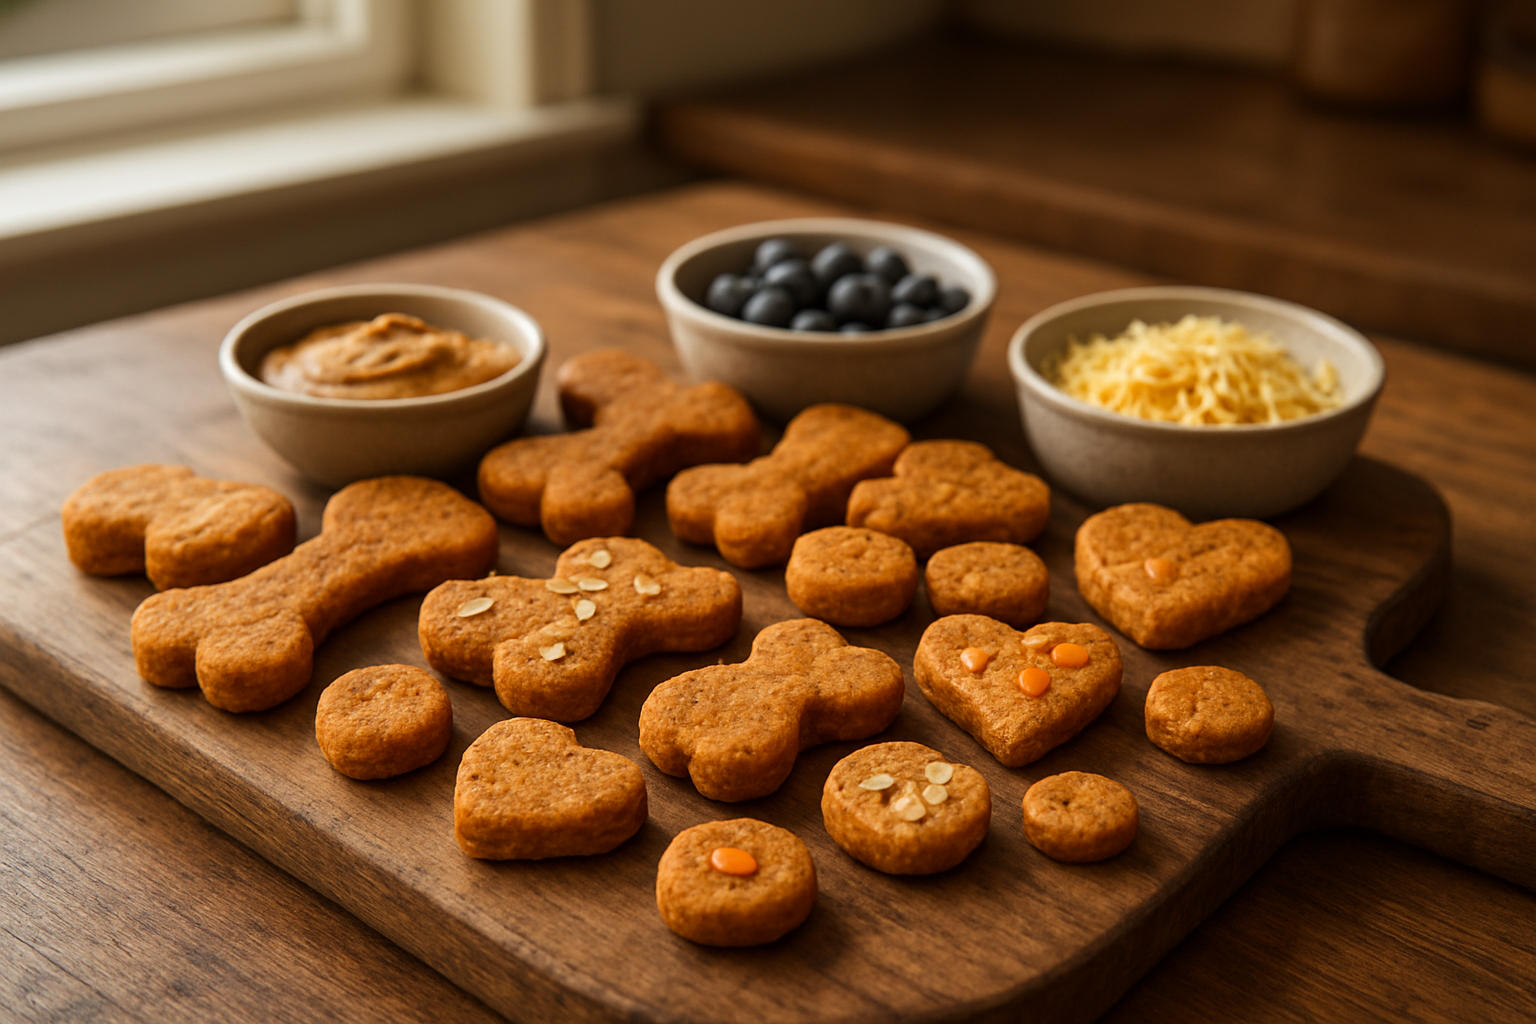
Roll your dough out on a lightly floured surface to about ¼-inch thickness using a rolling pin. For small dogs, use cookie cutters or a knife to create treats no larger than 1 inch across, while medium to large dogs can handle treats up to 2 inches. Bone-shaped cutters work perfectly, but simple squares or circles are just as effective. Make sure each treat is uniform in thickness so they bake evenly. Gather any leftover dough scraps, re-roll, and continue cutting until you’ve used every bit of your healthy mixture.
Baking temperature and timing guidelines
Preheat your oven to 350°F and line two baking sheets with parchment paper or silicone mats. Arrange your cut treats on the sheets, leaving about ½ inch of space between each piece to allow for proper air circulation. Bake small treats for 15-20 minutes and larger ones for 25-30 minutes, rotating the pans halfway through for even browning. You’ll know they’re ready when the edges are firm and slightly golden, and the treats spring back lightly when touched. Avoid overbaking, as this can make them too hard for your dog’s teeth.
Cooling and texture testing for safety
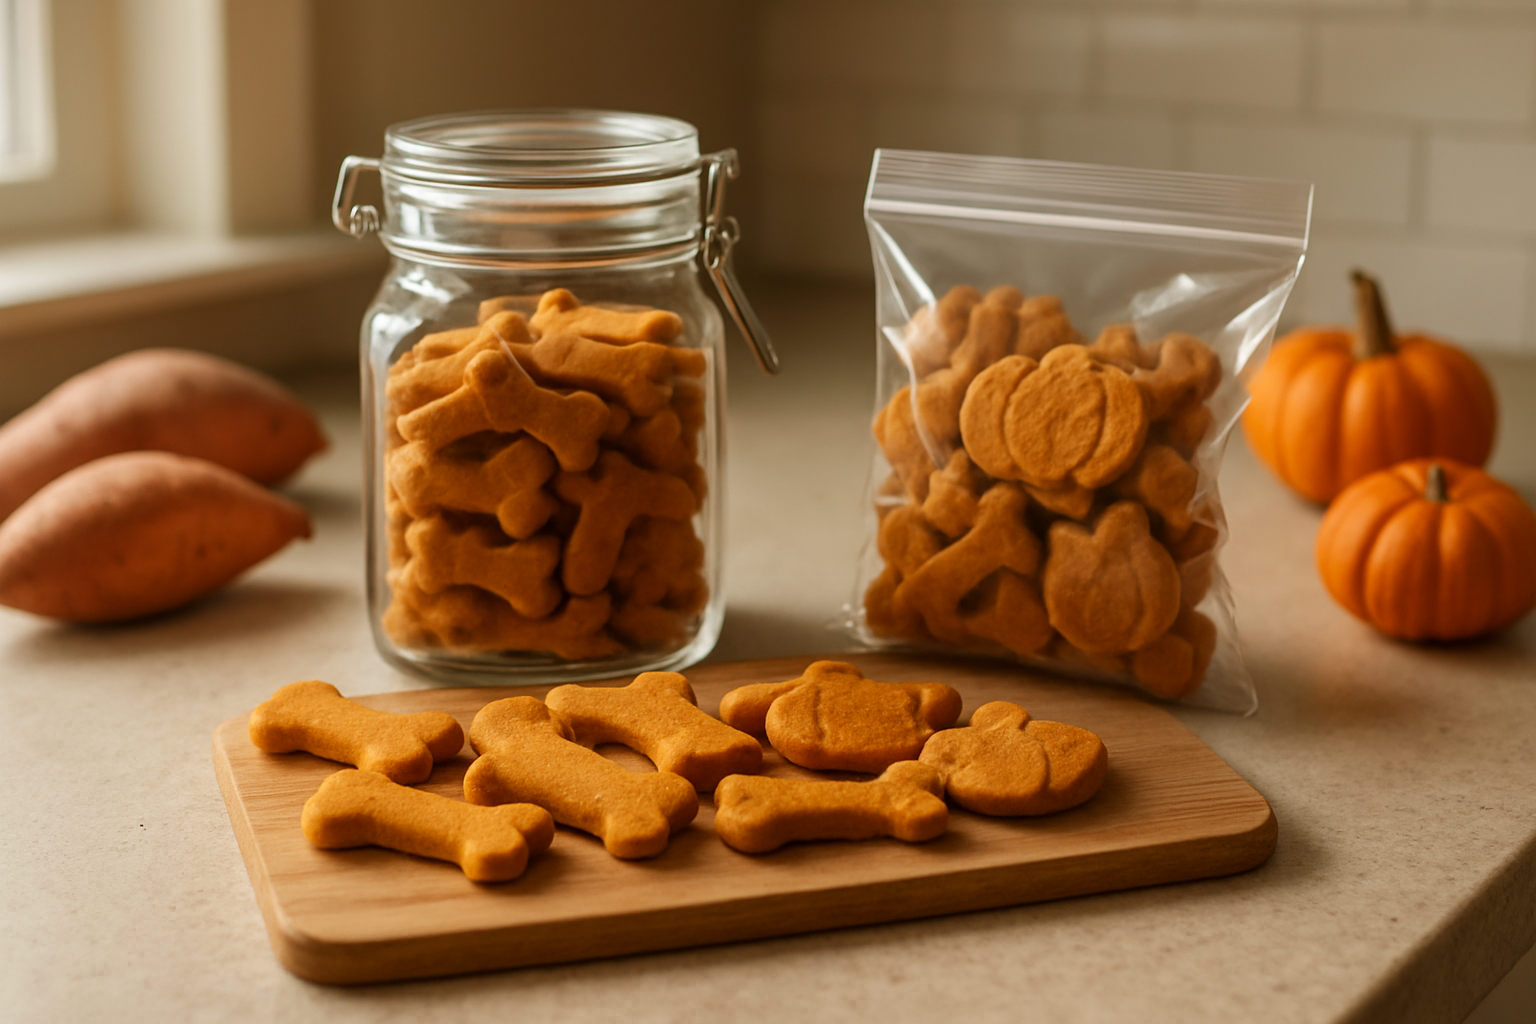
Remove the treats from the oven and transfer them to wire cooling racks immediately to prevent soggy bottoms. Allow them to cool completely for at least 30 minutes before offering any to your dog. Test the texture by breaking one treat in half – it should be firm but not rock-hard, with a slightly chewy interior. If they feel too soft, return them to the oven for an additional 5-10 minutes. Properly baked treats will have a pleasant, slightly sweet aroma and should break cleanly without crumbling excessively.
Storage Tips to Maximize Freshness
Room temperature storage for immediate consumption
Keep freshly baked treats at room temperature in an airtight container for up to three days. Your homemade dog treats will stay soft and delicious when stored away from direct sunlight and heat sources.
Refrigeration methods for extended shelf life
Store your sweet potato pumpkin treats in the refrigerator for up to one week. Place them in a sealed container or zip-lock bag to prevent moisture loss. Before serving refrigerated treats, let them come to room temperature for better taste and texture.
Freezing techniques for long-term preservation
Freeze your dog treats for up to three months by placing them in freezer-safe bags or containers. Separate layers with parchment paper to prevent sticking. Label containers with the date and thaw individual portions as needed. Your pup will love having these healthy snacks available year-round.
Customization Ideas for Picky Eaters
Adding dog-friendly spices and herbs for variety
Sprinkle a pinch of cinnamon or turmeric into your treat mixture to create exciting flavor profiles that appeal to finicky dogs. Fresh parsley adds a breath-freshening boost, while dried oregano provides antioxidants. Start with small amounts—just 1/4 teaspoon per batch—since dogs have sensitive palates. These natural seasonings make your homemade treats irresistible to even the pickiest eaters.
Creating different shapes and sizes for engagement
Use cookie cutters to transform your sweet potato pumpkin dough into bone shapes, hearts, or seasonal designs that capture your dog’s attention. Roll the dough thicker for large breeds or thinner for small dogs to ensure appropriate portion sizes. Mini bite-sized pieces work perfectly for training sessions, while larger treats satisfy dogs who love to chew. Different textures keep mealtime interesting and mentally stimulating.
Incorporating other healthy vegetables and fruits
Blend carrots, green beans, or zucchini into your base recipe for added crunch and nutritional variety. Apple pieces (seeds removed) or blueberries create natural sweetness that dogs adore. Frozen banana slices mixed into the dough add potassium and natural sugars. Always introduce new ingredients gradually and avoid toxic foods like grapes, onions, or garlic when experimenting with your custom combinations.


