Backyard Dog Poo Compost System (Safe And Low-Odor Setup)

Managing your dog’s waste doesn’t have to mean endless plastic bags heading to the landfill. A backyard dog poo compost system transforms this daily chore into an eco-friendly solution that’s both safe and surprisingly odor-free when done right.
This guide is perfect for environmentally conscious dog owners who want to reduce their waste footprint while creating a sustainable system in their own backyard. You don’t need to be a composting expert – just someone ready to try a greener approach to pet waste management.
You’ll discover the essential components needed to build your own dog waste composting setup, including the right containers, materials, and location considerations. We’ll walk you through proven odor control strategies that keep your system pleasant for you and your neighbors. You’ll also learn the safety precautions and best practices that make dog poo composting both effective and hygienic, so you can feel confident about your new waste management approach.
Benefits of Composting Dog Waste at Home
Reduce Environmental Impact of Pet Waste
Dog waste left on lawns and streets eventually washes into storm drains, contaminating waterways with harmful bacteria and parasites. When you compost your dog’s waste properly, you prevent this pollution from reaching local rivers and groundwater sources.
Create Nutrient-Rich Soil Amendment
Your composted dog waste transforms into valuable organic matter that enriches garden soil. This dark, crumbly compost improves soil structure, retains moisture, and provides slow-release nutrients for non-edible plants like ornamental flowers and trees in your landscape.
Save Money on Commercial Fertilizers
Commercial fertilizers cost $20-50 per bag and require repeated purchases throughout growing seasons. Your homemade dog waste compost eliminates these ongoing expenses while providing similar soil benefits. You’ll reduce your gardening budget significantly over time.
Eliminate Plastic Bag Waste
Standard dog waste bags take 10-20 years to decompose in landfills. By composting instead of bagging, you eliminate hundreds of plastic bags annually from waste streams. Even biodegradable bags create unnecessary waste when you can compost the waste directly at home.
Essential Components for Your Dog Poo Compost System
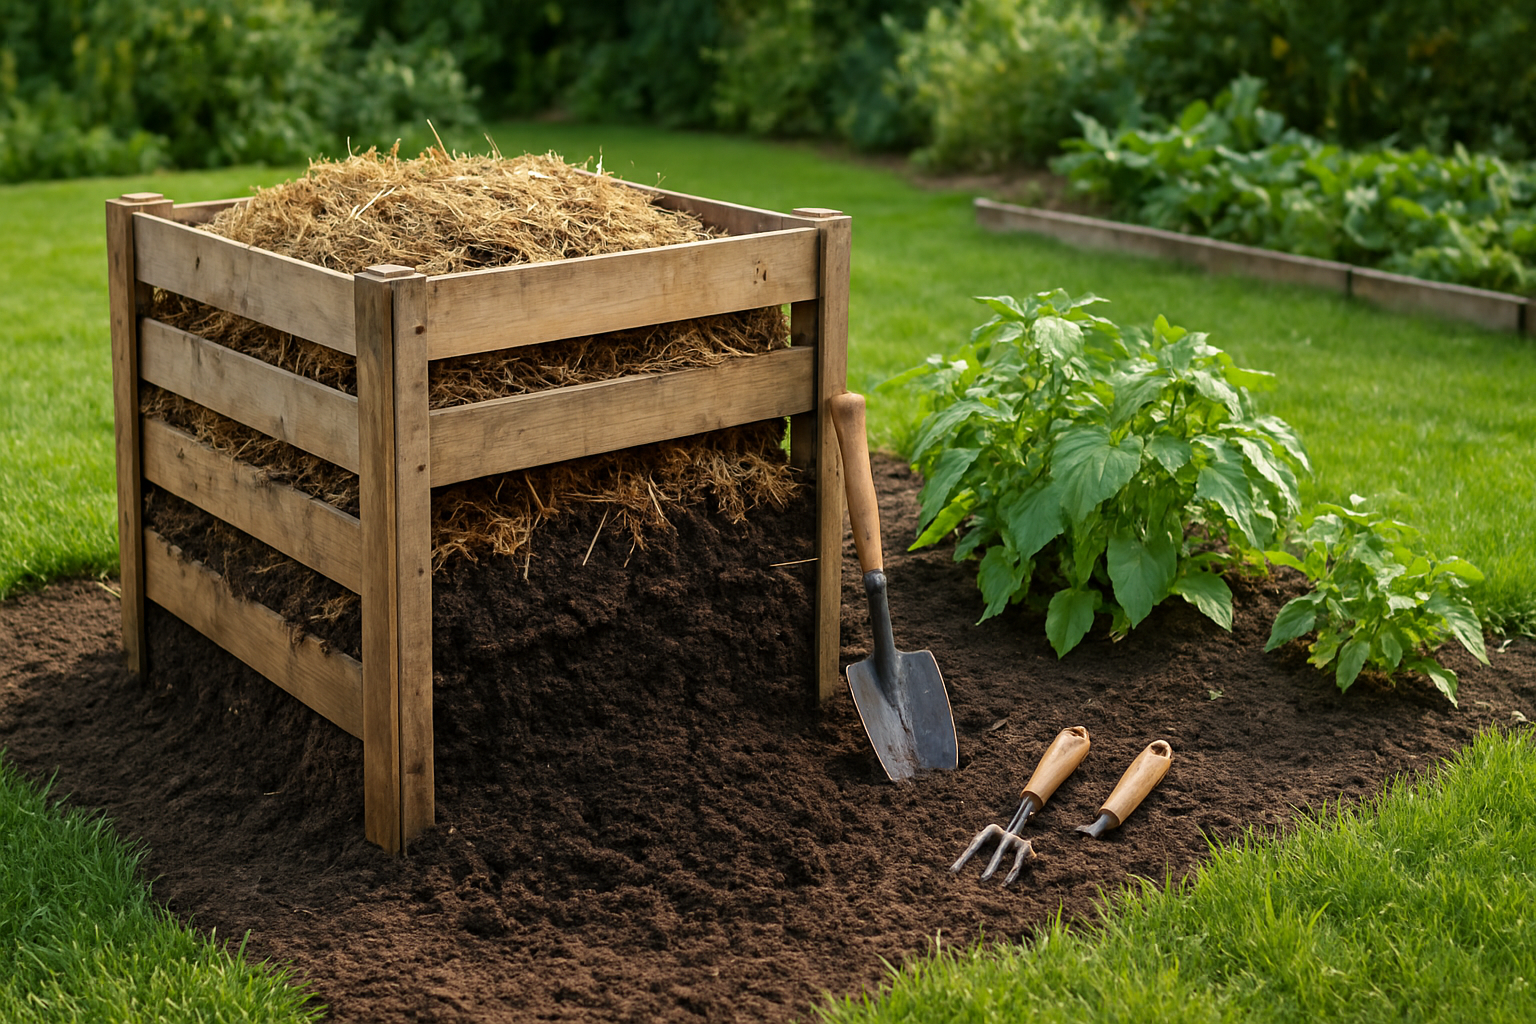
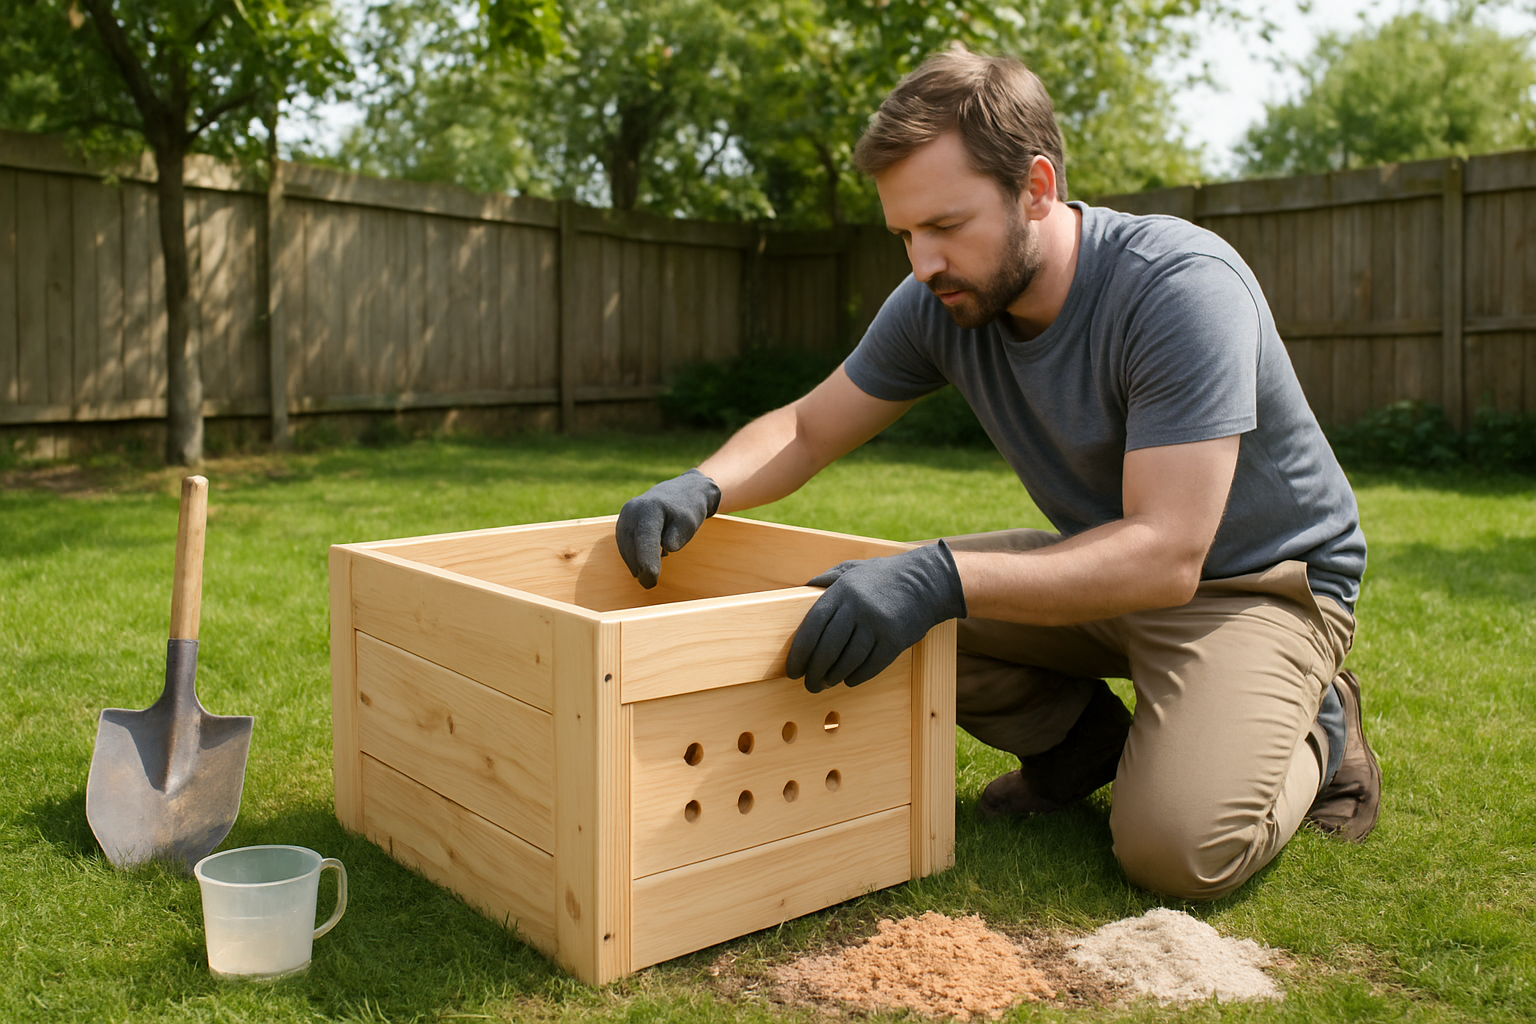
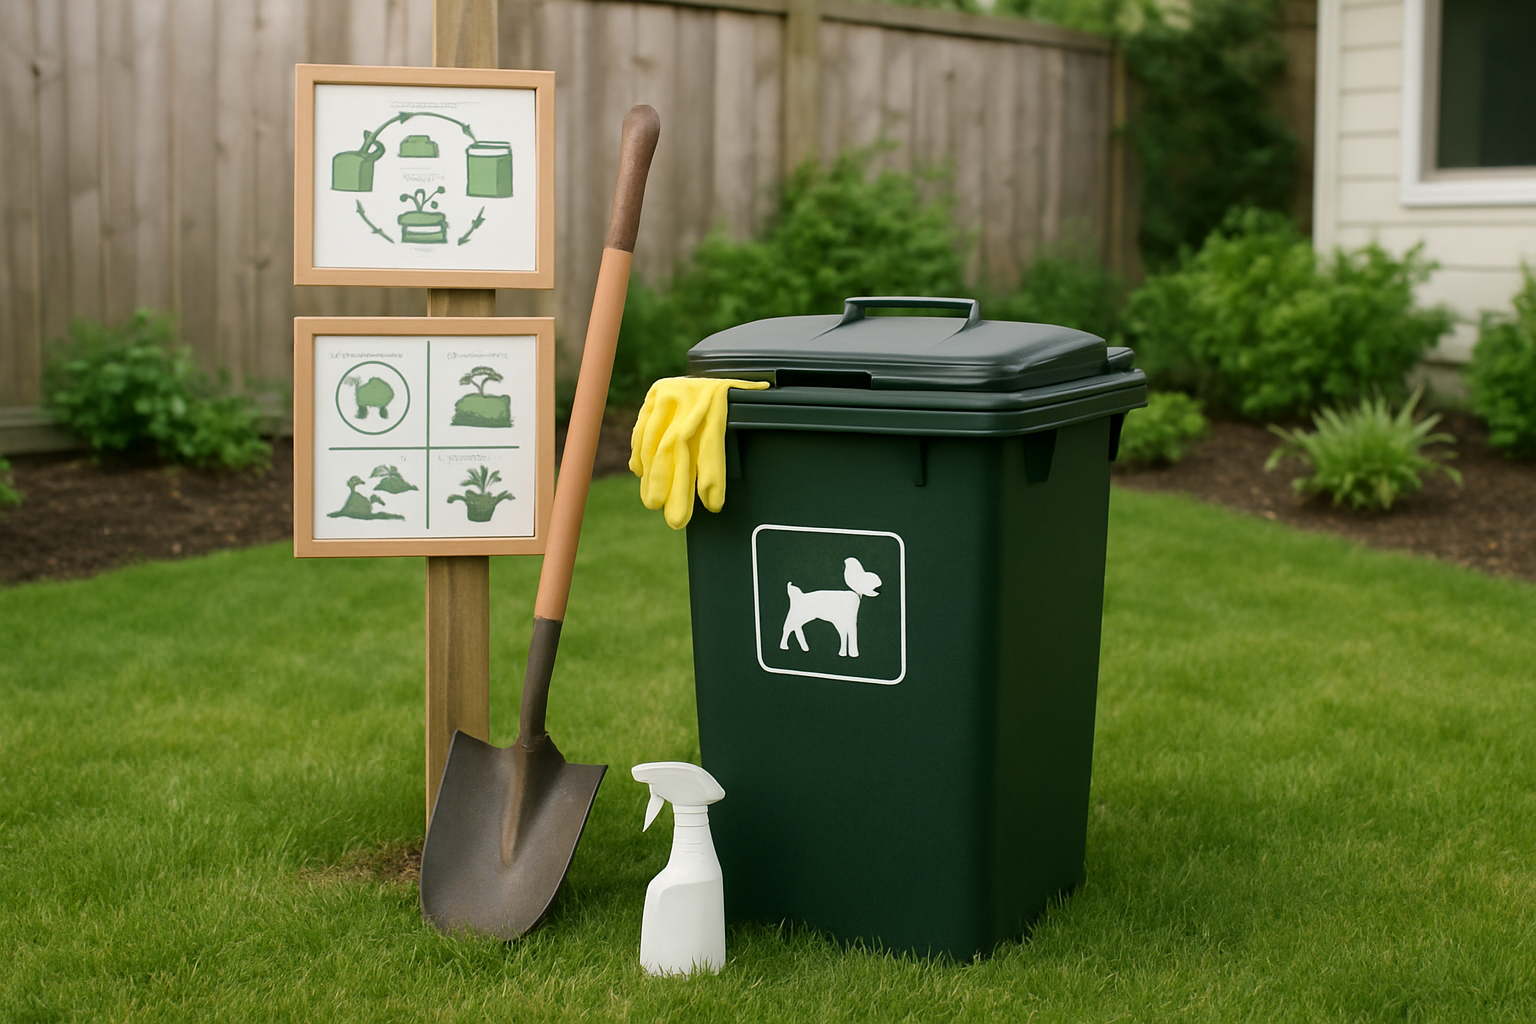
Proper Container Selection and Sizing
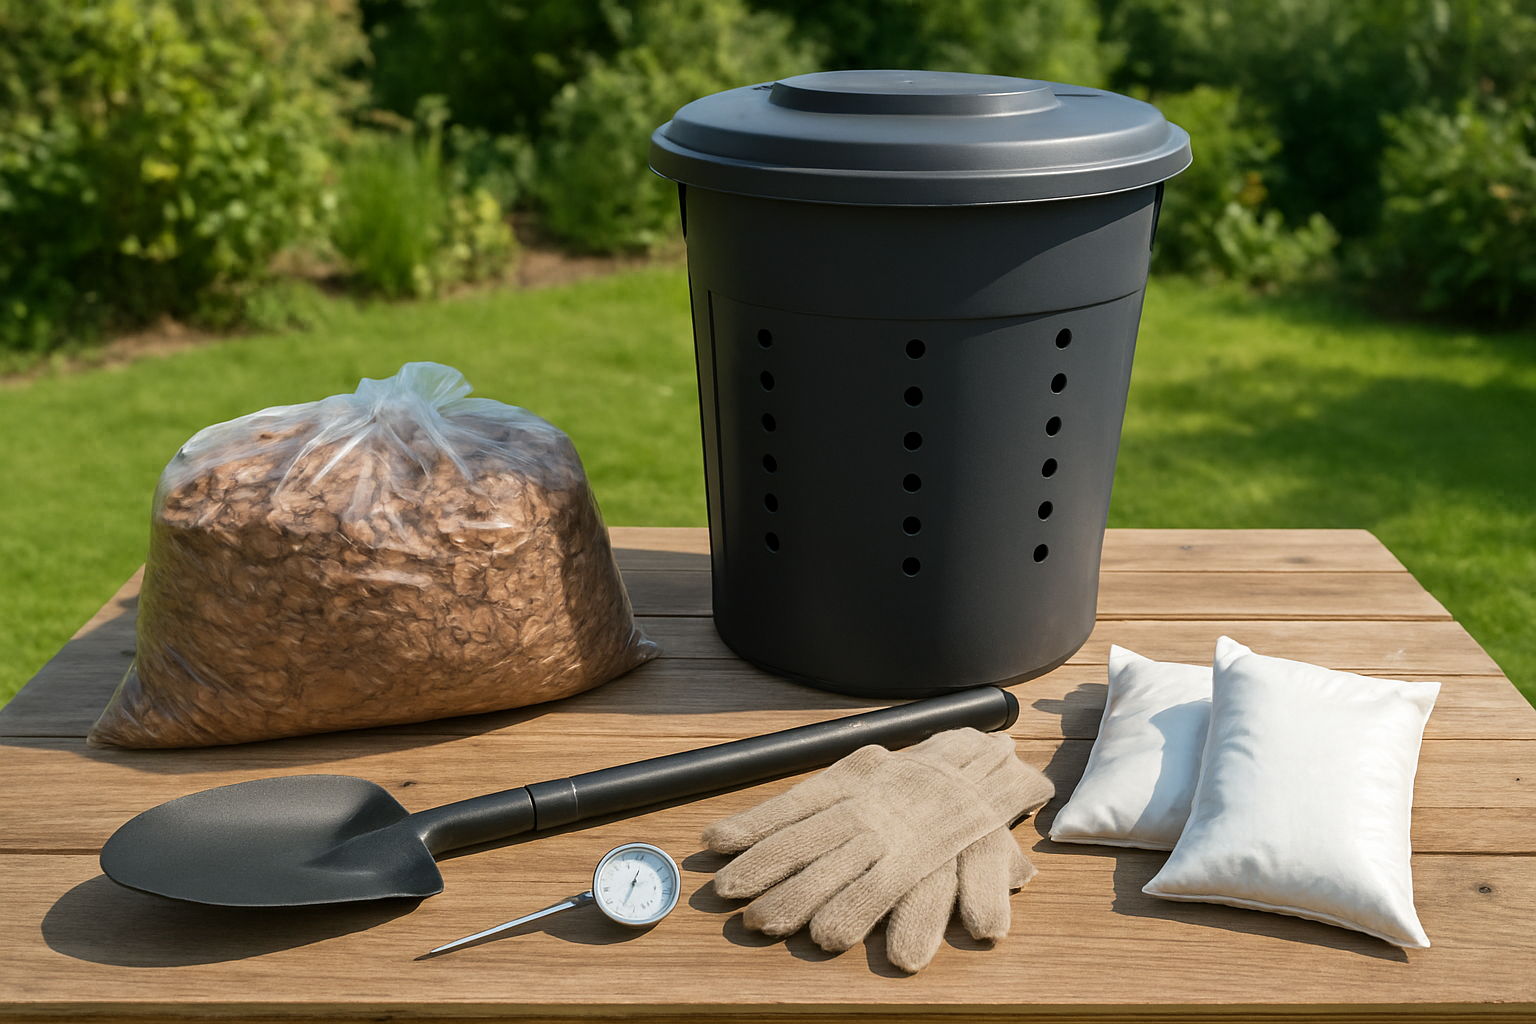
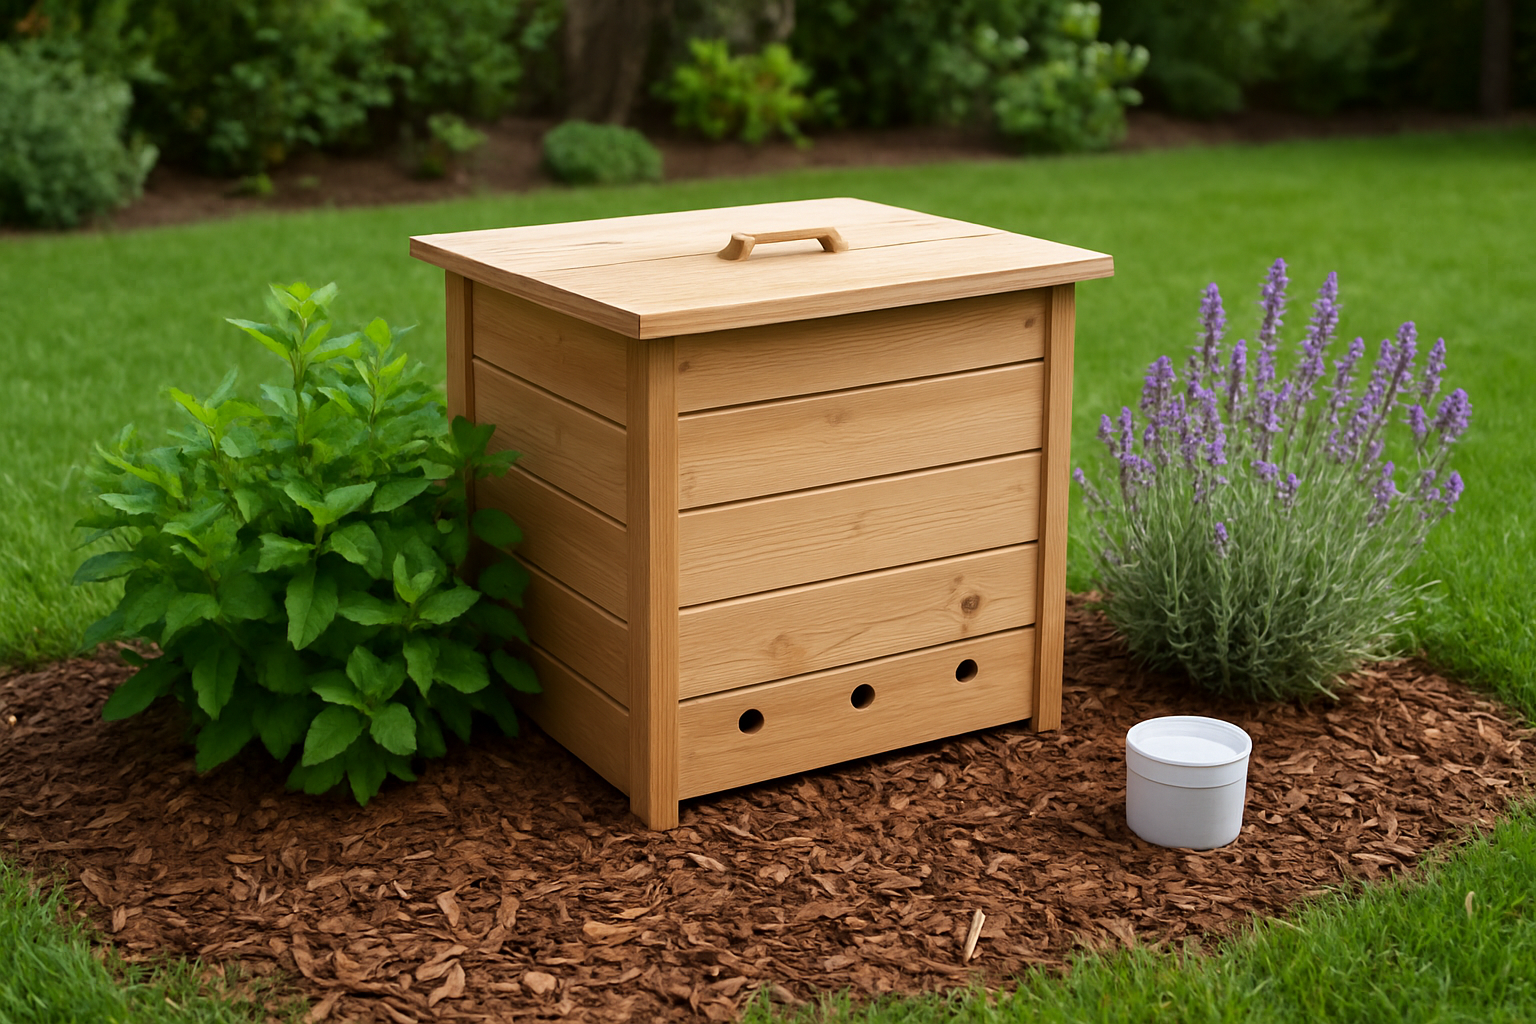
You’ll need a container that’s at least 3-4 feet deep and 2-3 feet wide to handle your dog’s waste effectively. A 32-gallon trash can with a tight-fitting lid works perfectly, or you can build a wooden box using cedar or treated lumber. The size depends on your dog’s weight – larger dogs obviously produce more waste, so scale up accordingly. Make sure your container has drainage holes at the bottom and can be securely covered to keep pests out.
Drainage and Ventilation Requirements
Your compost system needs proper airflow and water drainage to work correctly. Drill several 1/4-inch holes around the sides of your container, spacing them about 6 inches apart. Add more holes in the bottom for drainage, then place your container on bricks or blocks to lift it off the ground. This setup prevents waterlogging and creates the oxygen flow that good bacteria need to break down the waste without creating nasty smells.
Carbon-Rich Materials for Balance
Dog poop is high in nitrogen, so you need carbon materials to balance things out and create healthy compost. Keep a supply of dry leaves, shredded newspaper, sawdust, or wood chips on hand – you’ll add about twice as much carbon material as dog waste. Avoid glossy paper, colored inks, or chemically treated wood products. Store your carbon materials in a covered container nearby so they stay dry and ready to use whenever you add fresh waste.
Basic Tools and Equipment Needed
You don’t need fancy equipment to maintain your dog waste composter. A long-handled shovel or pitchfork helps you turn the materials without getting too close. Keep a dedicated scoop or small shovel just for collecting dog waste from your yard. You’ll also want work gloves, a spray bottle for adding moisture when needed, and a thermometer to monitor the internal temperature. Having a small tarp or cover helps protect your compost during heavy rains.
Step-by-Step Setup Process
Choose the Ideal Location in Your Yard
Select a spot that’s at least 30 feet away from your home, neighbors’ property lines, and any water sources like wells or streams. Pick an area with good drainage that gets partial sun but stays relatively cool. Avoid low-lying spots where water pools after rain, and make sure you can access the location easily year-round for regular maintenance and waste additions.
Prepare the Ground and Install Your System
Clear the chosen area of grass, weeds, and debris, then dig a hole 2-3 feet deep and wide enough for your composting container. If you’re using a plastic garbage can, drill drainage holes every 6 inches around the sides and bottom. For in-ground systems, line the hole with hardware cloth to prevent rodents from entering. Level the ground and ensure proper drainage by adding a layer of gravel at the bottom.
Create the Initial Compost Base Layer
Start with 4-6 inches of coarse organic matter like small branches, wood chips, or straw at the bottom of your system. This creates air pockets for proper ventilation and drainage. Add a thin layer of existing compost or soil to introduce beneficial microorganisms that will break down the waste. Sprinkle a handful of compost activator or enzyme powder to jumpstart the decomposition process before adding your first batch of dog waste.
Safe Composting Methods and Best Practices
Maintain Proper Temperature for Pathogen Elimination
Your compost system needs to reach and maintain temperatures between 131°F and 160°F to kill harmful pathogens like E. coli and roundworm eggs. Use a long-stem thermometer to check the temperature daily, inserting it into the center of your pile. When temperatures drop below 131°F, turn the pile to restart the heating process. Build your pile large enough (at least 3 feet cubed) to generate sufficient heat, and insulate it with straw or leaves during cold weather.
Achieve the Right Carbon to Nitrogen Ratio
Balance your dog waste (nitrogen-rich “green” material) with carbon-rich “brown” materials like sawdust, shredded paper, or dried leaves. Aim for a 30:1 carbon to nitrogen ratio – roughly three parts brown material to one part dog waste by volume. Too much nitrogen creates a smelly, soggy mess, while too much carbon slows decomposition. Add more browns if your pile smells bad or attracts flies, and more greens if decomposition seems slow.
Regular Turning and Aeration Techniques
Turn your compost pile every 3-5 days using a pitchfork or compost aerator tool. This introduces oxygen that beneficial bacteria need to break down waste efficiently. Focus on moving material from the outer edges to the center and vice versa. If turning is difficult, install PVC pipes with holes drilled throughout as permanent aeration tubes. Proper aeration prevents anaerobic conditions that create foul odors and slow decomposition.
Monitor Moisture Levels for Optimal Decomposition
Keep your compost pile as moist as a wrung-out sponge – about 50-60% moisture content. Test moisture by grabbing a handful of compost and squeezing it; a few drops of water should appear between your fingers. Add water during dry spells or cover the pile during heavy rains. Proper moisture supports microbial activity while preventing waterlogged conditions that create anaerobic decomposition and unpleasant smells.
Effective Odor Control Strategies
Natural Odor Absorbing Materials
You’ll want to stock up on sawdust, wood chips, or dry leaves as your primary odor-fighting arsenal. These carbon-rich materials work like magic to neutralize ammonia smells while absorbing excess moisture. Sprinkle a generous layer after each waste addition, and keep extra supplies handy for particularly smelly days when your system needs extra help.
Proper Layering Techniques
Your layering strategy makes all the difference in controlling odors. Start with a thick base layer of carbon materials, add your dog waste, then immediately cover with another layer of sawdust or leaves. Think of it like making a sandwich – you never want the filling exposed. This “brown-green-brown” pattern creates natural barriers that trap odors before they escape.
Ventilation Optimization Methods
Good airflow prevents your compost from becoming a stagnant, smelly mess. Drill holes around the sides of your container about 6 inches apart, or use a system with built-in ventilation slots. Position your bin where it catches natural breezes but stays out of direct sun. You can also insert a PVC pipe vertically through the center to create a chimney effect that pulls fresh air through the pile.


