DIY Indoor Dog Potty Area (Easy Pet Bathroom Setup Guide)

Setting up a DIY indoor dog potty area can be a game-changer for apartment dwellers, senior dog parents, and anyone dealing with harsh weather conditions. This practical solution gives your furry friend a reliable bathroom spot inside your home without breaking the bank or requiring professional installation.
This guide is perfect for busy pet owners who need a convenient indoor option, renters who can’t install permanent fixtures, and dog parents with mobility-challenged or elderly pups who struggle with frequent outdoor trips.
You’ll learn how to choose the perfect location that works for both you and your dog, discover the essential supplies you’ll need for a successful setup, and get step-by-step instructions for building your indoor potty area. We’ll also cover proven training techniques to help your dog transition smoothly to their new bathroom space and share maintenance tips to keep everything clean and odor-free for years to come.
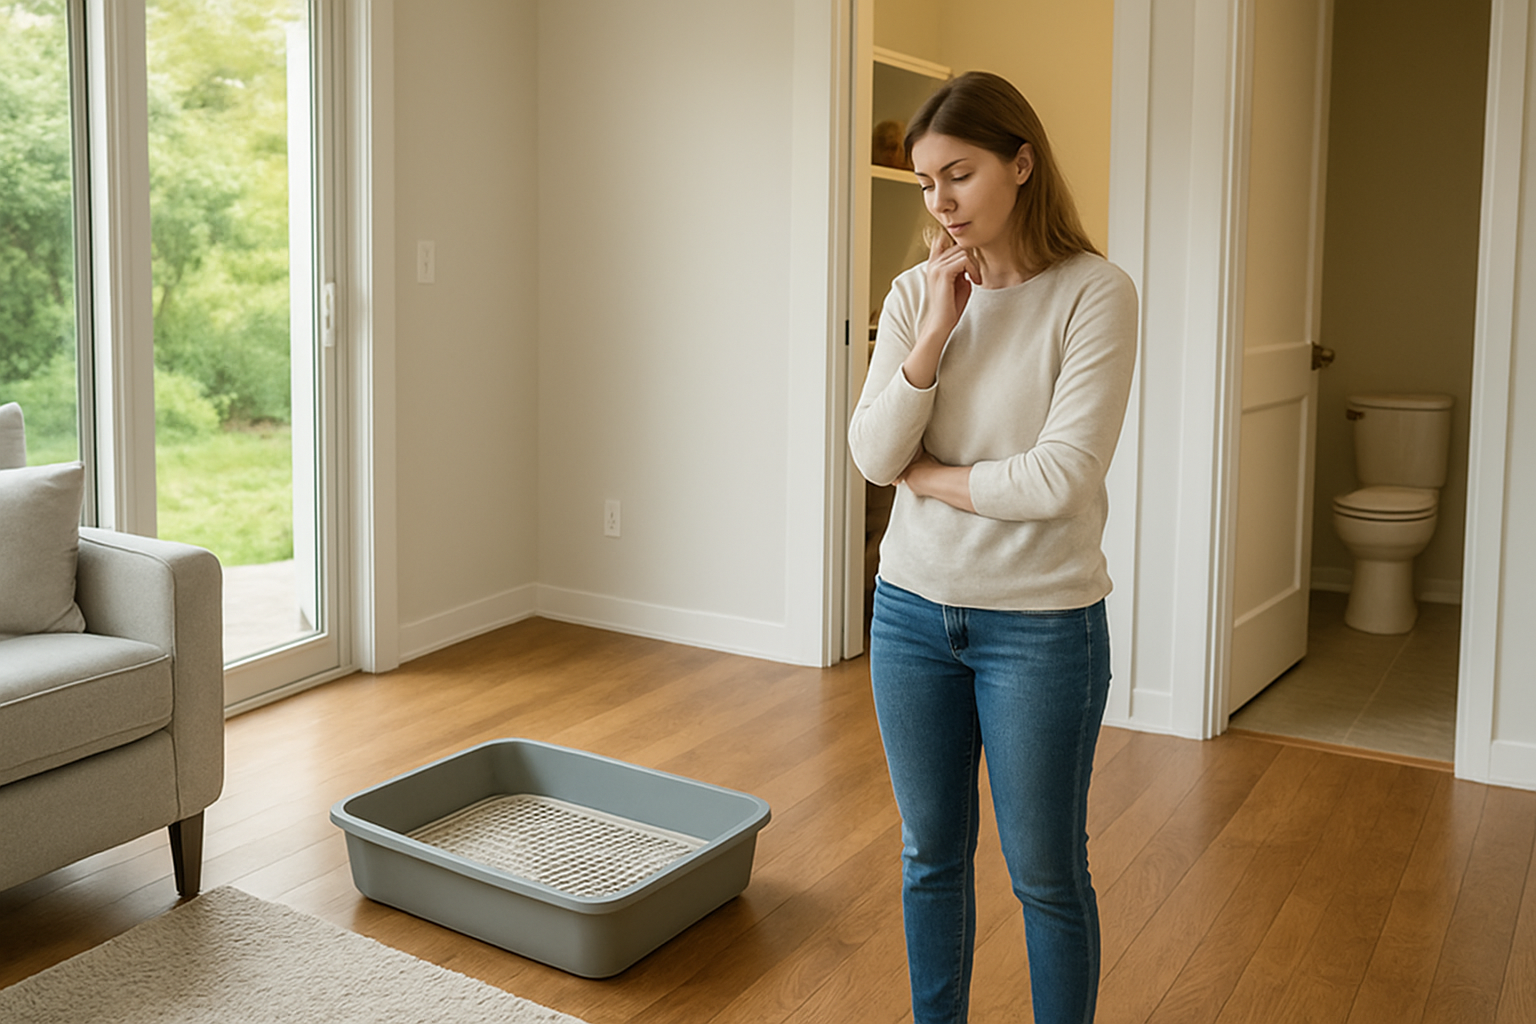
Choose the Perfect Location for Your Indoor Dog Potty
You Might Also Love These Ideas


Assess Available Space in Your Home
Measure your available floor space before selecting materials for your indoor potty area. Small spaces work well with compact grass pad setups, while larger rooms can accommodate full artificial turf systems with drainage. Consider your dog’s size when determining dimensions – larger breeds need more room to turn around comfortably, while smaller dogs can use tighter spaces effectively.
Consider Ventilation and Air Circulation Needs
Good airflow prevents odor buildup and keeps your indoor potty area fresh. Choose locations near windows, vents, or areas with natural air movement. Bathrooms often work well because they already have exhaust fans. Avoid closed-off spaces like closets or basements without proper ventilation, as these trap smells and create unpleasant conditions for both you and your dog.
Evaluate Proximity to Water Sources for Easy Cleaning
Position your dog’s potty area near a sink, bathroom, or utility room for convenient cleanup. You’ll need easy access to water for rinsing pads, washing accessories, and mopping floors. Having a water source nearby saves time and encourages regular maintenance. Consider installing a small utility sink if your chosen location lacks immediate water access for optimal convenience.
Select Areas Away from High-Traffic Zones
Your dog needs privacy and quiet to use their indoor potty comfortably. Avoid placing it near entryways, living rooms, or kitchen areas where family members frequently walk. Choose quieter spots like laundry rooms, spare bathrooms, or corners of bedrooms. This reduces distractions during potty time and prevents accidents from foot traffic disrupting your dog’s routine.
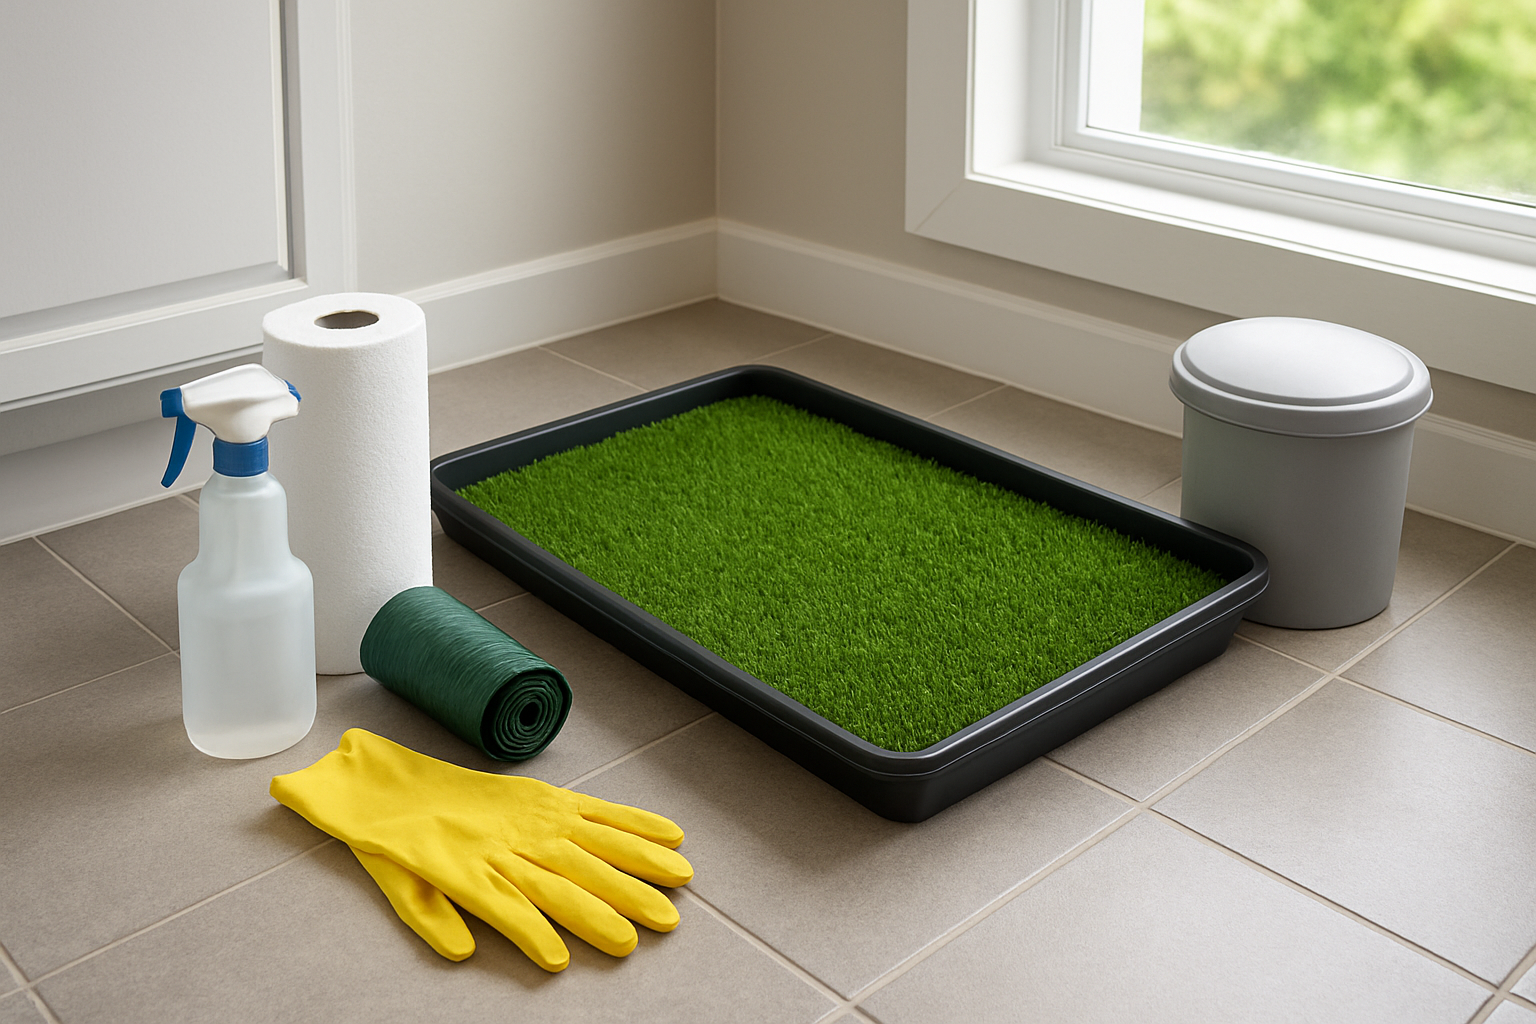
Essential Supplies and Materials for Your DIY Setup
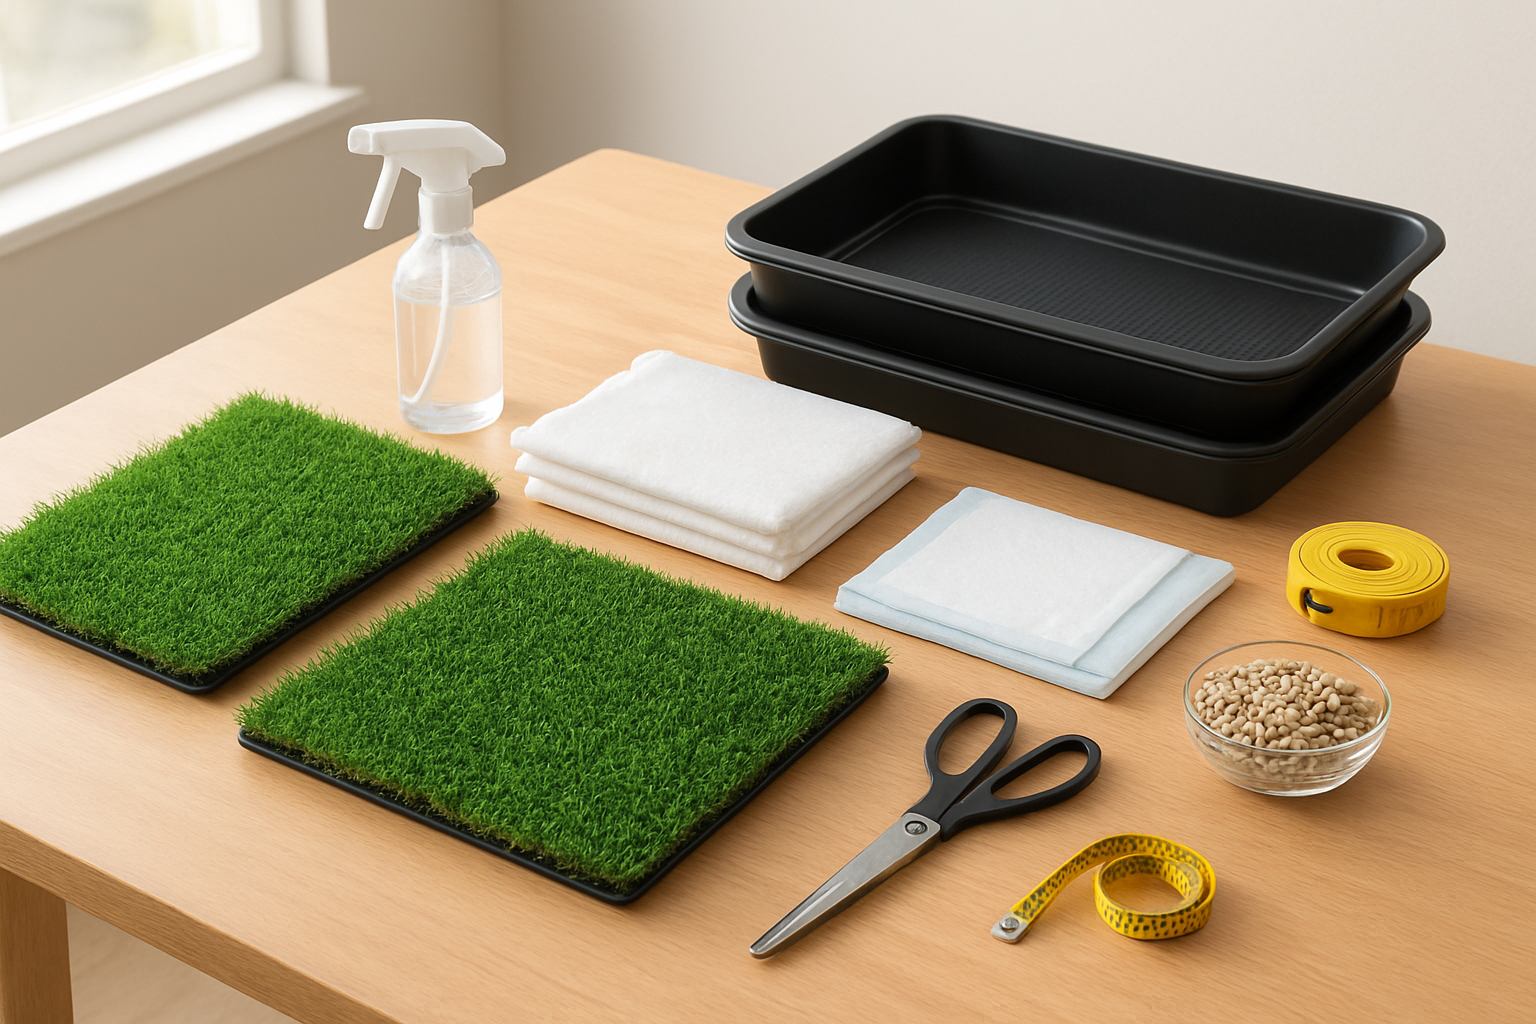
Pick the Right Base Material Options
Your base material forms the foundation of your indoor potty area, so choosing wisely saves you headaches later. Artificial grass pads work great because they feel natural under your dog’s paws and rinse clean easily. Washable pee pads offer convenience but need frequent changing. Litter box pellets designed for dogs absorb moisture well and control odors naturally. Puppy training pads provide a budget-friendly option, though you’ll go through them quickly. Consider your dog’s size and preferences—some dogs prefer softer surfaces while others like firmer ground.
Select Appropriate Drainage Solutions
Good drainage prevents puddles and keeps your setup hygienic. Raised grate systems let liquid flow through to a collection tray underneath, keeping your dog’s paws dry. Sloped surfaces direct urine toward designated drainage areas or absorbent materials. Collection trays catch liquid waste and make cleanup simple—just empty and rinse. Absorbent layers underneath your base material soak up moisture that seeps through. Match your drainage solution to your base material choice for the best results.
Choose Effective Odor Control Products
Smell control makes the difference between success and failure with indoor potty areas. Enzyme cleaners break down urine compounds that cause lingering odors, not just mask them. Odor-absorbing crystals or baking soda scattered around the area neutralize smells naturally. Activated charcoal filters placed nearby absorb airborne odors effectively. Pet-safe deodorizing sprays provide quick freshening between deep cleans. Ventilation fans help circulate air and prevent odor buildup. Regular cleaning combined with these products keeps your home smelling fresh while your dog uses their indoor bathroom.
Build Your Indoor Potty Area Step-by-Step
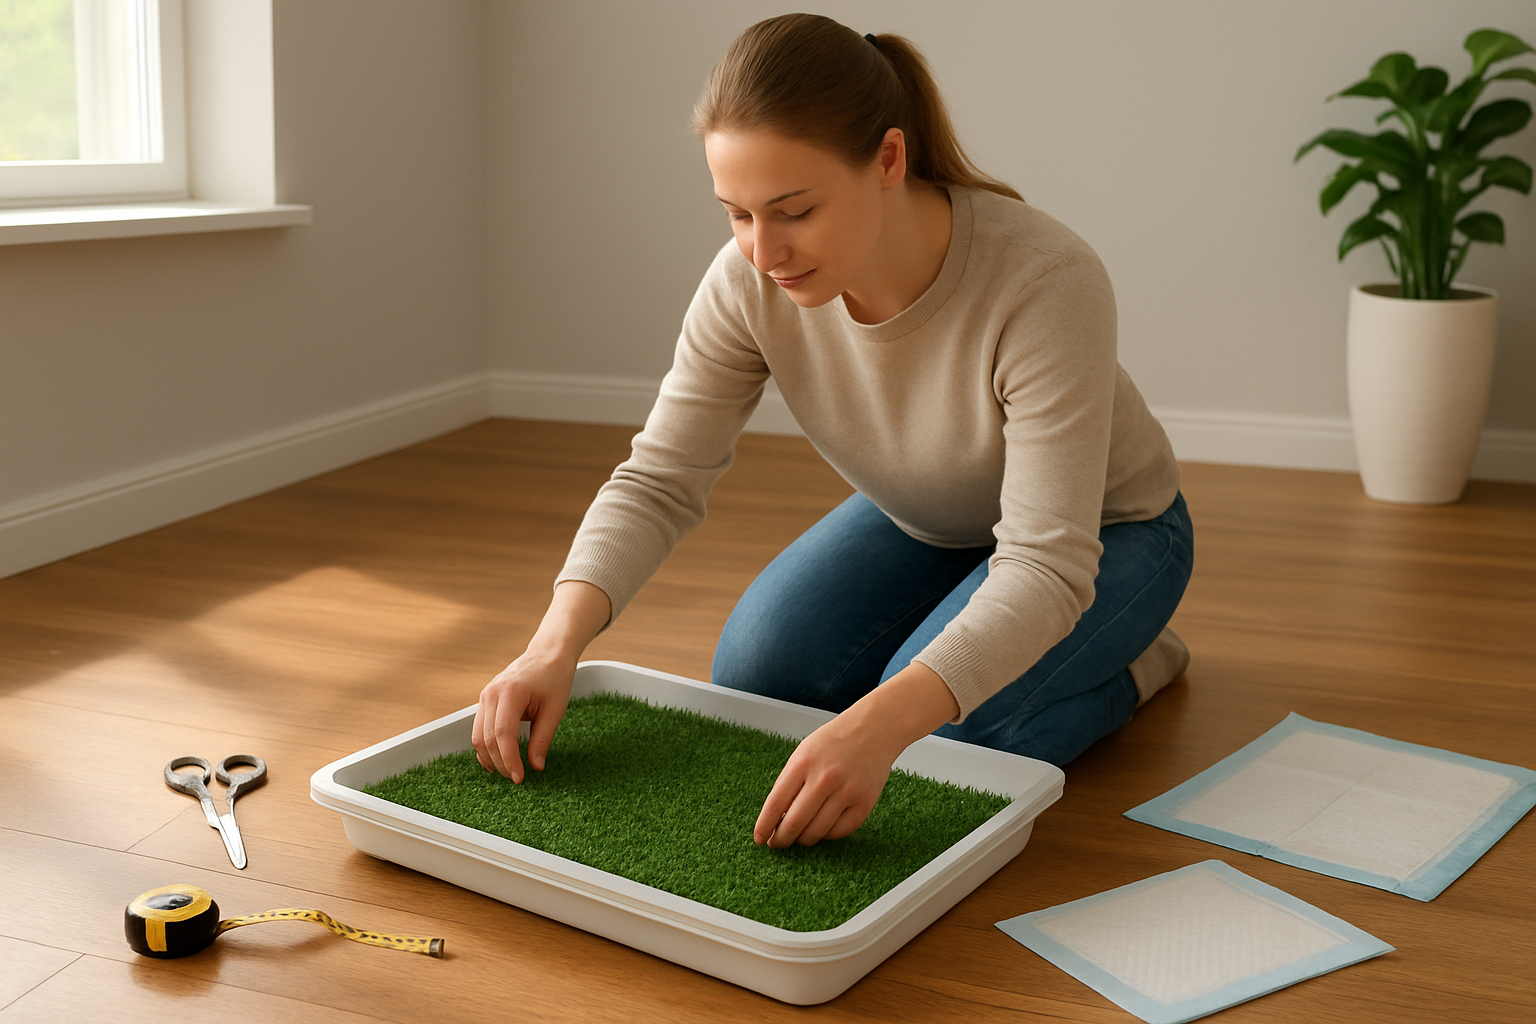
Prepare and Measure Your Chosen Space
Clear your selected area completely and use a measuring tape to mark the exact dimensions you’ll need. Most indoor potty areas work best between 3×3 feet for small dogs and 4×6 feet for larger breeds. Mark the corners with painter’s tape and double-check that you have at least 6 inches of clearance on all sides for easy cleaning access.
Install the Base and Drainage System
Start by laying down a waterproof base using marine-grade plywood or plastic sheeting. Create a slight slope toward one corner by placing thin wooden shims underneath – aim for a 1-inch drop over 4 feet. Install a small drainage pan or connect PVC piping to direct liquids away from the area. Seal all edges with waterproof caulk to prevent leaks reaching your flooring.
Add Absorbent Materials and Surface Options
Layer your base with multiple absorption options for maximum effectiveness. Place puppy training pads as your bottom layer, then add artificial grass or washable potty mats on top. For natural options, consider wood pellets or recycled newspaper pellets that expand when wet. Keep backup materials nearby so you can quickly swap out soiled layers during cleaning.
Create Boundaries and Containment Walls
Build low walls around three sides using waterproof materials like PVC boards or plastic panels. Keep walls between 4-6 inches high – tall enough to contain messes but low enough for your dog to step over easily. Secure corners with L-brackets and leave the front completely open for easy dog access. Consider adding removable panels if you need occasional full access for deep cleaning.
Set Up Easy-Access Water Connection for Cleaning
Run a garden hose connection or install a nearby water spigot for quick rinse-downs. If plumbing isn’t feasible, position your potty area near a utility sink or bathroom for easy bucket fills. Keep a spray bottle filled with pet-safe cleaner within arm’s reach, plus a small squeegee or mop for immediate cleanup. Store cleaning supplies in a nearby cabinet or basket for quick access during daily maintenance.
Train Your Dog to Use the New Indoor Potty
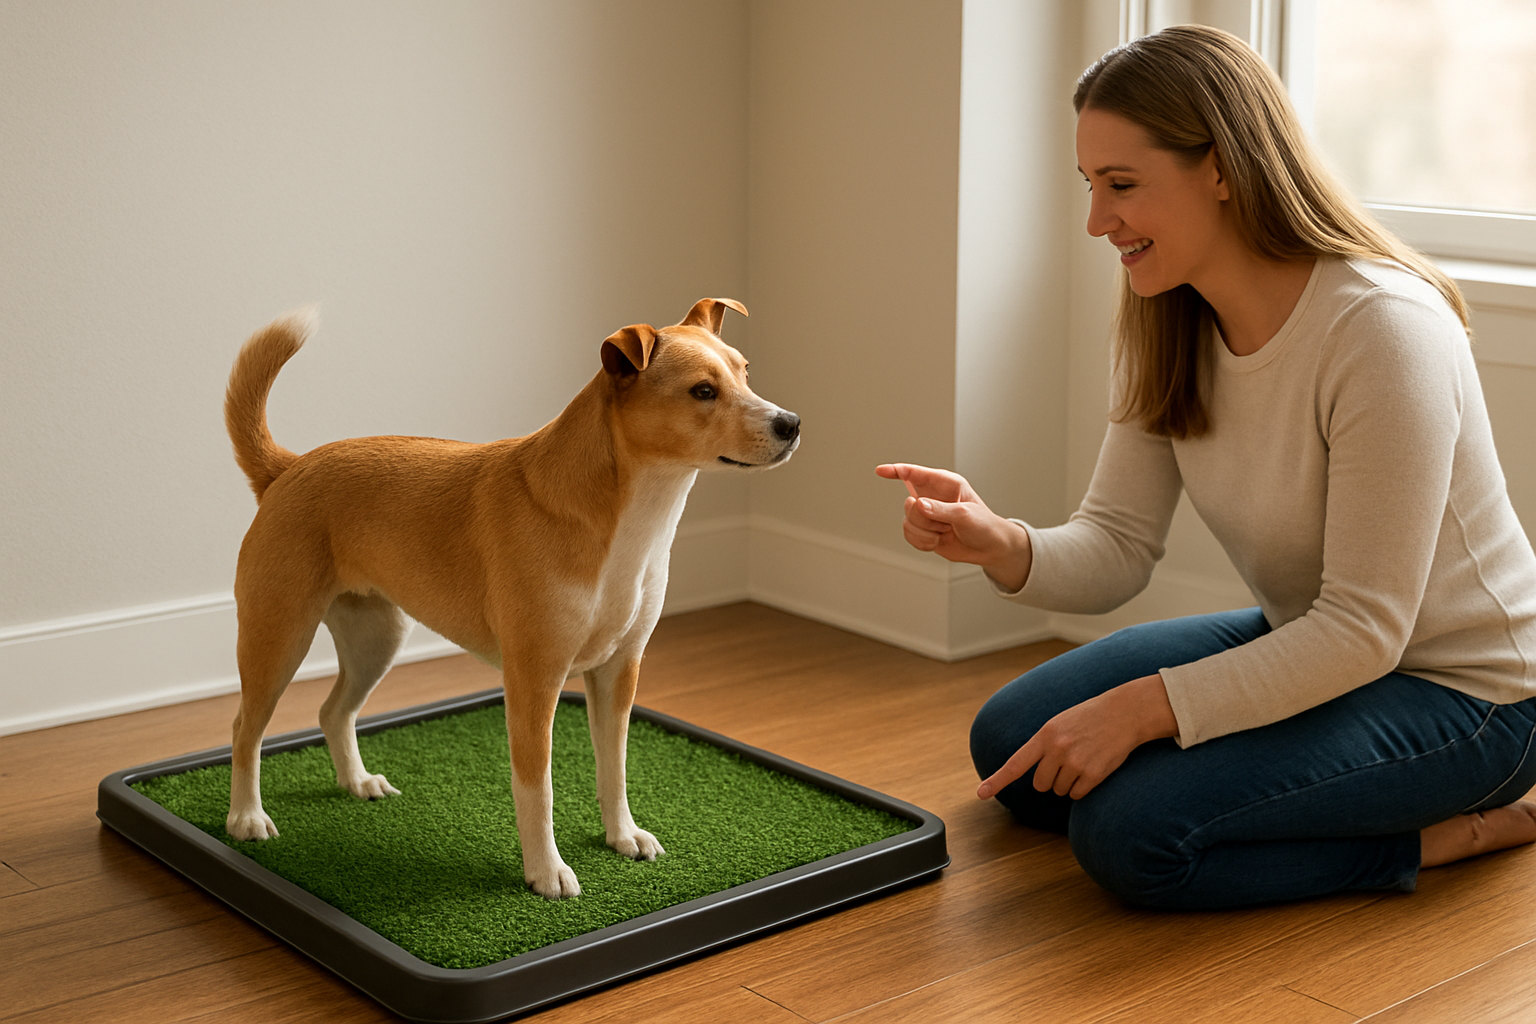
Introduce Your Dog to the Designated Area
Start by bringing your dog to the new potty area on a leash, even inside your home. Let them sniff around and explore the space for several minutes. Stay calm and patient during this initial introduction. Use a cheerful, encouraging voice to create positive associations with the area. Repeat these short visits multiple times throughout the first day, allowing your dog to become comfortable with the new space without any pressure to actually use it yet.
Establish Consistent Potty Schedule and Commands
Take your dog to the indoor potty area at the same times you would normally go outside – first thing in the morning, after meals, before bed, and every few hours in between. Choose a simple command like “go potty” or “bathroom” and use it consistently each time you bring them to the area. Stand quietly nearby and wait patiently for up to 10 minutes. If nothing happens, take them away and try again in 30 minutes. Consistency with timing and commands helps your dog understand what you expect.
Use Positive Reinforcement Techniques
The moment your dog uses the indoor potty area correctly, shower them with enthusiastic praise and immediately give them a high-value treat. Make this reward much more exciting than their regular treats – think small pieces of cooked chicken or cheese. Some dogs also respond well to verbal praise combined with gentle petting. Never punish accidents or mistakes, as this can create anxiety around using any potty area. Keep treats and praise ready so you can reward within seconds of the desired behavior.
Address Common Training Challenges
If your dog seems confused or reluctant, try placing a small amount of their waste or a pee pad with their scent in the designated area. Some dogs need this familiar smell to understand where they should go. For dogs who keep having accidents elsewhere, thoroughly clean those spots with an enzymatic cleaner to remove odors. If your dog refuses to use the area after several days of consistent training, consider whether the location might be too noisy, bright, or uncomfortable. Moving the setup to a quieter corner often helps nervous dogs feel more secure.
Maintain Your Indoor Dog Potty for Long-Term Success
Create Daily Cleaning and Sanitizing Routine
Clean up accidents immediately and sanitize the area with pet-safe cleaners to prevent odor buildup. Remove waste daily and wash potty pads or artificial grass weekly. Disinfect the containment area and surrounding floor every few days to maintain hygiene and prevent bacterial growth that could harm your dog’s health.
Replace Materials and Supplies Regularly
Swap out potty pads every 1-2 days or when soiled, and replace artificial grass monthly depending on usage. Check attractant sprays and cleaning supplies monthly, restocking before you run out. Replace containment materials like trays or borders when they show signs of wear to keep your setup functioning properly.
Monitor for Wear and Damage Issues
Inspect your potty area weekly for cracks in trays, torn pads, or damaged artificial grass that could create hygiene problems. Check for loose edges or broken barriers that might let waste leak onto your floors. Address small issues immediately before they become bigger problems that require complete setup replacement.


