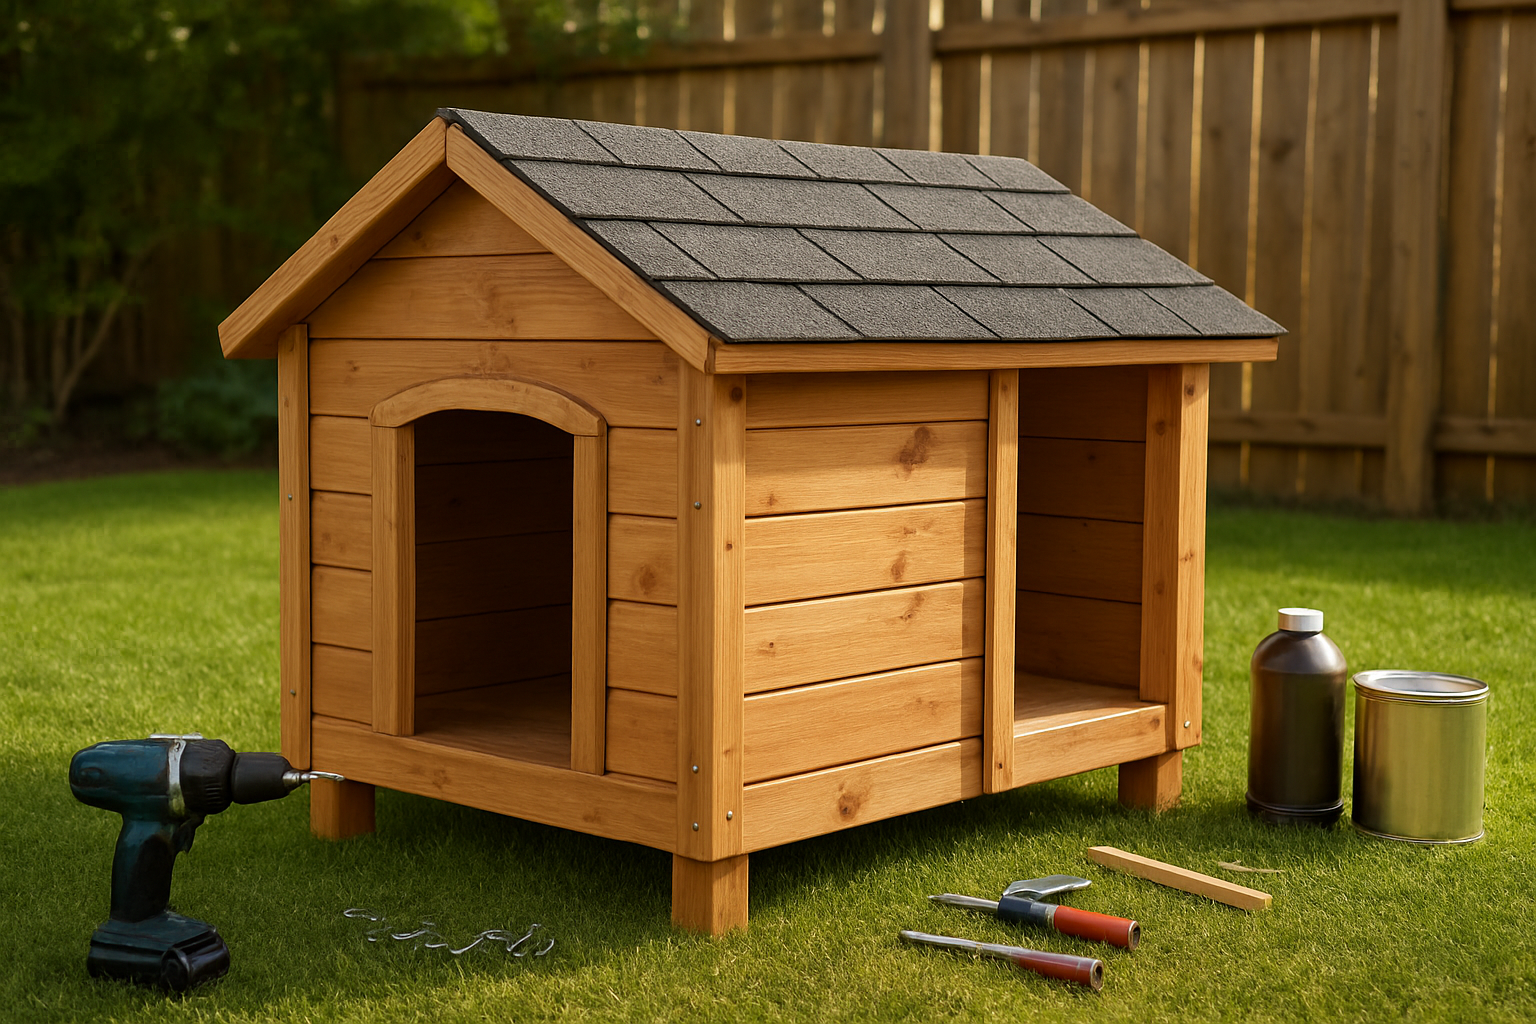
How to Build a Weatherproof Dog House (No Experience Needed)

Your furry friend deserves a cozy, dry shelter that can handle whatever Mother Nature throws at it. Building a weatherproof dog house might seem intimidating, but you don’t need years of carpentry experience to create a safe, comfortable outdoor home for your dog.
This beginner woodworking project is perfect for pet owners who want to save money while giving their dog a custom shelter. You’ll learn exactly what materials and tools you need to get started, plus discover proven weatherproofing techniques that keep your pup dry and warm year-round.
We’ll walk you through choosing the right waterproof dog house design for your climate, then guide you step-by-step through foundation and frame construction. You’ll also master the weatherproofing methods that actually work – no guesswork involved.
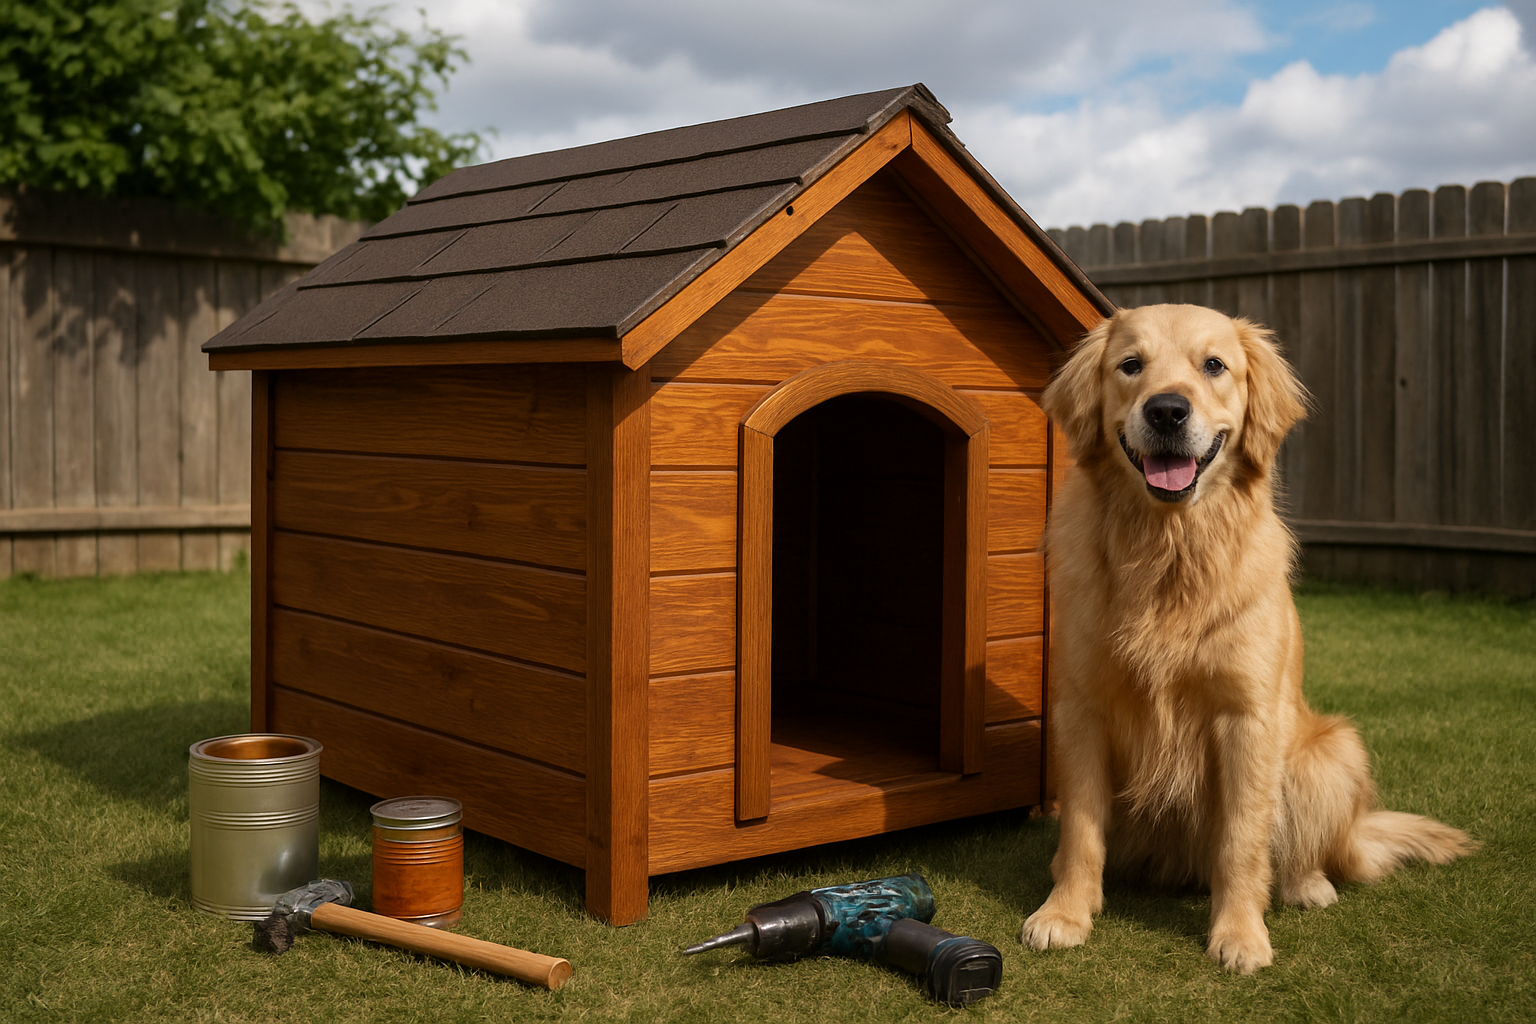
By the end, you’ll have built a durable outdoor dog shelter that rivals anything you’d buy at the store, and your dog will have a weatherproof retreat they’ll love for years to come.


Essential Tools and Materials for Beginner-Friendly Construction
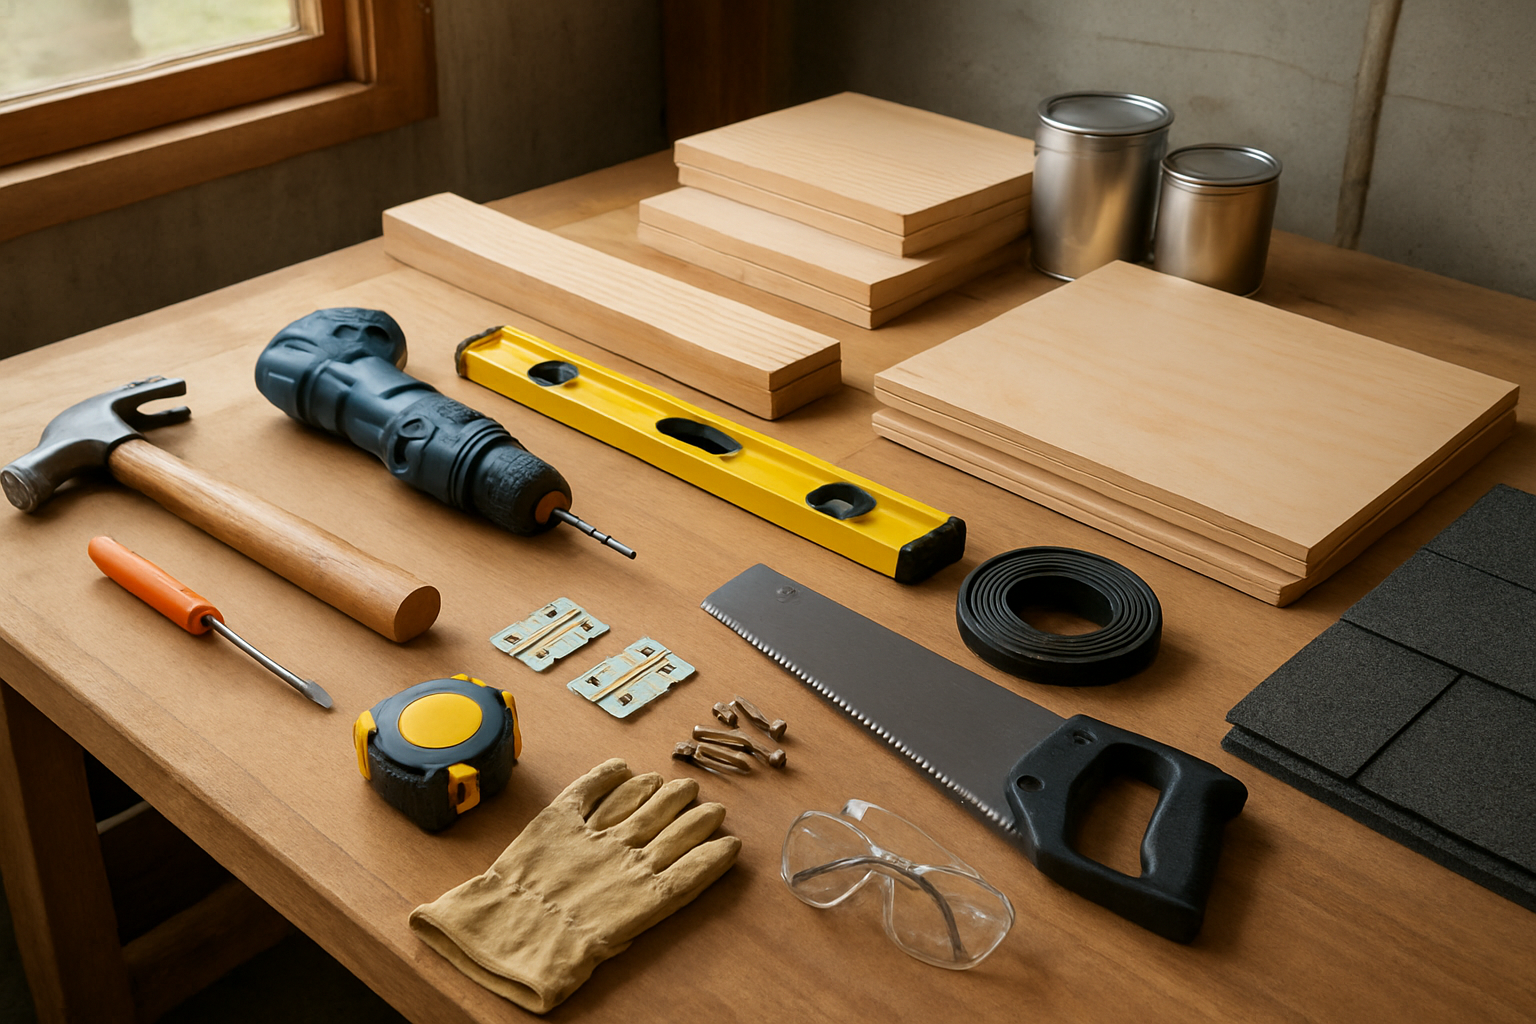
Basic hand tools you already own or can borrow
You probably have most tools needed for this DIY dog house project sitting in your garage or toolbox right now. A circular saw or hand saw will handle your cuts, while a drill with bits covers all your fastening needs. Grab a hammer, level, measuring tape, and pencil for marking. Don’t forget safety glasses and work gloves – your hands will thank you later.
Weatherproofing materials that guarantee long-lasting protection
Your weatherproof dog house depends on quality protective materials that create an impenetrable barrier against rain, snow, and wind. Start with exterior wood stain or paint designed for outdoor use, then add roofing felt or shingles for superior water protection. Silicone caulk seals every joint and gap, while foam weatherstripping around the door opening blocks drafts completely.
Wood selection guide for durability and affordability
Cedar and redwood naturally resist rot and insects, making them perfect for outdoor dog shelter construction, though they cost more upfront. Pressure-treated lumber offers excellent weather resistance at budget-friendly prices – just ensure it’s kiln-dried after treatment. Avoid untreated pine or softwoods that will warp and decay quickly. Plywood works great for walls when you apply proper weatherproofing techniques.
Hardware essentials for secure assembly
Your dog house materials list should include galvanized or stainless steel screws and nails that won’t rust over time. Choose 2.5-inch exterior screws for framing and 1.25-inch screws for attaching siding. Add heavy-duty hinges for removable roof access, plus corner brackets for extra joint strength. Don’t skimp on quality fasteners – they’re what keep your beginner woodworking project standing strong through storms.
Design Your Dog House for Maximum Weather Protection
Size Calculations Based on Your Dog’s Measurements
Your dog needs enough room to stand, turn around, and lie down comfortably, but avoid making the space too large since it’ll be harder to heat in cold weather. Measure your dog’s height from floor to head when standing, then add 4-6 inches for ceiling height. For length, measure from nose to base of tail and add 12 inches. Width should equal your dog’s length measurement. Small dogs need roughly 24″ x 30″ while large breeds require 36″ x 48″ minimum dimensions.
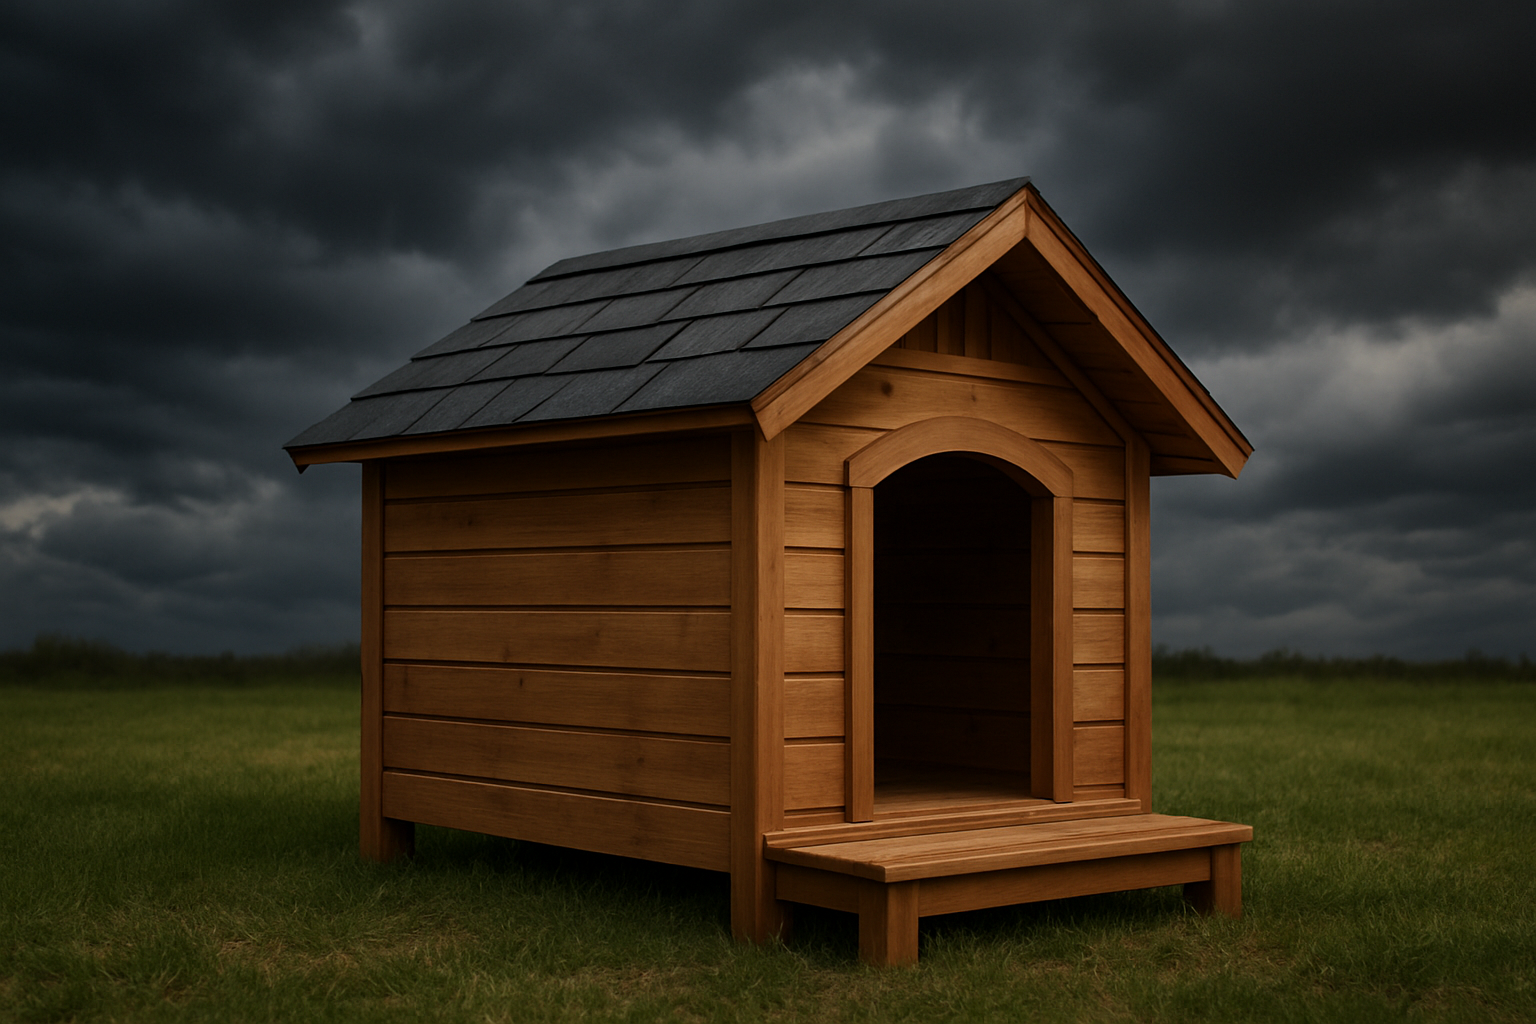
Roof Pitch Angles That Shed Rain and Snow Effectively
A sloped roof prevents water pooling and snow buildup that can damage your weatherproof dog house structure. Aim for a minimum 30-degree pitch angle – steep enough to shed precipitation but not so extreme that construction becomes complicated for beginners. For snowy climates, increase the angle to 45 degrees to prevent heavy snow loads. Install the slope so water runs away from the entrance, and extend roof edges 2-3 inches beyond walls to create protective overhangs.
Door Placement Strategies to Block Wind and Rain
Position the entrance on the side that faces away from your area’s prevailing winds and driving rain. If you’re unsure about wind patterns, observe which direction storms typically approach from during different seasons. Place the door off-center rather than in the middle of the wall to create a wind barrier inside. Size the opening just large enough for your dog to enter comfortably – typically shoulder width plus 2 inches. Consider adding a removable door flap or windbreak panel for extra protection during severe weather conditions.
Step-by-Step Foundation and Frame Construction
Ground Preparation Techniques for Proper Drainage
You’ll need to select a slightly elevated spot that naturally drains water away from your DIY dog house. Clear the area of grass, weeds, and debris, then level the ground using a shovel and rake. Create a gentle slope away from the foundation by adding gravel or sand, ensuring water flows away from your outdoor dog shelter construction rather than pooling underneath.
Floor Assembly That Prevents Moisture Damage
Your floor assembly starts with pressure-treated lumber for the frame, which resists moisture damage naturally. Cut your 2×4 boards to create a rectangular frame matching your weatherproof dog house plans dimensions. Space floor joists 16 inches apart for proper support, then attach exterior-grade plywood or OSB sheathing using galvanized screws. This beginner woodworking project requires pre-drilling holes to prevent wood splitting.
Wall Frame Construction Using Simple Joining Methods
Building your wall frames follows the same basic technique for each section. Cut your studs to the proper height, typically 16 inches on center for stability. Use simple butt joints secured with 3-inch deck screws for this easy dog house building guide approach. Frame your door opening by adding extra studs and a header board. Pre-assemble each wall flat on the ground before raising them into position.
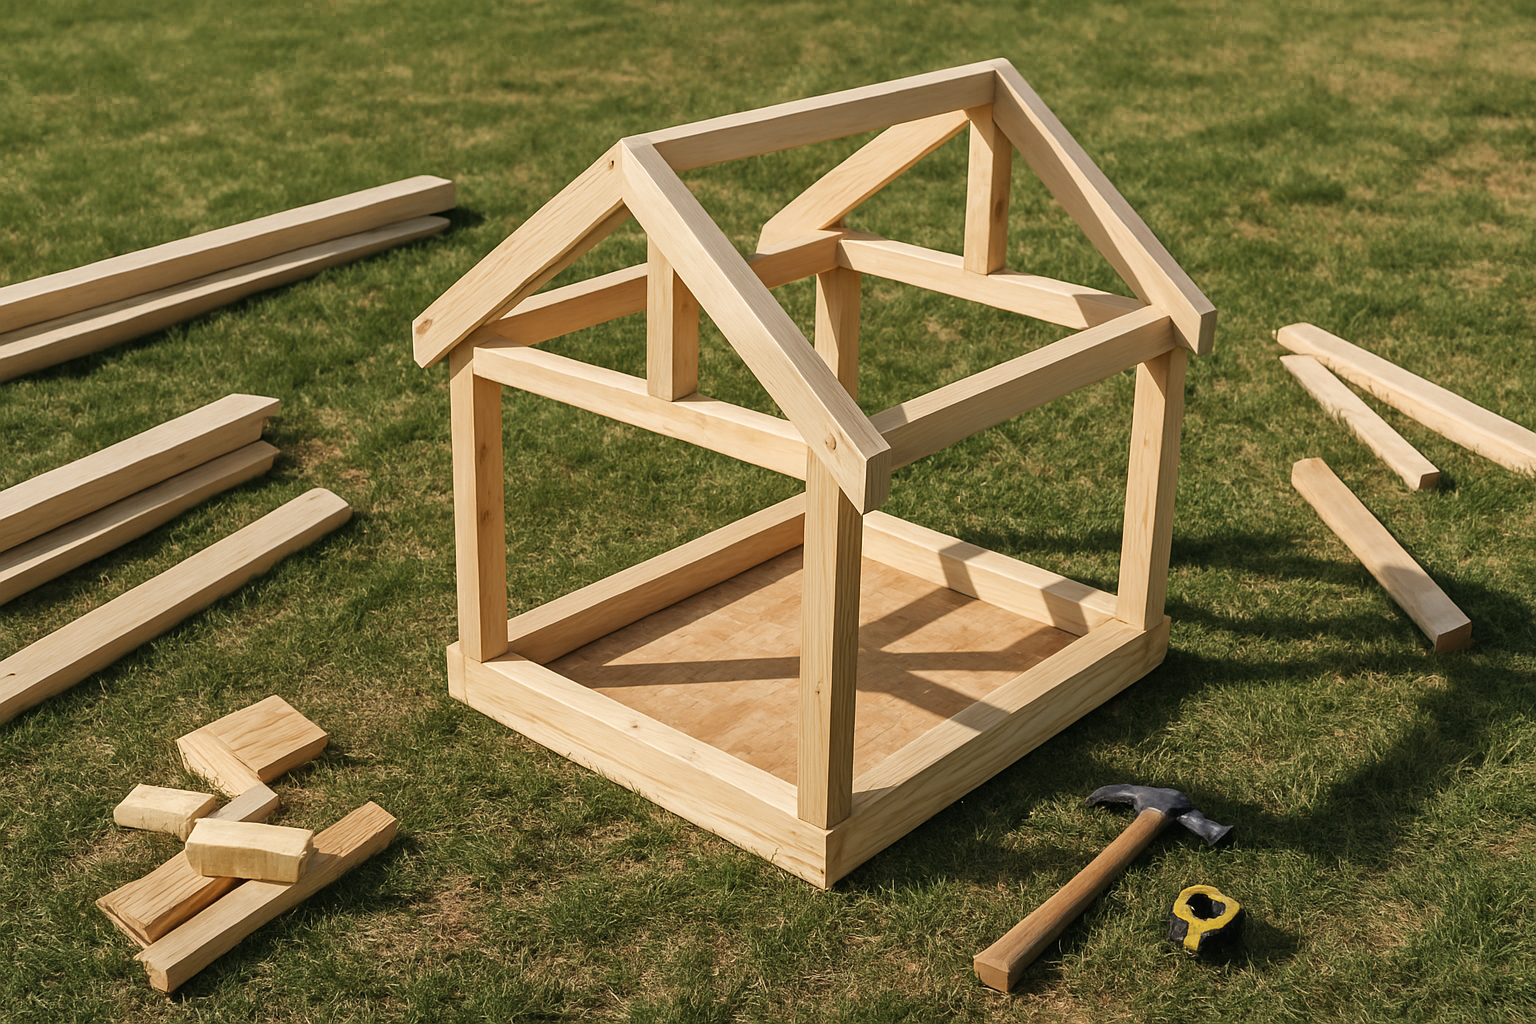
Roof Frame Setup for Structural Stability
Your roof frame determines how well your waterproof dog house design sheds rain and snow. Cut rafters at the proper angle using a speed square as your guide – typically a 4/12 or 6/12 pitch works well for most climates. Install a ridge board at the peak, then attach rafters every 16 inches along both sides. Add collar ties halfway up each rafter pair to prevent the walls from spreading under load and maintain structural integrity.
Weatherproofing Techniques That Actually Work
Sealing gaps and joints to eliminate drafts
Your dog house weatherproofing success depends on creating an airtight seal throughout the structure. Start by applying exterior-grade caulk to all corner joints, window frames, and door openings where cold air can sneak through. Use weather stripping around movable parts like doors and vents to create flexible seals that maintain protection even when these components shift with temperature changes. Pay special attention to the foundation-to-wall connection, as this area often develops gaps that let in moisture and drafts.
Installing proper insulation for temperature control
Choose rigid foam insulation boards for your DIY dog house walls and roof, as they provide excellent thermal protection without absorbing moisture like traditional fiberglass. Cut the insulation to fit snugly between your frame studs, leaving no gaps where cold can penetrate. For the floor, install a vapor barrier beneath the insulation to prevent ground moisture from rising into the living space. Reflective insulation works particularly well for roof applications, bouncing heat back down during winter months while reflecting summer heat away.
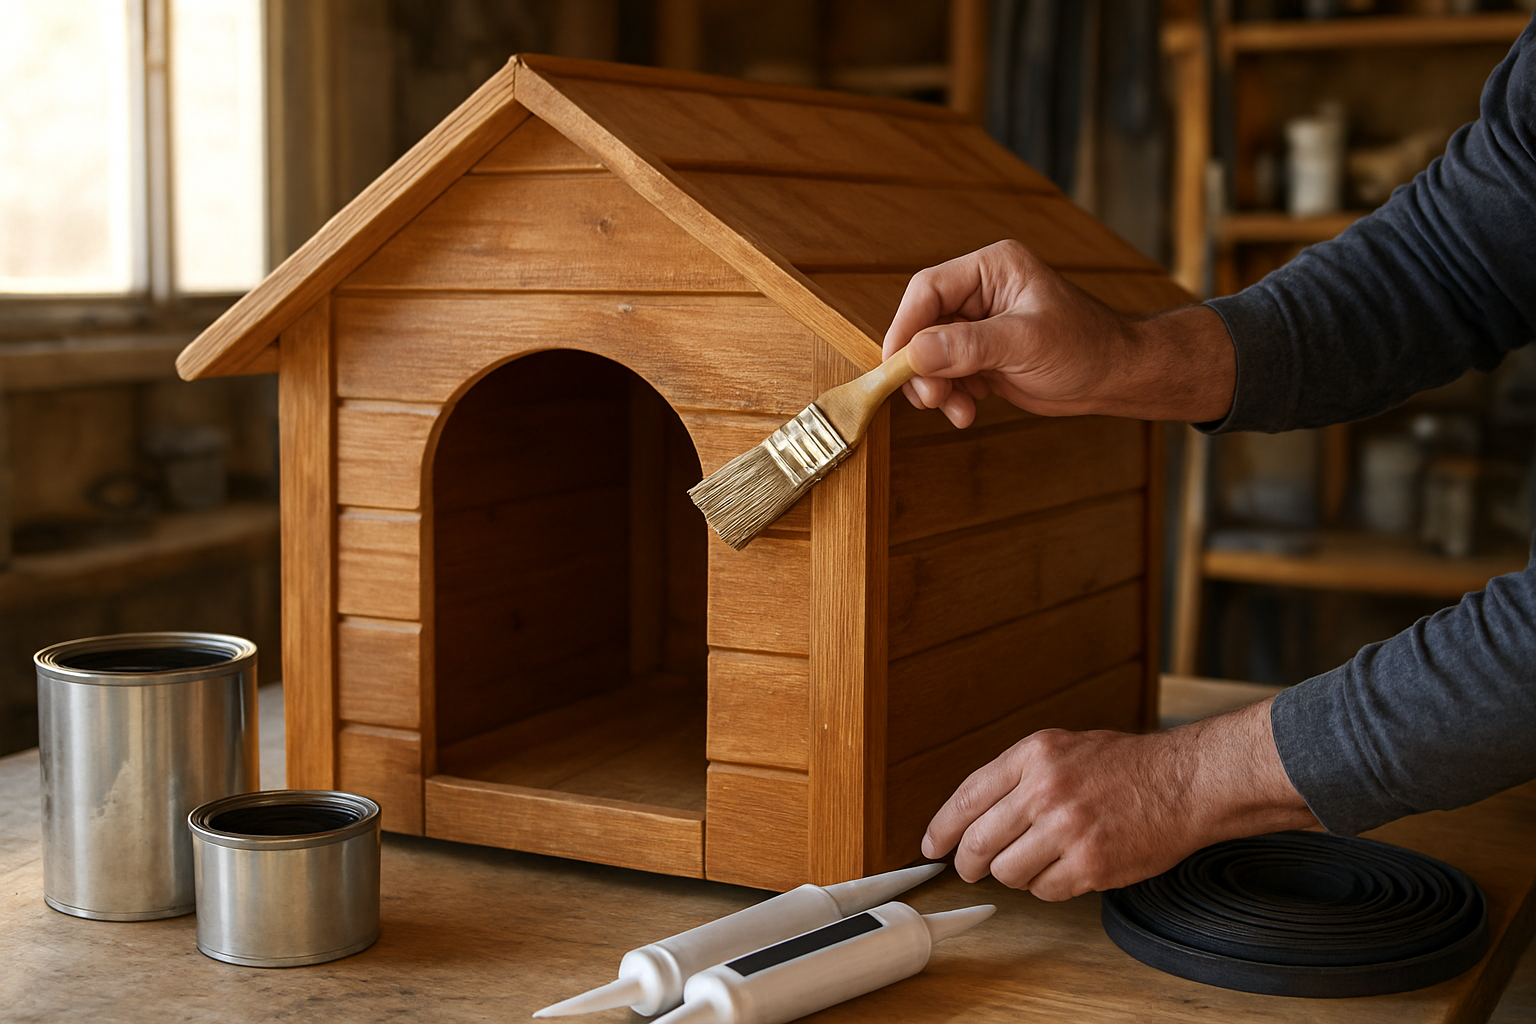
Applying exterior finishes that resist harsh weather
Select marine-grade polyurethane or solid-color deck stain for your outdoor dog shelter construction, as these finishes penetrate deeply into wood fibers and create a waterproof barrier. Apply at least two coats, allowing proper drying time between applications according to manufacturer specifications. Focus on end grain areas, door edges, and any exposed plywood, as these spots absorb moisture fastest. Consider adding a protective overhang above the entrance to shield the door area from driving rain and extend the life of your weatherproof dog house finish.
Ventilation placement to prevent condensation buildup
Position intake vents near the floor level and exhaust vents close to the roof peak to create natural air circulation that prevents harmful condensation. Install adjustable vents that you can partially close during extreme weather while maintaining some airflow to keep the interior dry. Place vents on opposite walls when possible to encourage cross-ventilation, but avoid positioning them where prevailing winds might create uncomfortable drafts across your dog’s sleeping area. Use screened vents to keep insects out while allowing proper air exchange that protects your dog house weatherproofing techniques from moisture damage.
Final Assembly and Professional Finishing Touches
Secure attachment methods for all components
Your DIY dog house needs rock-solid connections between all parts to withstand harsh weather conditions. Start by pre-drilling holes to prevent wood splitting, then use galvanized screws or bolts for maximum holding power. For corner joints, apply waterproof wood glue before securing with 2.5-inch exterior screws. Metal brackets add extra strength where walls meet the floor – place them every 12 inches for optimal support. Don’t forget to countersink screw heads slightly below the surface, then fill with wood putty for a professional finish that prevents water penetration.
Adding removable roof access for easy cleaning
You’ll want easy access to clean your dog’s shelter without dismantling the entire structure. Create a hinged roof section using heavy-duty outdoor hinges rated for weather exposure. Position the hinge line about two-thirds back from the front, giving you plenty of room to reach inside. Install a simple latch or barrel bolt on the opposite side to keep the roof secure during storms. Add a rubber gasket along the opening edges to maintain your weatherproof seal when closed.
Installing weather stripping around door openings
Proper weather stripping transforms your dog house from a basic shelter into a truly weatherproof retreat. Choose closed-cell foam strips or rubber weatherstripping designed for exterior use. Clean the door frame thoroughly, then measure and cut strips to fit the top and sides of the opening. Press the adhesive backing firmly into place, creating a continuous seal. Test the fit by closing a piece of paper in the door – you should feel slight resistance when pulling it out, indicating a proper seal that blocks drafts and moisture.
Building a weatherproof dog house doesn’t have to be an overwhelming project, even if you’ve never picked up a hammer before. By gathering the right tools, planning a smart design that blocks wind and rain, and following the step-by-step construction


