
The Concrete Patio Trick That Saves $3,000 (Do This Before Hiring Anyone)

If you’re about to call a contractor for a concrete patio, stop. There’s one step most homeowners skip that ends up costing them thousands — and it takes less than an hour to do yourself.
This guide is for you if you’re planning a concrete patio project and you want to stop overpaying simply because you didn’t know what to ask or what to check first.
Here’s what you’ll walk away knowing:
- Why concrete patio costs are inflated by default — and what’s quietly driving up your quote before you even pick up the phone
- How to calculate your true patio cost so you walk into every contractor conversation knowing your numbers cold
- What to do before you contact anyone — the exact prep steps that put you in control and help you negotiate a lower quote on the spot
No guesswork, no getting talked into upgrades you don’t need. Just a clear, honest look at where your money goes and how to keep more of it in your pocket.


Why Concrete Patios Cost More Than They Should
The Markup Contractors Add to Standard Projects
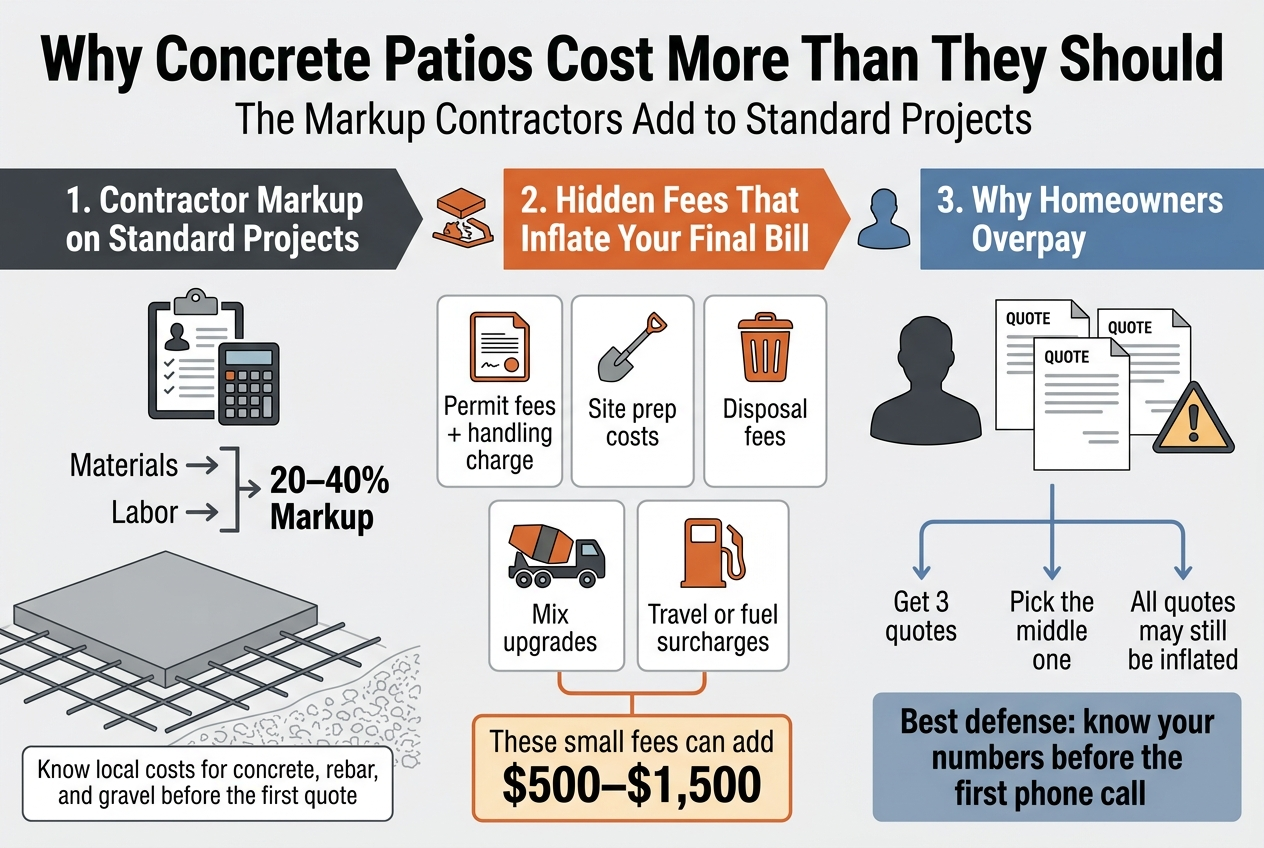
When you hire a contractor without doing your homework first, you’re handing them the power to set the price. Most contractors mark up materials by 20–40% on top of their labor fees. That markup isn’t illegal — but it’s avoidable if you know what concrete, rebar, and gravel actually cost in your local market before anyone shows up with a clipboard.
Hidden Fees That Inflate Your Final Bill
Your quote rarely tells the whole story. Watch out for these charges that quietly push your total up:
- Permit fees passed to you with an added handling charge
- Site prep costs that weren’t mentioned during the initial walkthrough
- Disposal fees for old concrete or debris removal
- Mix upgrades pitched as necessary when standard mix works fine for most patios
- Travel or fuel surcharges buried at the bottom of the invoice
Each of these feels small on its own, but together they can add $500–$1,500 to a job that should’ve cost less.
Why Most Homeowners Overpay Without Realizing It
You probably get three quotes, pick the middle one, and feel good about it. The problem is all three quotes might be inflated because none of those contractors know you’ve done your research. When you walk in unprepared, you signal that you’re relying entirely on their expertise — and some contractors price accordingly. Your best defense is knowing your numbers before the first phone call.
The $3,000-Saving Trick Explained
What the Trick Actually Involves Before Any Work Begins
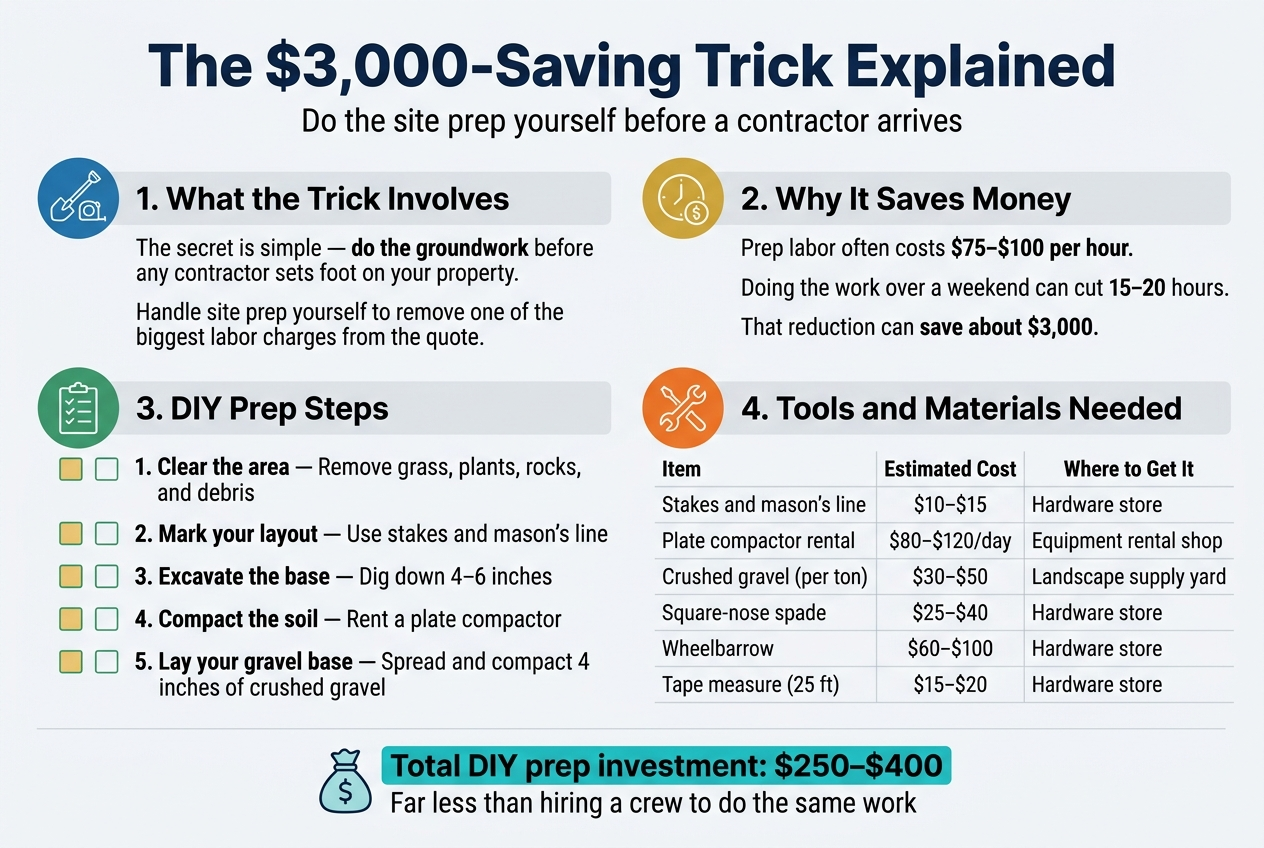
The secret is simple — you do the groundwork before a contractor ever sets foot on your property. When you handle site prep yourself, you strip out one of the biggest labor charges on any quote. Contractors price in every hour of clearing, measuring, and marking, so when you walk in already done, your quote drops fast.
How Preparation Work Reduces Labor Costs Dramatically
Labor is where your money disappears. A crew charging $75–$100 per hour for prep work that you can knock out over a weekend is cash straight out of your pocket. When your site is cleared, leveled, and staked before the first call, you cut billable hours significantly — sometimes by 15–20 hours of work, which is exactly where that $3,000 saving comes from.
The Specific Steps You Can Complete Yourself
Here’s what you can realistically tackle on your own:
- Clear the area — Remove grass, plants, rocks, and debris from your patio footprint
- Mark your layout — Use stakes and mason’s line to outline the exact shape and dimensions
- Excavate the base — Dig down 4–6 inches to allow for gravel base and concrete depth
- Compact the soil — Rent a plate compactor and firm up the ground to prevent settling
- Lay your gravel base — Spread and compact 4 inches of crushed gravel for drainage
Tools and Materials Needed to Get Started
You don’t need a full contractor’s toolkit. Here’s what covers the job:
| Item | Estimated Cost | Where to Get It |
|---|---|---|
| Stakes and mason’s line | $10–$15 | Hardware store |
| Plate compactor rental | $80–$120/day | Equipment rental shop |
| Crushed gravel (per ton) | $30–$50 | Landscape supply yard |
| Square-nose spade | $25–$40 | Hardware store |
| Wheelbarrow | $60–$100 | Hardware store |
| Tape measure (25 ft) | $15–$20 | Hardware store |
Your total out-of-pocket investment for prep runs roughly $250–$400 — a fraction of what a crew charges to do the same thing.
Calculate Your True Patio Cost Before Calling Anyone
How to Measure Your Space Accurately
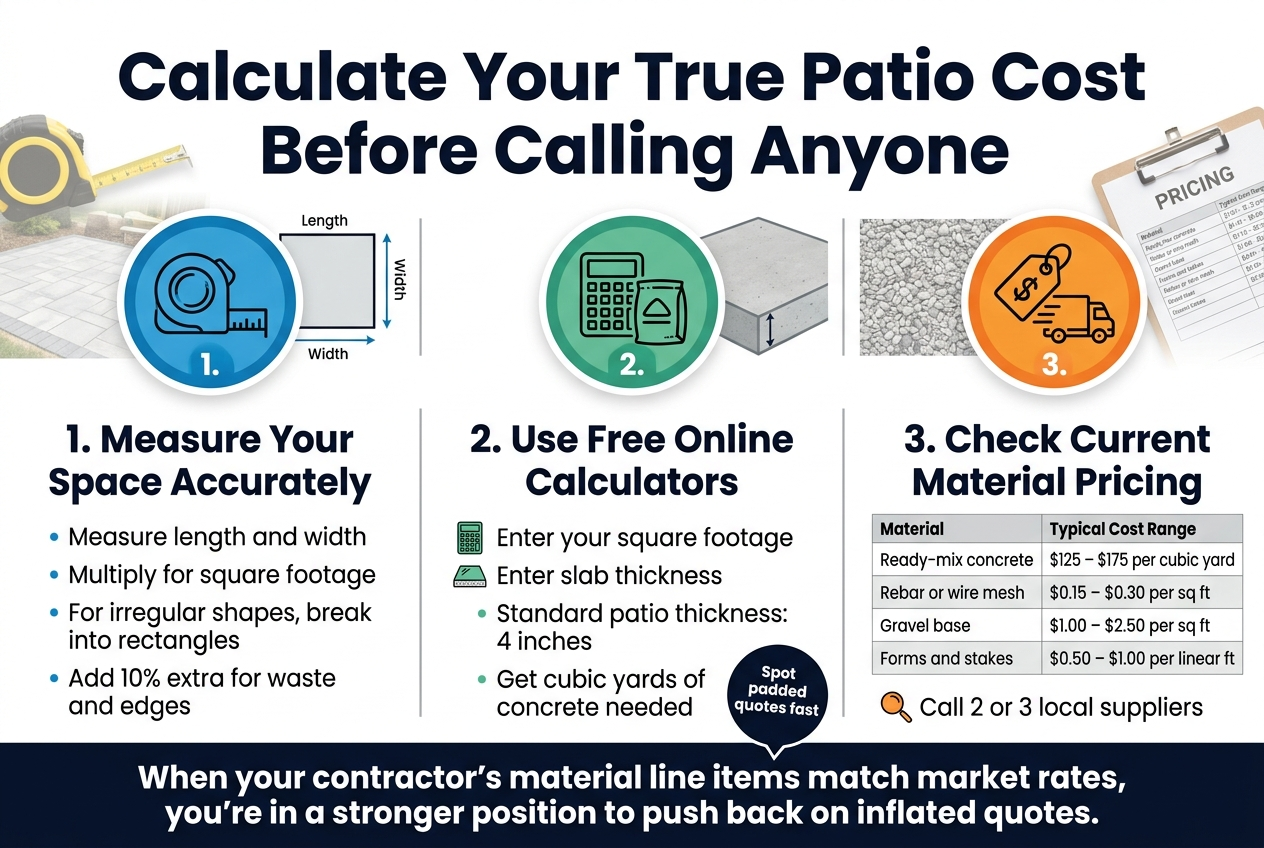
Grab a tape measure and get the exact length and width of your planned patio area. Multiply those two numbers to get your square footage. If your space has an irregular shape, break it into rectangles, calculate each section separately, and add them together. Always add 10% extra to your total to account for waste and edges.
Use Free Online Calculators to Estimate Material Quantities
Once you have your square footage, plug it into a free concrete calculator like the one at Calculators.io or Concrete Network. You’ll enter your dimensions and your desired slab thickness — typically 4 inches for a standard patio — and the tool will spit out exactly how many cubic yards of concrete you need. Knowing this number before you talk to a contractor means you can immediately spot if someone is padding the quantity on their quote.
Understand Current Concrete and Material Pricing in Your Area
Concrete pricing shifts depending on your region and season, so call two or three local ready-mix suppliers directly and ask for their current price per cubic yard. Here’s a quick breakdown of what you’re likely to see:
| Material | Typical Cost Range |
|---|---|
| Ready-mix concrete | $125 – $175 per cubic yard |
| Rebar or wire mesh | $0.15 – $0.30 per sq ft |
| Gravel base | $1.00 – $2.50 per sq ft |
| Forms and stakes | $0.50 – $1.00 per linear ft |
When your contractor’s material line items match what you already know the market rate is, you’re in a much stronger position to push back on anything that looks inflated.


