Flushable Pup Patio Potty Setup And Maintenance Guide

Your apartment balcony or small patio can become the perfect potty solution for your dog with a flushable pup patio potty system. This guide helps busy dog owners, apartment dwellers, and anyone with limited outdoor access create a clean, convenient bathroom space for their furry friend.
You’ll learn how to choose the right flushable patio potty system that fits your space and your dog’s needs. We’ll walk you through the complete installation process, from connecting water lines to setting up drainage systems. You’ll also discover proven training techniques to help your pup adapt to their new bathroom spot, plus daily cleaning routines that keep everything fresh and odor-free.
Understanding Flushable Pup Patio Potty Systems
Key Components and How They Work
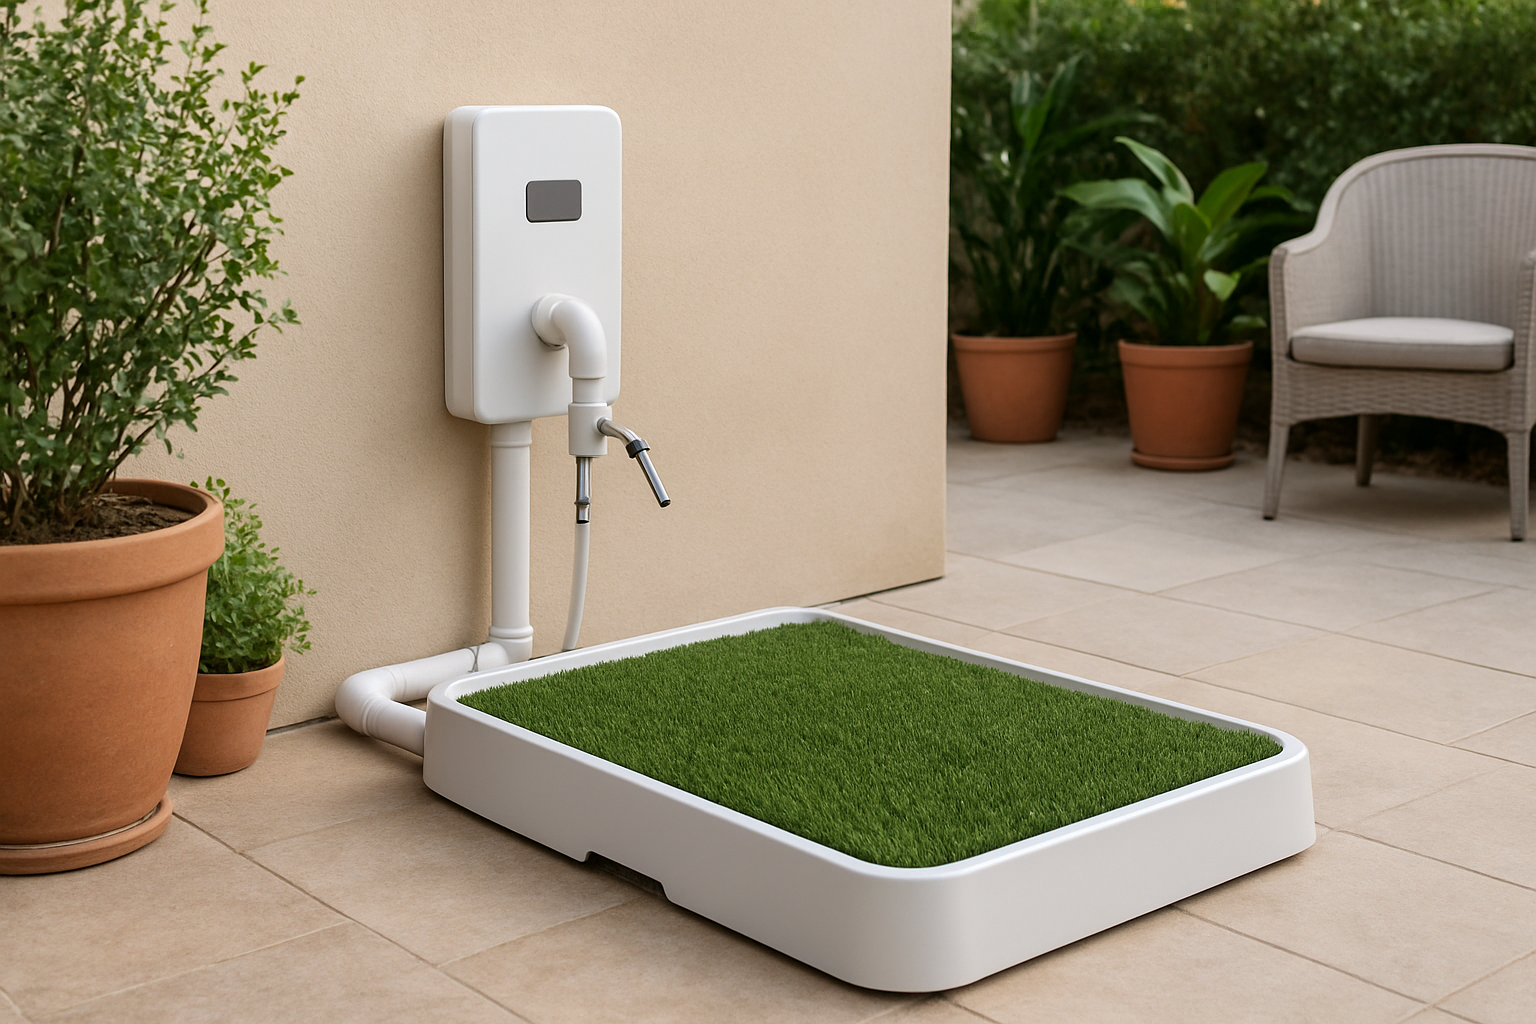
Your flushable pup patio potty system includes a drainage platform with artificial grass, a water reservoir, and plumbing connections to your home’s waste system. When your dog uses it, you simply flush waste away using the built-in sprayer mechanism, similar to a human toilet but designed for outdoor pet use.
You Might Also Love These Ideas


Benefits Over Traditional Indoor Potty Solutions
You’ll eliminate the constant odors that plague indoor pee pads and litter boxes. These systems drain waste directly into your sewer line, so you won’t deal with soggy pads or smelly cleanup tasks. Your patio stays fresh, and you save money on disposable products while giving your dog a more natural outdoor experience.
Size and Space Requirements for Your Patio
You need at least 4×4 feet of patio space for small dogs, while large breeds require 6×6 feet minimum. Your patio must have access to water lines and drainage connections. Consider proximity to your home’s plumbing and ensure adequate ventilation around the unit to prevent moisture buildup in enclosed spaces.
Cost Comparison with Other Dog Potty Options
| Option | Initial Cost | Monthly Cost | Annual Total |
|---|---|---|---|
| Flushable Patio Potty | $800-$1,500 | $10-$20 | $920-$1,740 |
| Pee Pads | $50 | $30-$50 | $410-$650 |
| Litter Box System | $200 | $25-$40 | $500-$680 |
| Dog Walker Service | $0 | $200-$400 | $2,400-$4,800 |
Your upfront investment pays off within two years compared to professional dog walking services, and you gain convenience that pee pads can’t match.
Choosing the Right Flushable Patio Potty for Your Dog
Weight and Size Capacity Considerations
Your dog’s size directly impacts which system will work best for your patio setup. Small dogs under 25 pounds can use compact units with basic drainage, while medium dogs (25-60 pounds) need reinforced platforms with wider waste collection areas. Large breeds over 60 pounds require heavy-duty systems with industrial-grade materials and expanded surface areas to accommodate their stance and waste volume comfortably.
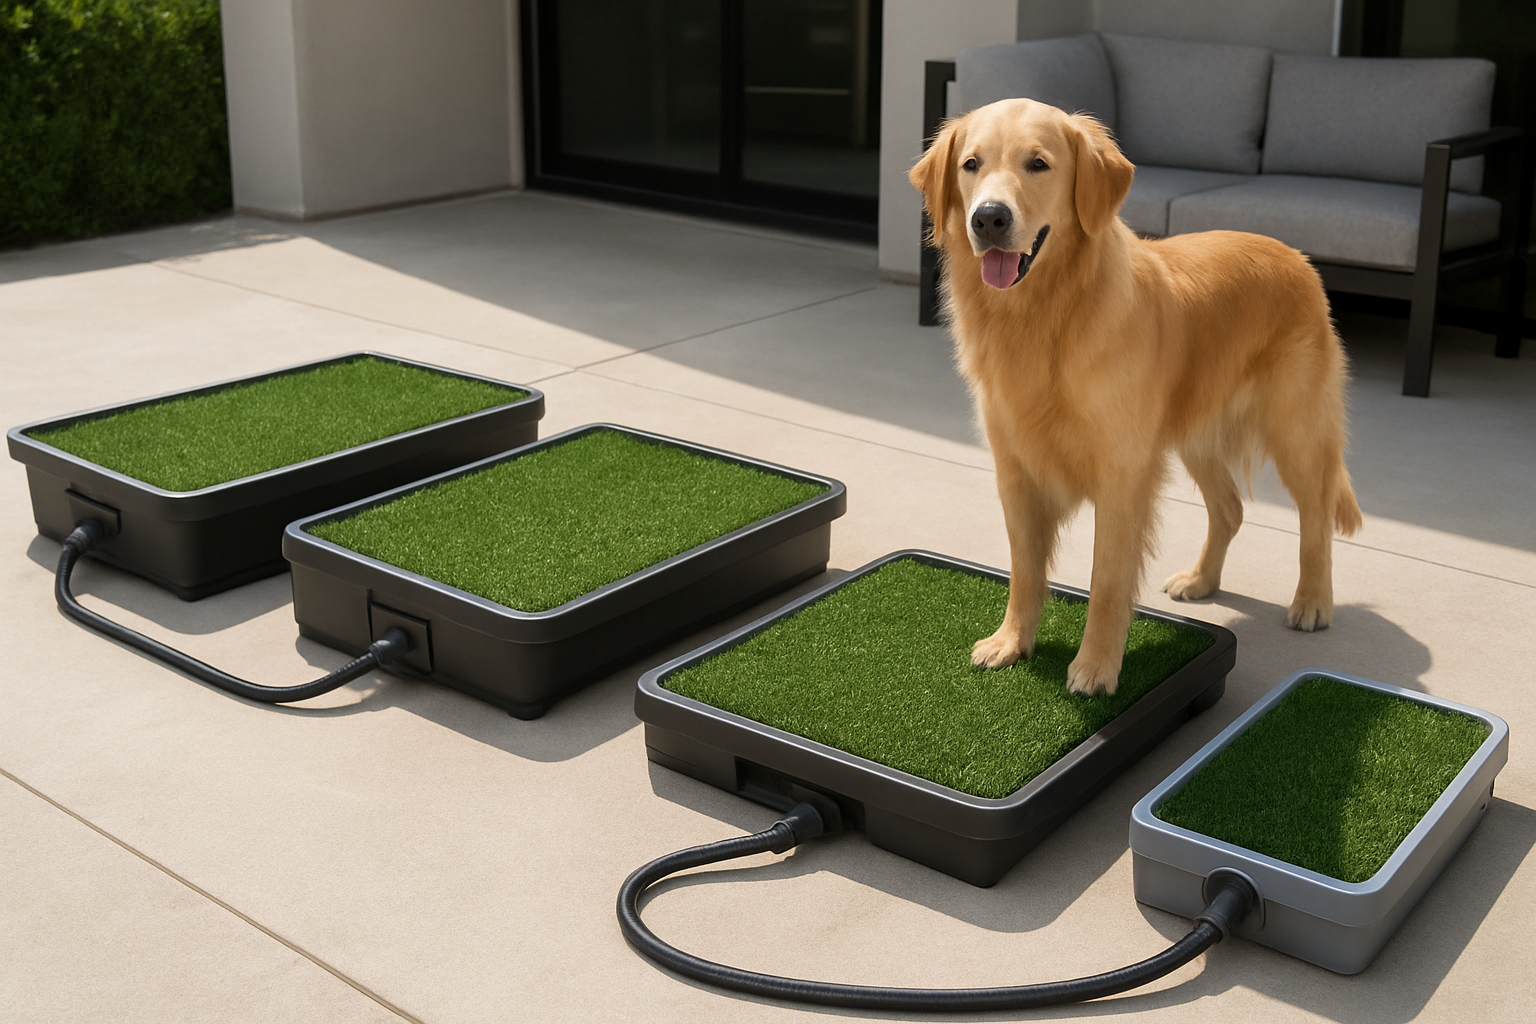
Drainage System Options and Effectiveness
You’ll find three main drainage types: gravity-fed systems that rely on slope for waste flow, pump-assisted models that actively move waste through pipes, and hybrid systems combining both methods. Gravity systems work well for ground-level installations with proper slope, while pump systems excel in elevated patios or areas where natural drainage isn’t possible. Hybrid models offer backup options but cost more upfront.
Surface Material Types and Durability
Your surface choice affects both your dog’s comfort and system longevity. Synthetic grass provides familiar texture but requires frequent cleaning to prevent odor buildup. Grated plastic surfaces drain quickly and clean easily but may feel uncomfortable for sensitive paws. Textured rubber mats offer good grip and easy maintenance while staying gentle on paws, making them ideal for daily use in most weather conditions.
Step-by-Step Installation Process
Preparing Your Patio Space and Measuring
Start by clearing your patio area completely and checking for any structural issues that might affect drainage. You’ll need to measure the designated potty area carefully, accounting for both the drainage system footprint and your dog’s size requirements. Mark utility lines before digging and ensure you have at least 6 inches of clearance around the installation perimeter. Take photos of the existing layout for reference during assembly.
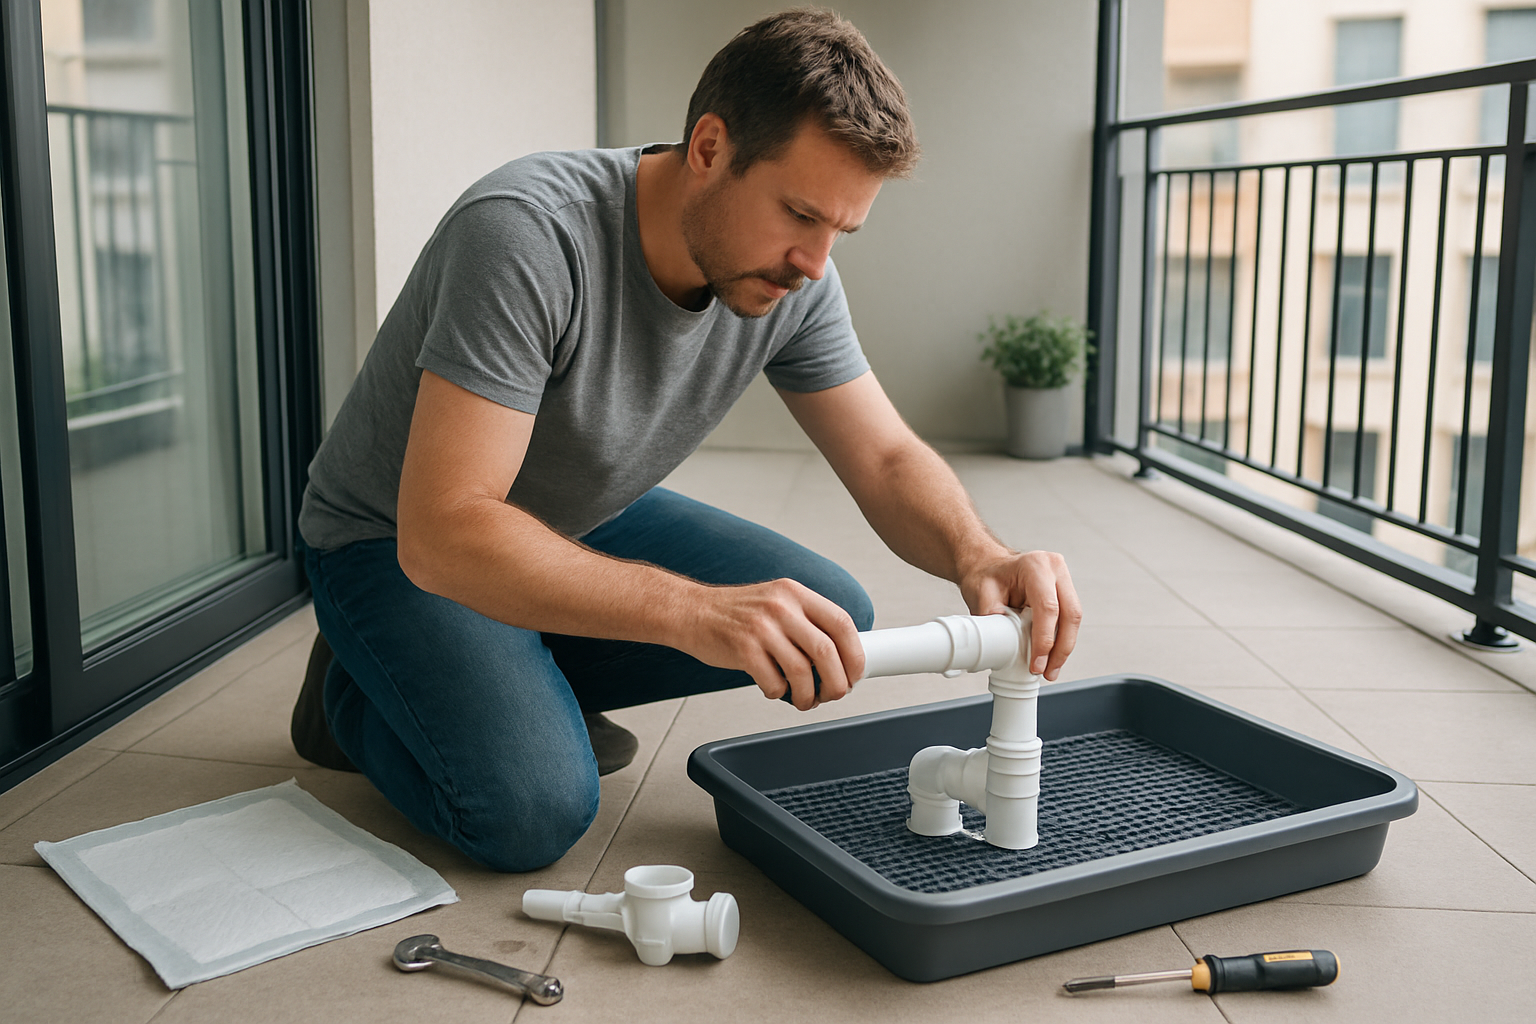
Connecting to Existing Plumbing Systems
Locate your nearest drain access point or connect directly to your home’s waste line if local codes permit. You’ll need to install a proper P-trap to prevent sewer gases from backing up into the potty area. Check your local plumbing regulations before making any connections, as some areas require professional installation for waste line modifications. Use PVC fittings rated for outdoor use and apply plumber’s putty generously around all connection points.
Installing Drainage Components Properly
Begin by laying the base drainage layer using coarse gravel, followed by your chosen drainage mat or system. Position the collection tray with a slight slope toward the drain outlet – typically 1/4 inch per foot works well. Install the flush mechanism according to manufacturer specifications, ensuring all gaskets and seals are properly seated. Double-check that removable components can be easily accessed for cleaning without disrupting the entire system.
Testing Water Flow and Leak Prevention
Run water through your system for at least 30 minutes to check for proper drainage and identify any potential leak points. Fill the collection area completely and observe how quickly water drains – it should empty within 2-3 minutes for optimal performance. Apply waterproof sealant around any joints that show minor seepage. Test the flush mechanism multiple times to ensure consistent water pressure and coverage across the entire potty surface.
Adding Final Touches and Safety Features
Install non-slip surfaces around the potty edges to prevent accidents during wet conditions. Add adequate lighting for nighttime use and consider motion-activated options for convenience. Secure any loose components and install childproof locks if necessary. Place weather-resistant signage or markers to help your dog identify the designated area. Keep installation tools and spare parts in a nearby storage container for future maintenance needs.
Training Your Dog to Use the Patio Potty
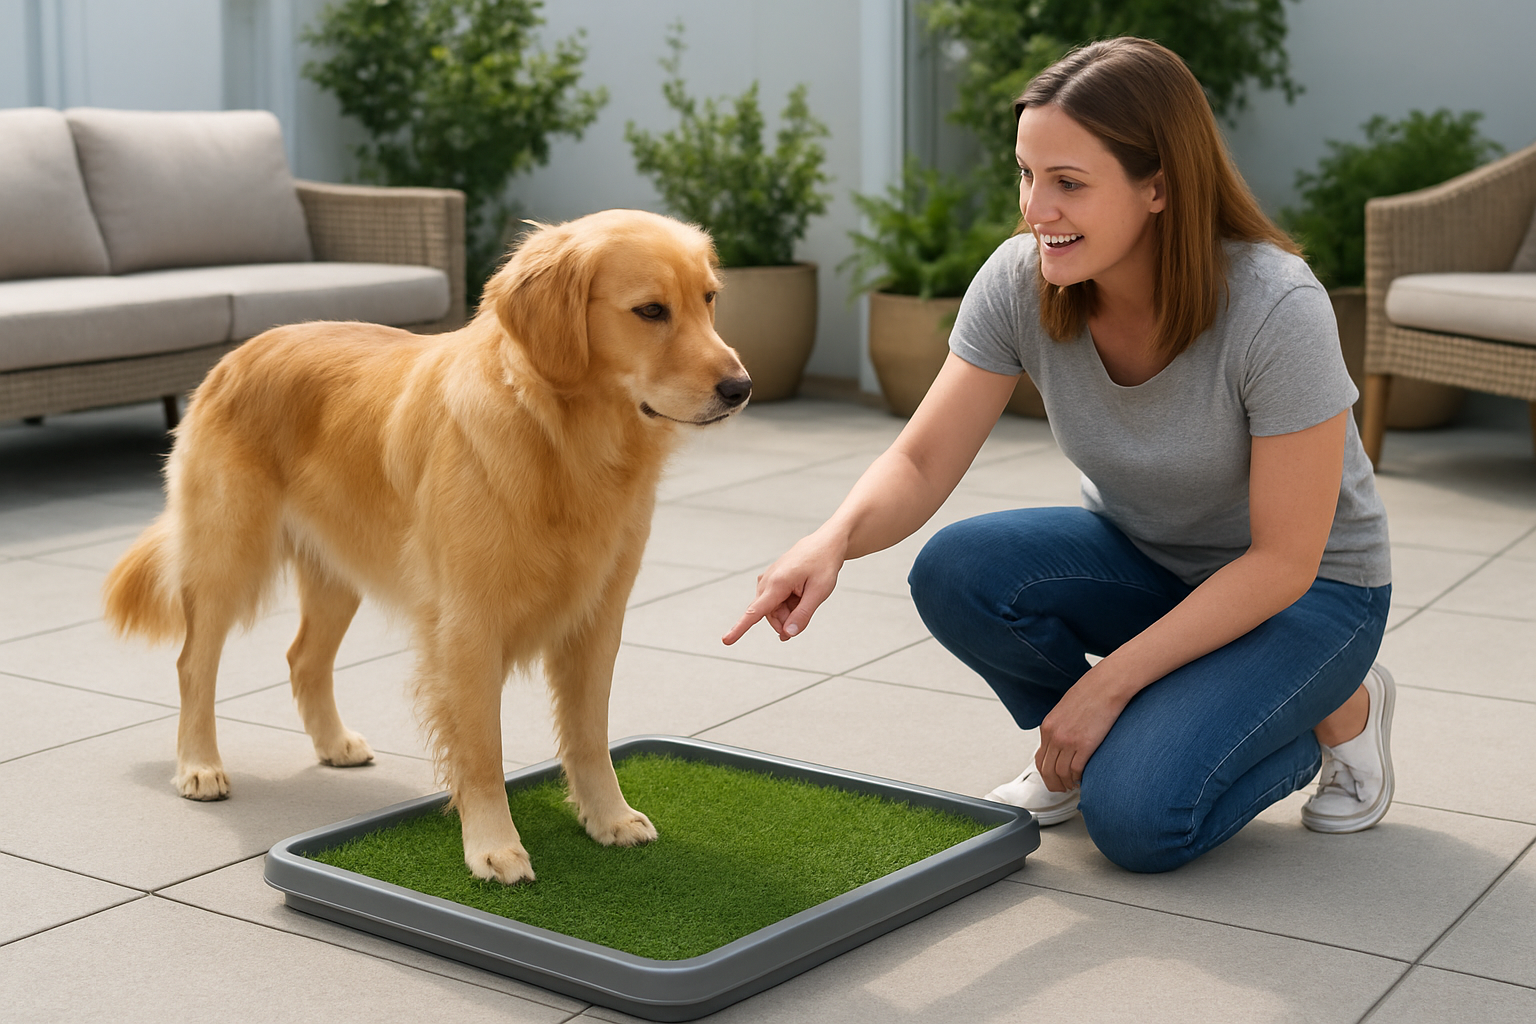
Introducing Your Dog to the New System
Start by placing your dog’s favorite treats near the patio potty to create positive associations. Let your pup sniff and explore the system without pressure. Keep initial sessions short, around 5-10 minutes, and stay calm throughout the process. Your dog needs time to understand this new bathroom option, so patience is key during these first encounters.
Establishing a Consistent Potty Schedule
Take your dog to the patio potty at the same times daily – first thing in the morning, after meals, and before bedtime. Consistency helps your pup develop muscle memory and reduces accidents indoors. Watch for signs like sniffing, circling, or whining, then immediately guide them to the potty area. Stick to this routine for at least two weeks to build strong habits.
Using Positive Reinforcement Techniques
Reward your dog immediately when they use the patio potty correctly with high-value treats, enthusiastic praise, or their favorite toy. Never punish accidents – simply clean up and redirect them to the proper spot next time. Create a special “potty command” like “go potty” and use it consistently. The key is making the experience so rewarding that your dog actively seeks out the patio potty.
Troubleshooting Common Training Challenges
If your dog refuses to use the system, check if the surface feels uncomfortable or if there are distracting smells nearby. Some dogs need artificial grass that mimics real lawn texture. For dogs who miss the target area, consider adding visual boundaries or adjusting the potty size. Regression often happens during weather changes or stress, so return to basics with extra treats and shorter, more frequent training sessions.
Daily and Weekly Maintenance Routines
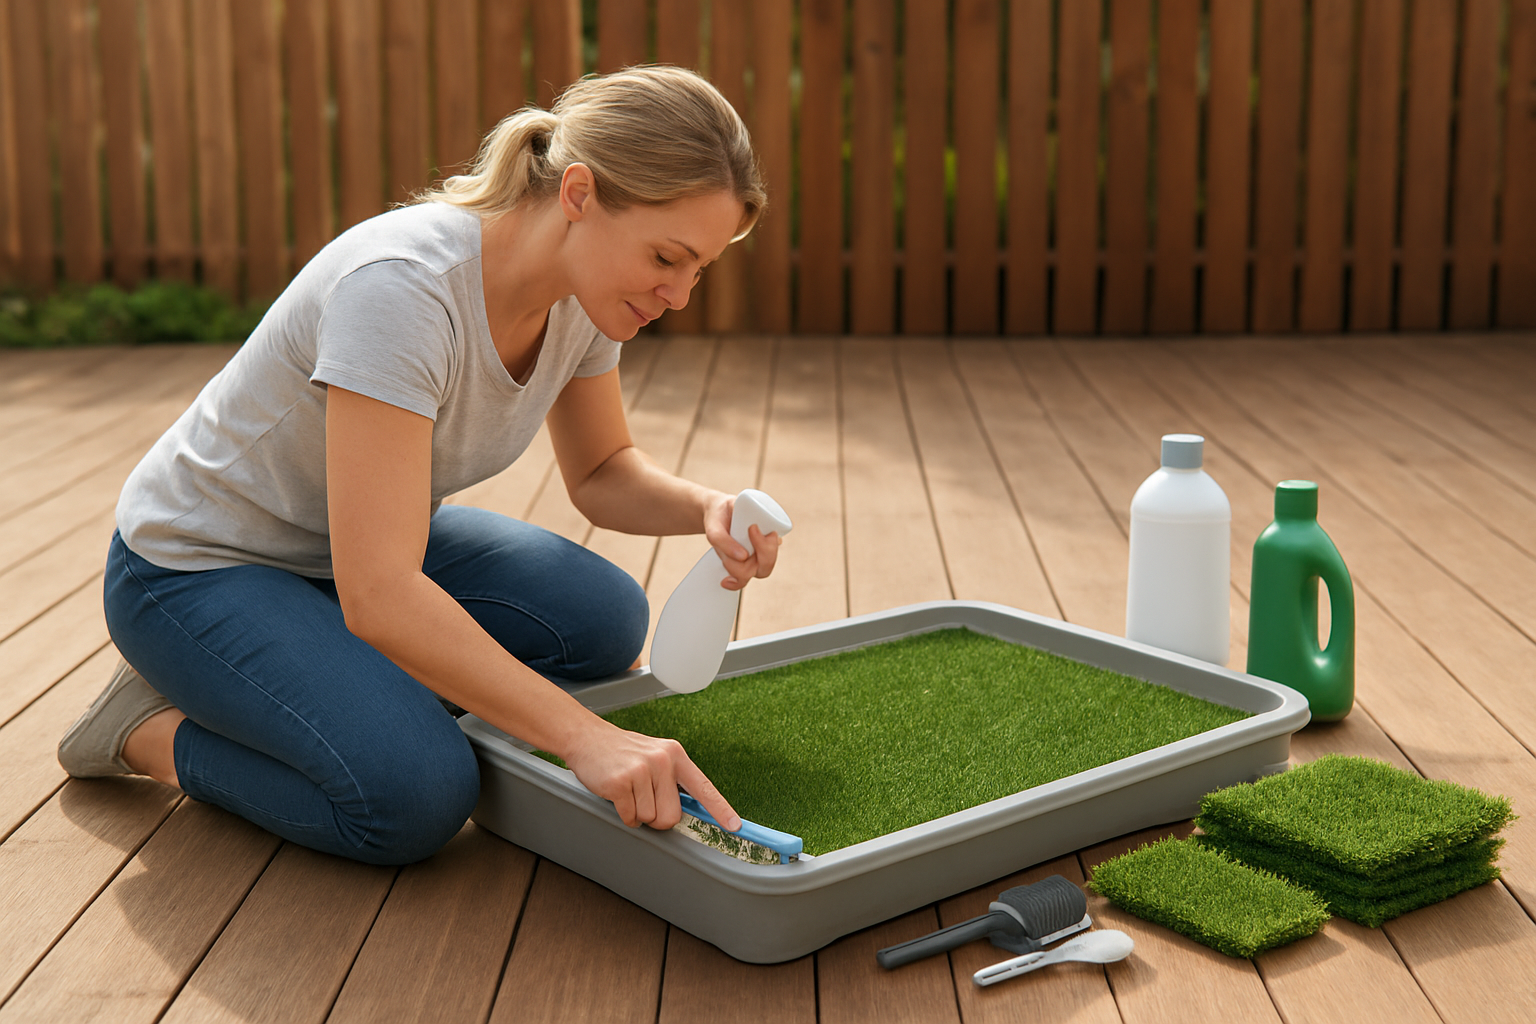
Proper Cleaning Solutions and Techniques
Use enzyme-based cleaners specifically designed for pet waste to break down organic matter and eliminate odors. Spray the surface thoroughly after each use, let it sit for five minutes, then wipe with a microfiber cloth. Avoid harsh chemicals like bleach or ammonia, which can damage the system and create harmful fumes. For stubborn stains, scrub gently with a soft brush and warm soapy water.
Flushing Schedule for Optimal Hygiene
Flush solid waste immediately after your dog uses the potty to prevent buildup and odor. Run a thorough water rinse twice daily, even if your dog hasn’t used it, to keep the drainage system clear. Weekly deep flushes with pet-safe cleaners help maintain optimal flow and prevent clogs. During hot weather or heavy use periods, increase flushing frequency to every 4-6 hours.
Inspecting for Wear and Damage
Check drainage holes weekly for clogs or debris that might restrict water flow. Look for cracks in the surface or loose connections in the plumbing system. Examine the artificial grass or surface material for excessive wear, loose edges, or areas that need replacement. Test the flushing mechanism monthly to ensure proper water pressure and coverage across the entire surface area.


